81 - Ultimate Sharpening Station, страница 47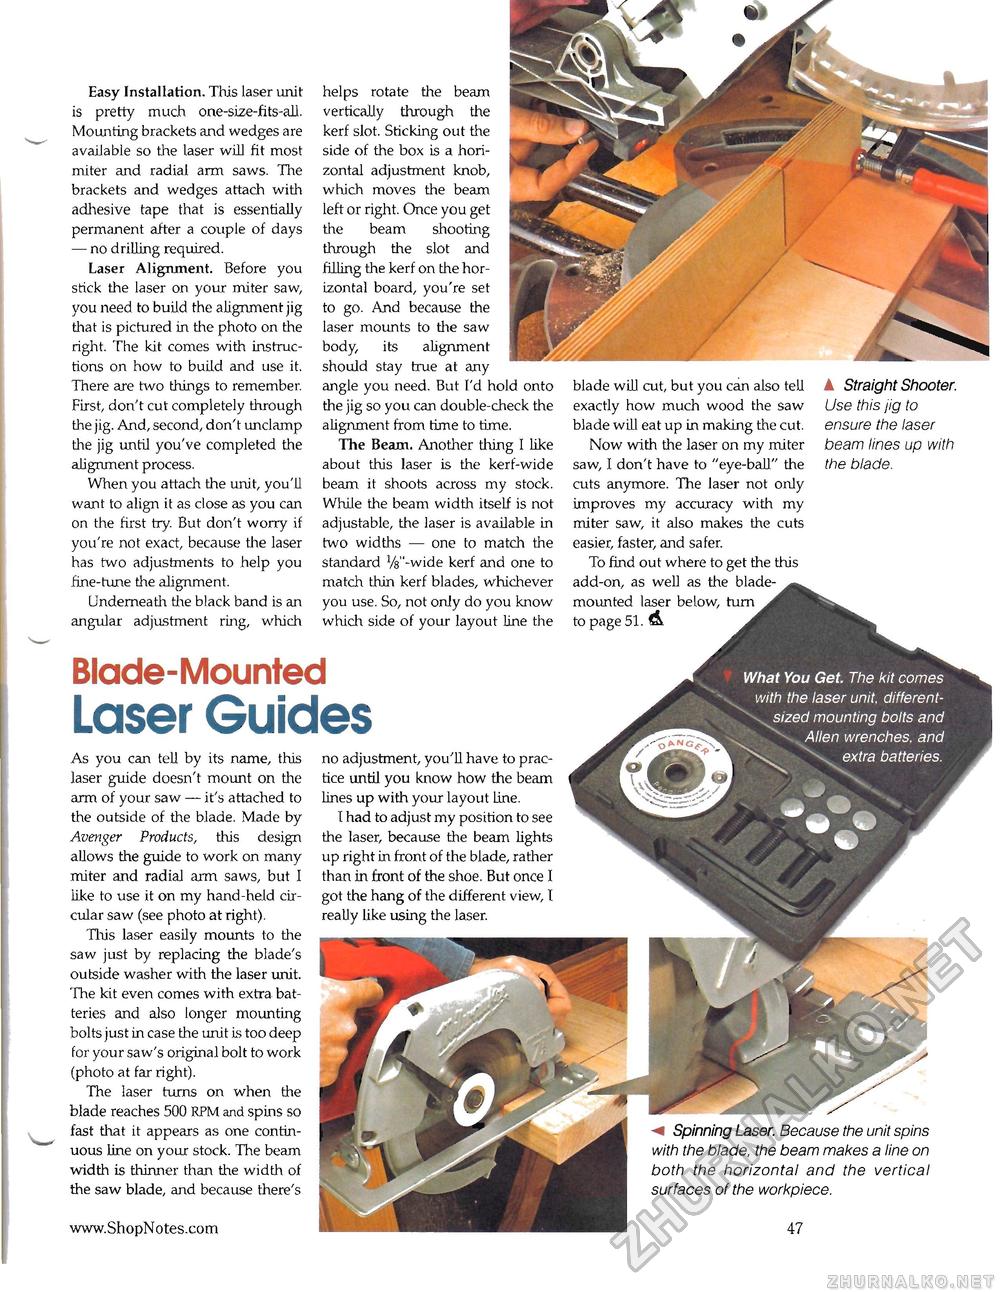
Easy Installation. This laser unit is pretty much one-size-fits-all. Mounting brackets and wedges are available so the laser will fit most miter and radial arm saws. The brackets and wedges attach with adhesive tape that is essentially permanent after a couple of days — no drilling required. Laser Alignment. Before you stick the laser on your miter saw, you need to build the alignment jig that is pictured in the photo on the right. The kit comes with instructions on how to build and use it. There Eire two things to remember. First, don't cut completely through the jig. And, second, don't unclamp the jig until you've completed the alignment process. When you attach the unit, you'll want to align it as close as you can on the first try. But don't worry if you're not exact, because the laser has two adjustments to help you fine-tune the alignment. Underneath tire black band is an angular adjustment ring, which helps rotate the beam vertically through the kerf slot. Sticking out the side of the box is a horizontal adjustment knob, which moves the beam left or right. Once you get the beam shooting through the slot and filling the kerf on the horizontal board, you're set to go. And because the laser mounts to the saw body, its alignment should stay true at any angle you need. But I'd hold onto the jig so you can double-check the alignment from time to time. The Beam. Another thing 1 like about this laser is the kerf-wide beam it shoots across my stock. While the beam width itself is not adjustable, the laser is available in two widths — one to match the standard V^'-wide kerf and one to match thin kerf blades, whichever you use. So, not only do you know which side of your layout line the
blade will cut, but you can also tell exactly how much wood the saw blade will eat up in making the cut. Now with the laser on my miter saw, I don't have to "eye-ball" the cuts anymore. The laser not only improves my accuracy with my miter saw, it also makes the cuts easier, faster, and safer. To find out where to get the this add-on, as well as the blade-mounted laser below, turn to page 51. ▲ Straight Shooter. Use this jig to ensure the laser beam lines up with the blade. Blade-Mounted Loser Guides As you can tell by its name, this laser guide doesn't mount on the arm of your saw — it's attached to the outside of the blade. Made by Avenger Products, this design allows the guide to work on many miter and radial arm saws, but I like to use it on my hand-held circular saw (see photo at right). This laser easily mounts to the saw just by replacing the blade's outside washer with the laser unit. The kit even comes with extra batteries and also longer mounting bolts just in case the unit Is too deep for your saw's original bolt to work (photo at far right). The laser turns on when the blade reaches 500 RPM and spins so fast that it appears as one continuous line on your stock. The beam width is thinner than the width of the saw blade, and because there's no adjustment, you'll have to practice until you know how the beam lines up with your layout line. I had to adjust my position to see the laser, because the beam lights up right in front of the blade, rather than in front of the shoe. But once I got the hang of the different view, I really like using the laser. M Spinning Laser. Because the unit spins with the blade, the beam makes a line on both the horizontal and the vertical surfaces of the workpiece. |


