88, страница 41
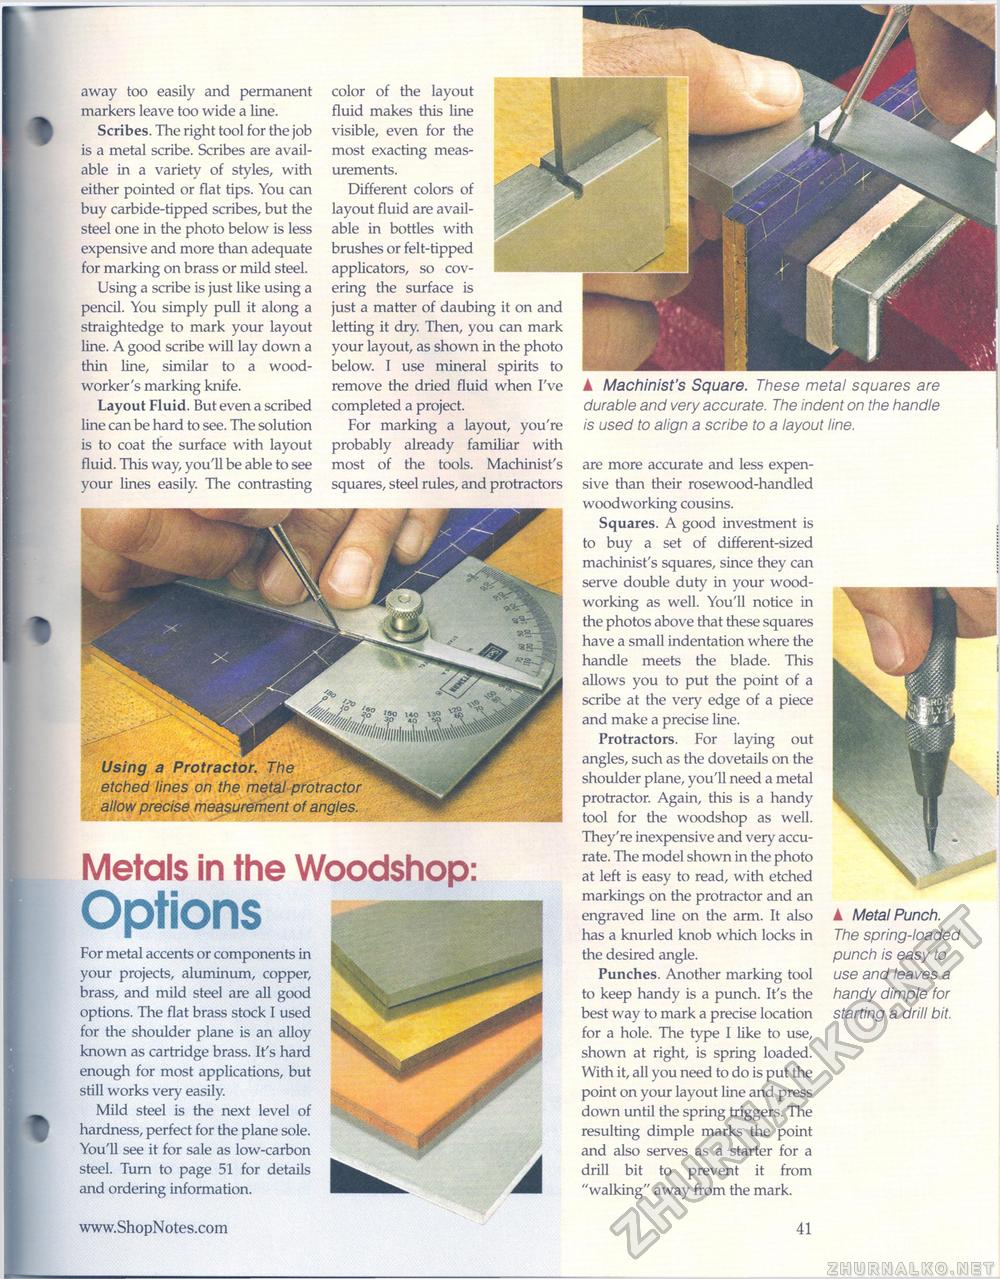
color of the layout fluid makes this line visible, even for the most exacting measurements. Different colors of layout fluid are available in bottles with brushes or felt-tipped applicators, so covering the surface is just a matter of daubing it on and letting it dry. Then, you can mark your layout, as shown in the photo below. I use mineral spirits to remove the dried fluid when I've completed a project. For marking a layout, you're probably already familiar with most of the tools. Machinist's squares, steel rules, and protractors ▲ Machinist's Square. These metal squares are durable and very accurate. The indent on the handle is used to align a scribe to a layout line. away too easily and permanent markers leave too wide a line. Scribes. The right tool for the job is a metal scribe. Scribes are available in a variety of styles, with either pointed or flat tips. You can buy carbide-tipped scribes, but the steel one in the photo below is less expensive and more than adequate for marking on brass or mild steel. Using a scribe is just like using a pencil. You simply pull it along a straightedge to mark your layout line. A good scribe will lay down a thin line, similar to a woodworker's marking knife. Layout Fluid. But even a scribed line can be hard to see. The solution is to coat the surface with layout fluid. This way, you'll be able to see your lines easily. The contrasting Using a Protractor. etched lines on the metal protractor allow precise measurement of angles. Metals in the Woodshop:Optionsare more accurate and less expensive than their rosewood-handled woodworking cousins. Squares. A good investment is to buy a set of different-sized machinist's squares, since they can serve double duty in your woodworking as well. You'll notice in the photos above that these squares have a small indentation where the handle meets the blade. This allows you to put the point of a scribe at the very edge of a piece and make a precise line. Protractors. For laying out angles, such as the dovetails on the shoulder plane, you'll need a metal protractor. Again, this is a handy tool for the woodshop as well. They're inexpensive and very accurate. The model shown in the photo at left is easy to read, with etched markings on the protractor and an engraved line on the arm. It also has a knurled knob which locks in the desired angle. Punches. Another marking tool to keep handy is a punch. It's the best way to mark a precise location for a hole. The type I like to use, shown at right, is spring loaded. With it, all you need to do is put the point on your layout line and press down until the spring triggers. The resulting dimple marks the point and also serves as a starter for a drill bit to prevent it from "walking" away from the mark. A Metal Punch. The spring-loaded punch is easy to use and leaves a handy dimple for starting a drill bit. For metal accents or components in your projects, aluminum, copper, brass, and mild steel are all good options. The flat brass stock I used for the shoulder plane is an alloy known as cartridge brass. It's hard enough for most applications, but still works very easily. Mild steel is the next level of hardness, perfect for the plane sole. You'll see it for sale as low-carbon steel. Turn to page 51 for details and ordering information. 41 |


