88, страница 9
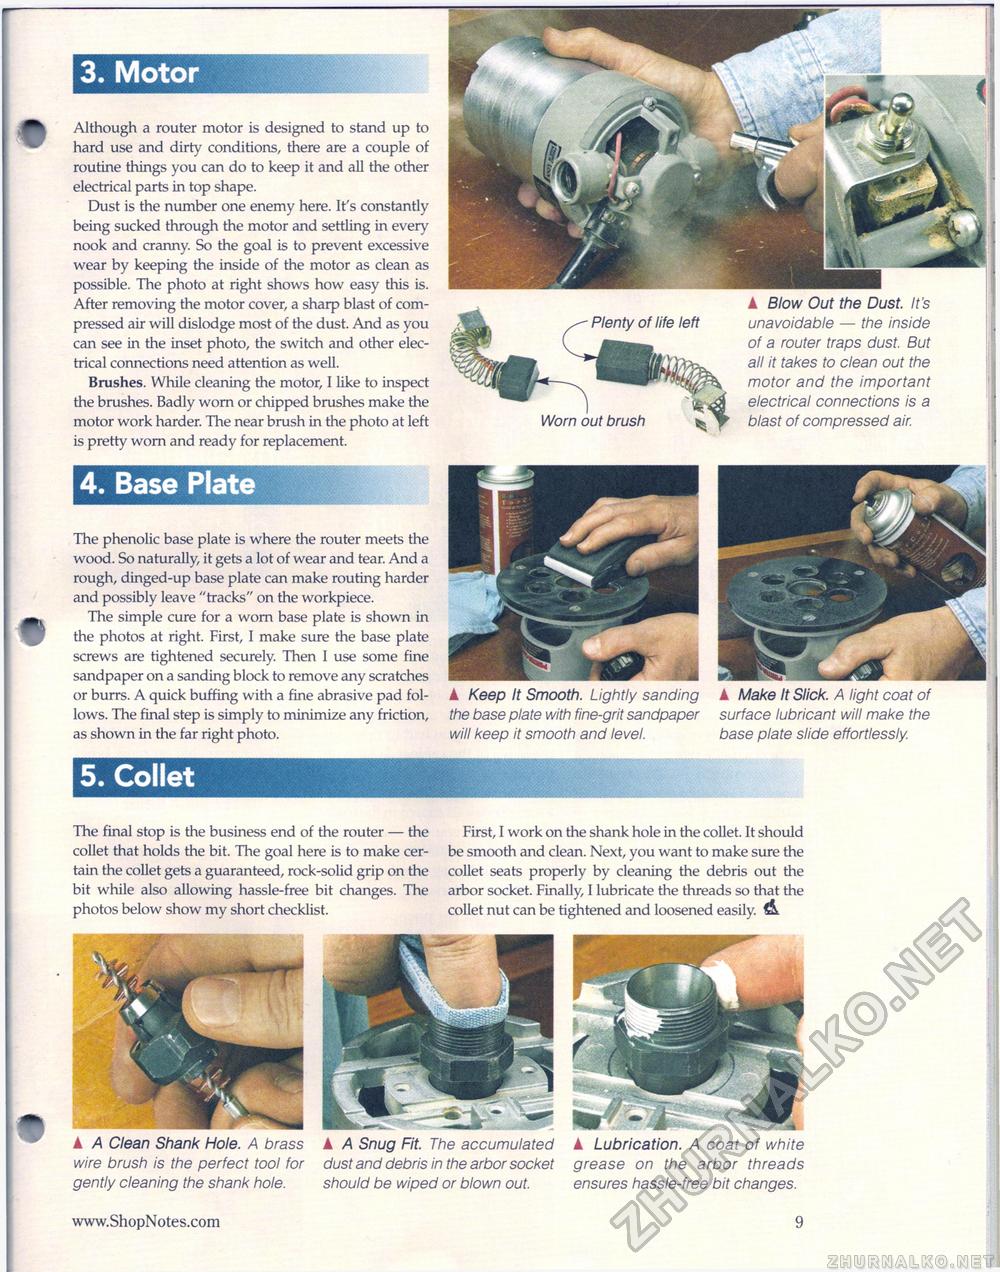
3. Motor Although a router motor is designed to stand up to hard use and dirty conditions, there are a couple of routine things you can do to keep it and all the other electrical parts in top shape. Dust is the number one enemy here. It's constantly being sucked through the motor and settling in every nook and cranny. So the goal is to prevent excessive wear by keeping the inside of the motor as clean as possible. The photo at right shows how easy this is. After removing the motor cover, a sharp blast of compressed air will dislodge most of the dust. And as you can see in the inset photo, the switch and other electrical connections need attention as well. Brushes. While cleaning the motor, I like to inspect the brushes. Badly worn or chipped brushes make the motor work harder. The near brush in the photo at left is pretty worn and ready for replacement. Plenty of life left Worn out brush k Blow Out the Dust. It's unavoidable — the inside of a router traps dust. But all it takes to clean out the motor and the important electrical connections is a blast of compressed air. The phenolic base plate is where the router meets the wood. So naturally, it gets a lot of wear and tear. And a rough, dinged-up base plate can make routing harder and possibly leave "tracks" on the workpiece. The simple cure for a worn base plate is shown in the photos at right. First, I make sure the base plate screws are tightened securely. Then I use some fine sandpaper on a sanding block to remove any scratches or burrs. A quick buffing with a fine abrasive pad follows. The final step is simply to minimize any friction, as shown in the far right photo. 5. Collet ▲ Keep It Smooth. Lightly sanding the base plate with fine-grit sandpaper will keep it smooth and level. k Make It Slick. A light coat of surface lubricant will make the base plate slide effortlessly. The final stop is the business end of the router — the collet that holds the bit. The goal here is to make certain the collet gets a guaranteed, rock-solid grip on the bit while also allowing hassle-free bit changes. The photos below show my short checklist. First, I work on the shank hole in the collet. It should be smooth and clean. Next, you want to make sure the collet seats properly by cleaning the debris out the arbor socket. Finally, I lubricate the threads so that the collet nut can be tightened and loosened easily. ▲ A Snug Fit. The accumulated dust and debris in the arbor socket should be wiped or blown out. ▲ A Clean Shank Hole. A brass wire brush is the perfect tool for gently cleaning the shank hole. k Lubrication. A coat of white grease on the arbor threads ensures hassle-free bit changes. |


