95, страница 14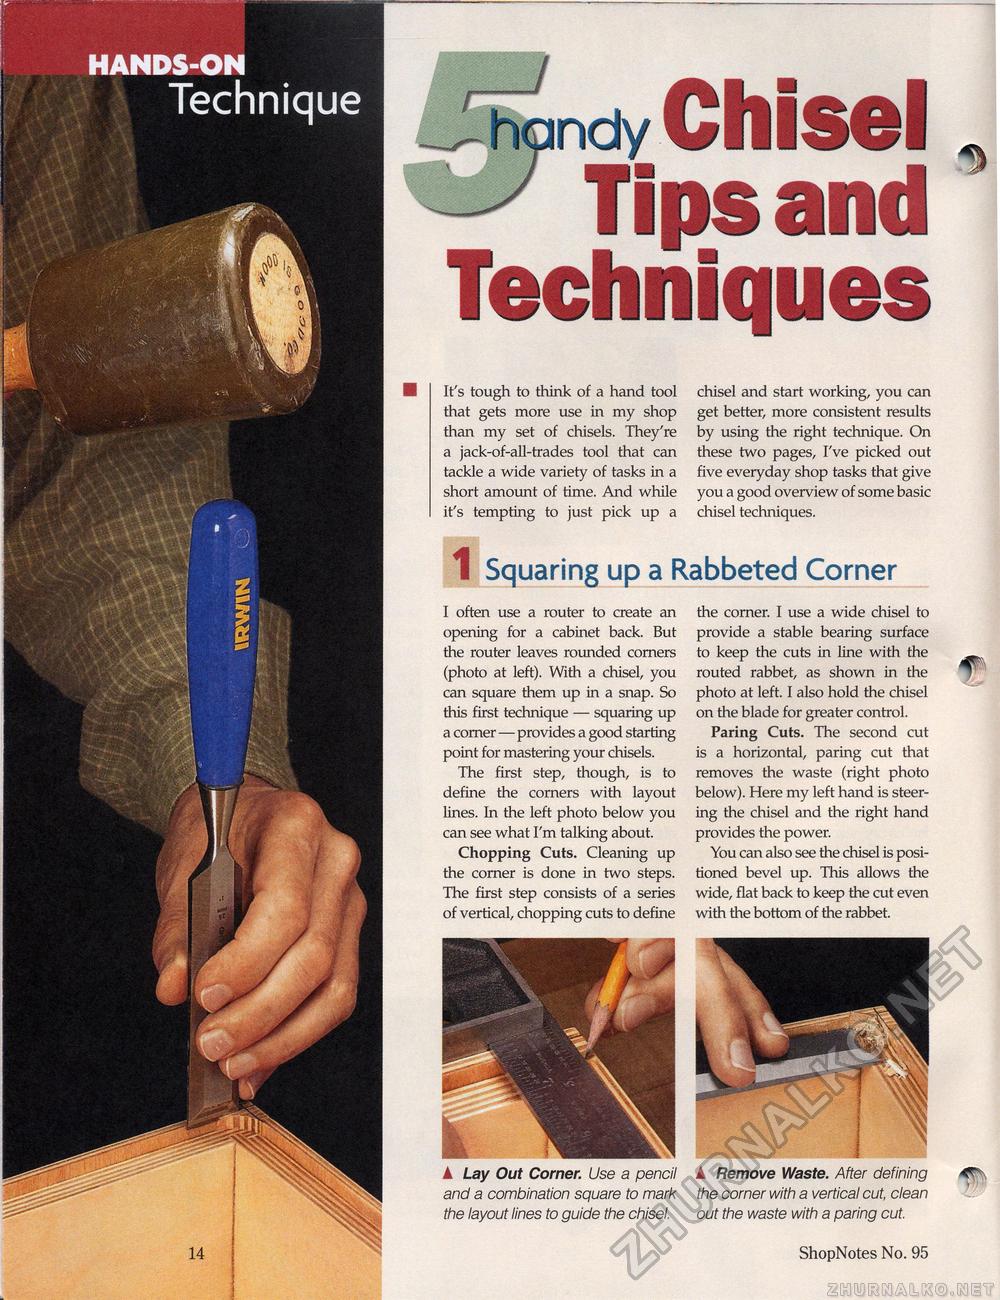
HANDS-ON Technique ndy Chisel Tips and Techniques It's tough to think of a hand tool that gets more use in my shop than my set of chisels. They're a jack-of-all-trades tool that can tackle a wide variety of tasks in a short amount of time. And while it's tempting to just pick up a chisel and start working, you can get better, more consistent results by using the right technique. On these two pages, I've picked out five everyday shop tasks that give you a good overview of some basic chisel techniques. 1 Squaring up a Rabbeted Corner I often use a router to create an opening for a cabinet back. But the router leaves rounded corners (photo at left). With a chisel, you can square them up in a snap. So this first technique — squaring up a corner—provides a good starting point for mastering your chisels. The first step, though, is to define the corners with layout lines. In the left photo below you can see what I'm talking about. Chopping Cuts. Cleaning up the corner is done in two steps. The first step consists of a series of vertical, chopping cuts to define A Lay Out Corner. Use a pencil and a combination square to mark the layout lines to guide the chisel. the corner. I use a wide chisel to provide a stable bearing surface to keep the cuts in line with the routed rabbet, as shown in the photo at left. I also hold the chisel on the blade for greater control. Paring Cuts. The second cut is a horizontal, paring cut that removes the waste (right photo below). Here my left hand is steering the chisel and the right hand provides the power. You can also see the chisel is positioned bevel up. This allows the wide, flat back to keep the cut even with the bottom of the rabbet. ▲ Remove Waste. After defining the corner with a vertical cut, clean out the waste with a paring cut. 14 ShopNotes No. 95 |


