95, страница 11
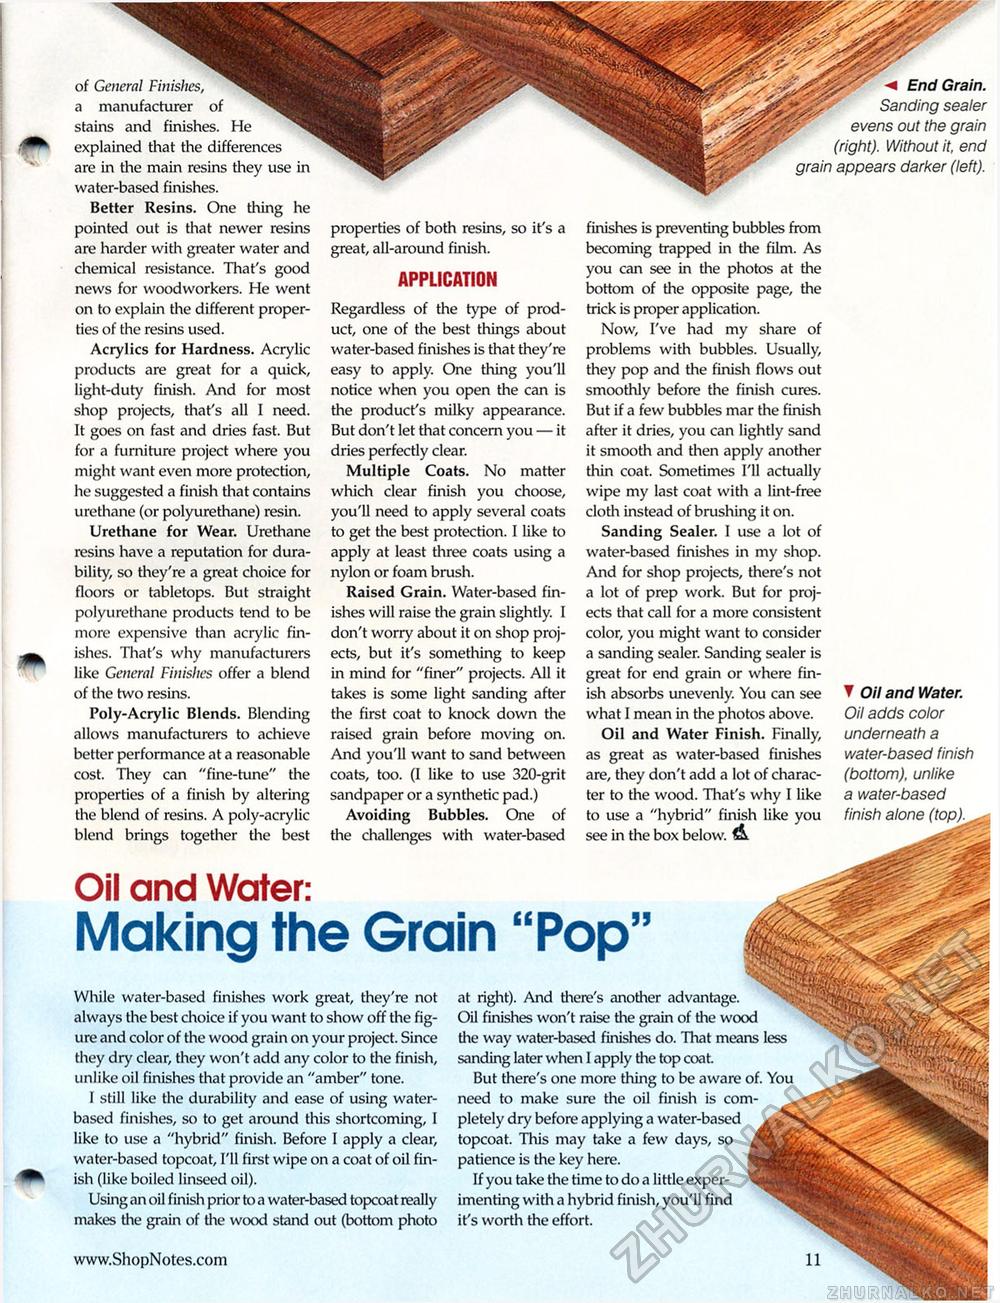
Oil and Water: Making the Grain "Pop" of General Finishes, a manufacturer of stains and finishes. He explained that the differences are in the main resins they use in water-based finishes. Better Resins. One thing he pointed out is that newer resins are harder with greater water and chemical resistance. That's good news for woodworkers. He went on to explain the different properties of the resins used. Acrylics for Hardness. Acrylic products are great for a quick, light-duty finish. And for most shop projects, that's all I need. It goes on fast and dries fast. But for a furniture project where you might want even more protection, he suggested a finish that contains urethane (or polyurethane) resin. Urethane for Wear. Urethane resins have a reputation for durability, so they're a great choice for floors or tabletops. But straight polyurethane products tend to be more expensive than acrylic finishes. That's why manufacturers like General Finishes offer a blend of the two resins. Poly-Acrylic Blends. Blending allows manufacturers to achieve better performance at a reasonable cost. They can "fine-tune" the properties of a finish by altering the blend of resins. A poly-acrylic blend brings together the best End Grain. Sanding sealer evens out the grain (right). Without it, end grain appears darker (left). properties of both resins, so it's a great, all-around finish. APPLICATION Regardless of the type of product, one of the best things about water-based finishes is that they're easy to apply. One thing you'll notice when you open the can is the product's milky appearance. But don't let that concern you — it dries perfectly clear. Multiple Coats. No matter which clear finish you choose, you'll need to apply several coats to get the best protection. I like to apply at least three coats using a nylon or foam brush. Raised Grain. Water-based finishes will raise the grain slightly. I don't worry about it on shop projects, but it's something to keep in mind for "finer" projects. All it takes is some light sanding after the first coat to knock down the raised grain before moving on. And you'll want to sand between coats, too. (I like to use 320-grit sandpaper or a synthetic pad.) Avoiding Bubbles. One of the challenges with water-based finishes is preventing bubbles from becoming trapped in the film. As you can see in the photos at the bottom of the opposite page, the trick is proper application. Now, I've had my share of problems with bubbles. Usually, they pop and the finish flows out smoothly before the finish cures. But if a few bubbles mar the finish after it dries, you can lightly sand it smooth and then apply another thin coat. Sometimes I'll actually wipe my last coat with a lint-free cloth instead of brushing it on. Sanding Sealer. I use a lot of water-based finishes in my shop. And for shop projects, there's not a lot of prep work. But for projects that call for a more consistent color, you might want to consider a sanding sealer. Sanding sealer is great for end grain or where finish absorbs unevenly. You can see what I mean in the photos above. Oil and Water Finish. Finally, as great as water-based finishes are, they don't add a lot of character to the wood. That's why I like to use a "hybrid" finish like you see in the box below. & ▼ Oil and Water. Oil adds color underneath a water-based finish (bottom), unlike a water-based finish alone (top > While water-based finishes work great, they're not always the best choice if you want to show off the figure and color of the wood grain on your project. Since they dry clear, they won't add any color to the finish, unlike oil finishes that provide an "amber" tone. I still like the durability and ease of using water-based finishes, so to get around this shortcoming, I like to use a "hybrid" finish. Before I apply a clear, water-based topcoat, I'll first wipe on a coat of oil finish (like boiled linseed oil). Using an oil finish prior to a water-based topcoat really makes the grain of the wood stand out (bottom photo at right). And there's another advantage. Oil finishes won't raise the grain of the wood the way water-based finishes do. That means less sanding later when I apply the top coat. But there's one more thing to be aware of. You need to make sure the oil finish is completely dry before applying a water-based topcoat. This may take a few days, so patience is the key here. If you take the time to do a little experimenting with a hybrid finish, you'll find it's worth the effort. |


