Woodworker's Journal 101-Projects-for-Woodworkers, страница 173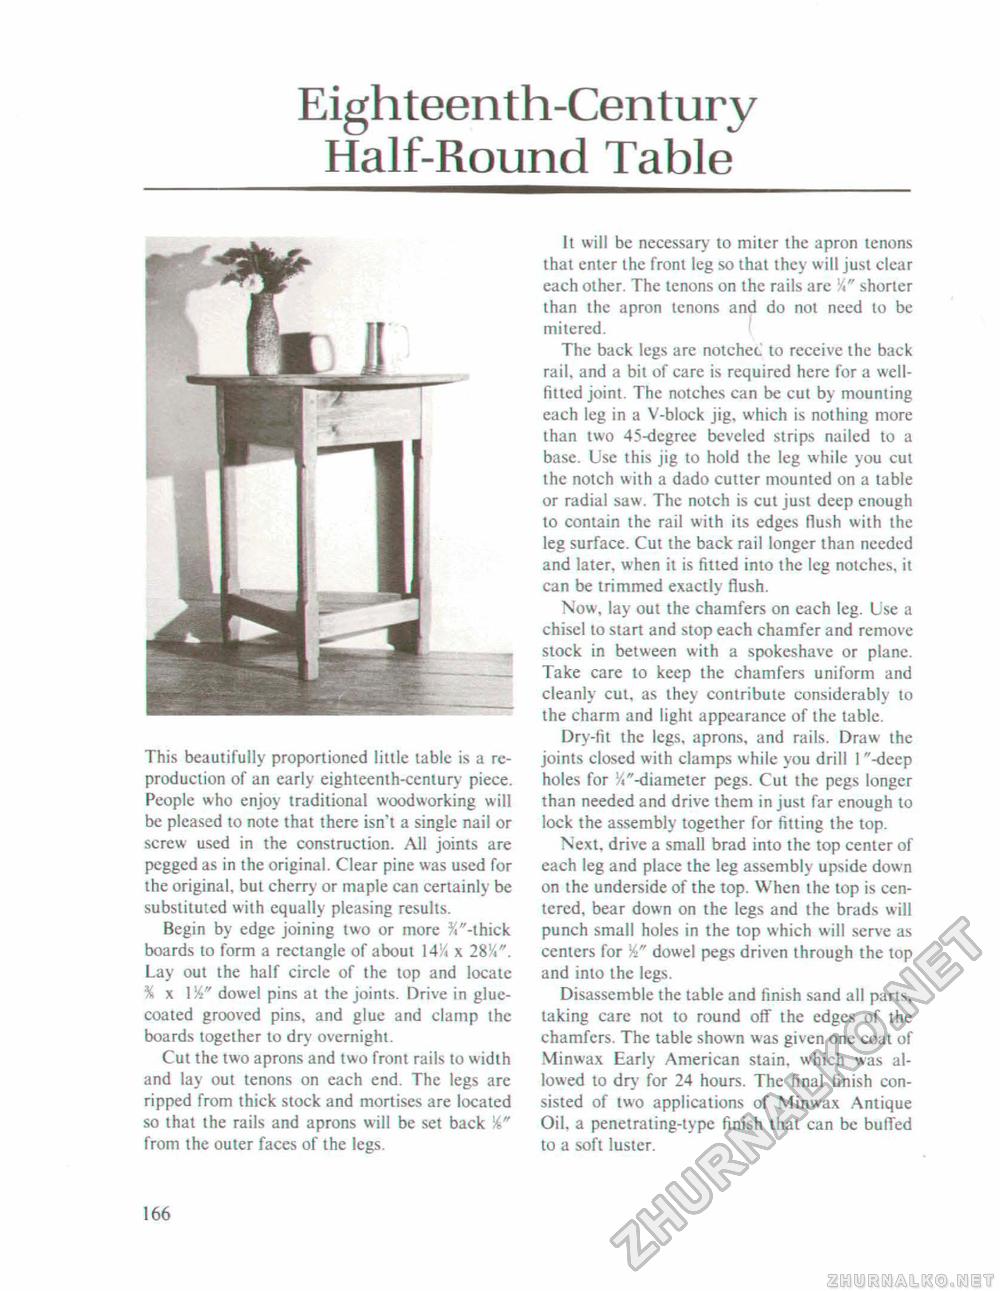
Eighteenth-Century Half-Round TableThis beautifully proportioned little table is a reproduction of an early eighteenth-century piece. People who enjoy traditional woodworking will be pleased to note that there isn't a single nail or screw used in the construction. All joints are pegged as in the original. Clear pine was used for the original, but cherry or maple can certainly be substituted with equally pleasing results. Begin by edge joining two or more %"-thick boards to form a rectangle of about 14% x 28K*. Lay out the half circle of the top and locate % x dowel pins at the joints. Drive in glue-coated grooved pins, and glue and clamp the boards together to dry overnight. Cut the two aprons and two front rails to width and lay out tenons on each end. The legs are ripped from thick stock and mortises are located so that the rails and aprons will be set back from the outer faces of the legs. It will be necessary to miter the apron tenons that enter the front leg so that they will just clear each other. The tenons on the rails are Vt" shorter than the apron tenons and do not need to be mitered. The back legs are notchec to receive the back rail, and a bit of care is required here for a well-fitted joint. The notches can be cut by mounting each leg in a V-block jig, which is nothing more than two 45-degree beveled strips nailed to a base. Use this jig to hold the leg while you cut the notch with a dado cutter mounted on a table or radial saw. The notch is cut just deep enough to contain the rail with its edges flush with the leg surface. Cut the back rail longer than needed and later, when it is fitted into the leg notches, it can be trimmed exactly flush. Now, lay out the chamfers on each leg. Use a chisel to start and stop each chamfer and remove slock in between with a spokeshave or plane. Take care to keep the chamfers uniform and cleanly cut, as they contribute considerably to the charm and light appearance of the table. Dry-fit the legs, aprons, and rails. Draw the joints closed with clamps while you drill I "-deep holes for ^"-diameter pegs. Cut the pegs longer than needed and drive them in just far enough to lock the assembly together for fitting the top. Next, drive a small brad into the top center of each leg and place the leg assembly upside down on the underside of the top. When the top is centered, bear down on the legs and the brads will punch small holes in the top which will serve as centers for dowel pegs driven through the top and into the legs. Disassemble the table and finish sand all parts, taking care not to round off the edges of the chamfers. The table shown was given one coat of Minwax Early American stain, which was allowed to dry for 24 hours. The final finish consisted of two applications of Minwax Antique Oil, a penetrating-type finish that can be buffed to a soft luster. 166 |


