Woodworker's Journal 101-Projects-for-Woodworkers, страница 29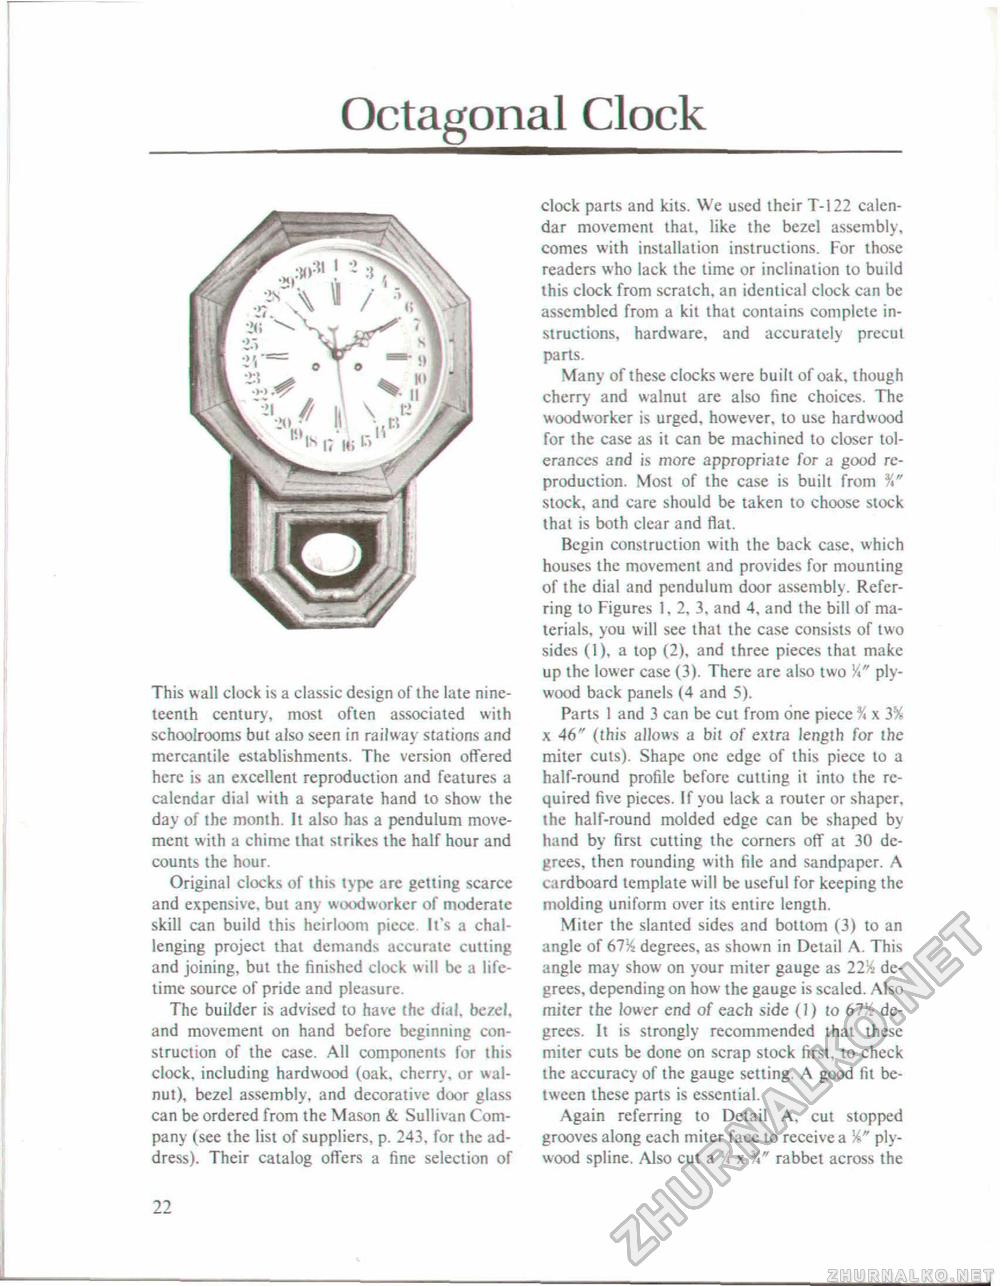
Octagonal ClockThis wall clock is a classic design of the late nineteenth century, most often associated with schoolrooms but also seen in railway stations and mercantile establishments. The version offered here is an excellent reproduction and features a calendar dial with a separate hand to show the day of the month. It also has a pendulum movement with a chime that strikes the half hour and counts the hour. Original clocks of this type are getting scarce and expensive, but any woodworker of moderate skill can build this heirloom piece. It's a challenging project that demands accurate cutting and joining, but the finished clock will be a lifetime source of pride and pleasure. The builder is advised to have the dial, bezel, and movement on hand before beginning construction of the case. All components for this clock, including hardwood (oak, cherry, or walnut), bezel assembly, and decorative door glass can be ordered from the Mason & Sullivan Company (see the list of suppliers, p. 243. for the address). Their catalog offers a fine selection of clock parts and kits. We used their T-l 22 calendar movement that, like the bezel assembly, comes with installation instructions. For those readers who lack the time or inclination to build this clock from scratch, an identical clock can be assembled from a kit that contains complete instructions, hardware, and accurately precut parts. Many of these clocks were built of oak, though cherry and walnut are also fine choices, The woodworker is urged, however, to use hardwood for the case as it can be machined to closer tolerances and is more appropriate for a good reproduction. Most of the case is built from %" stock, and care should be taken to choose stock that is both clear and flat. Begin construction with the back case, which houses the movement and provides for mounting of the dial and pendulum door assembly. Referring to Figures 1, 2, 3, and 4. and the bill of materials, you will see that the case consists of two sides (1), a top (2), and three pieces that make up the lower case (3). There are also two Yplywood back panels (4 and 5). Parts 1 and 3 can be cut from one piece % x 3% x 46" (this allows a bit of extra length for the miter cuts). Shape one edge of this piece to a half-round profile before cutting it into the required five pieces. If you lack a router or shaper, the half-round molded edge can be shaped by hand by first cutting the corners off at 30 degrees, then rounding with file and sandpaper. A cardboard template will be useful for keeping the molding uniform over its entire length. Miter the slanted sides and bottom (3) to an angle of 67% degrees, as shown in Detail A. This angle may show on your miter gauge as 22% degrees, depending on how the gauge is scaled. Also miter the low er end of each side (1) to 67% degrees, It is strongly recommended that these miter cuts be done on scrap stock first, to check the accuracy of the gauge setting. A good fit between these parts is essential. Again referring to Detail A, cut stopped grooves along each miter facc to receive a %" plywood spline. Also cut a K x rabbet across the 22 |


