Woodworker's Journal 101-Projects-for-Woodworkers, страница 97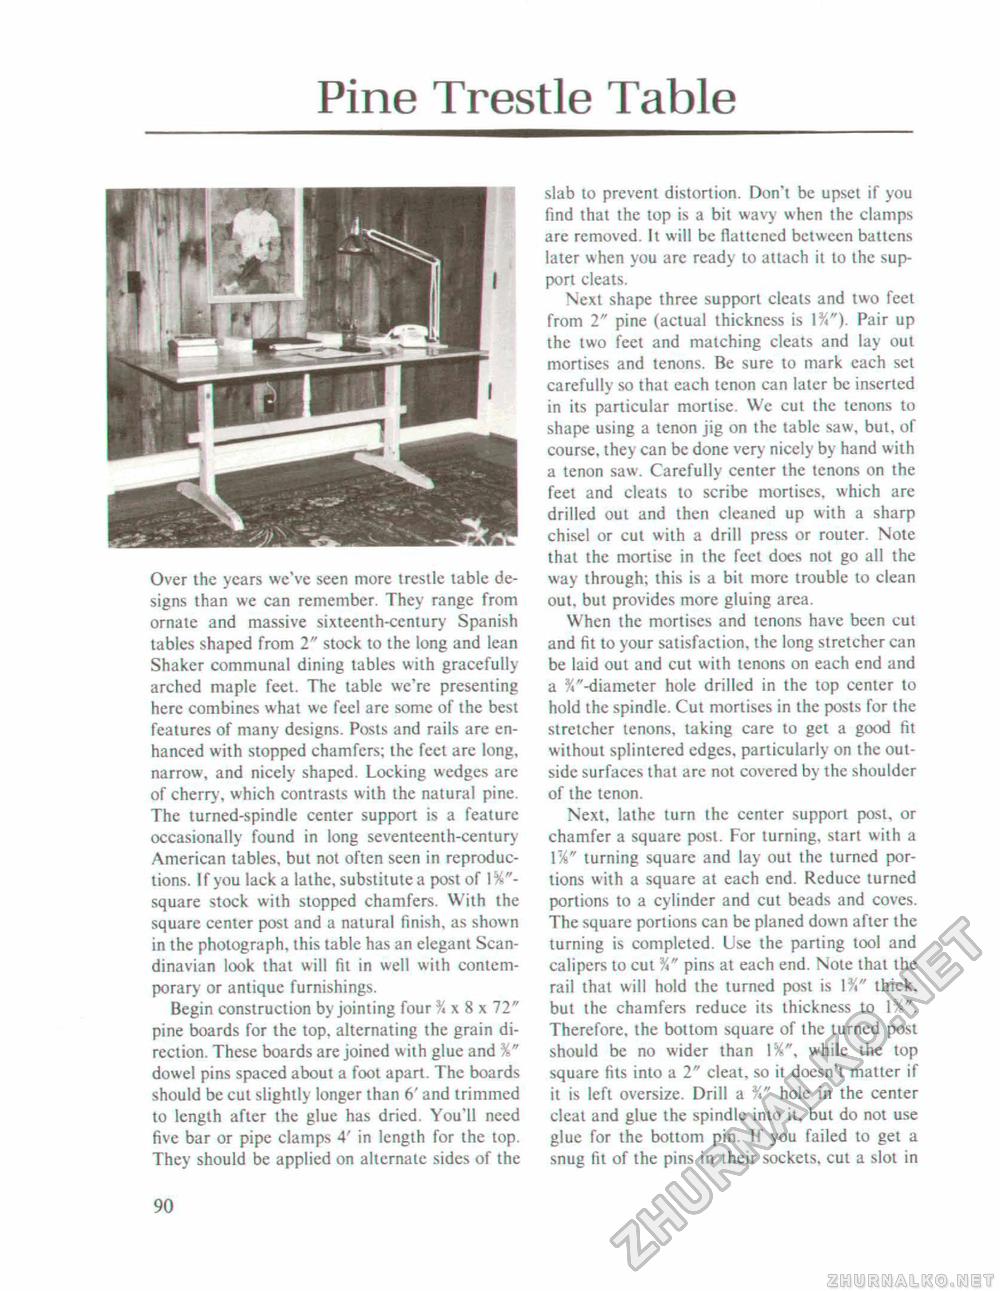
Pine Trestle TableOver the years we've seen more trestle table designs than we can remember. They range from ornate and massive sixteenth-century Spanish tables shaped from 2" stock to the long and lean Shaker communal dining tables with gracefully arched maple feet. The table we're presenting here combines what we feel are some of the best features of many designs. Posts and rails are enhanced with stopped chamfers; the feet are long, narrow, and nicely shaped. Locking wedges are of cherry , which contrasts with the natural pine. The turned-spindle center support is a feature occasionally found in long seventeenth-century American tables, but not often seen in reproductions. If you lack a lathe, substitute a post of square stock with stopped chamfers. With the square center post and a natural finish, as shown in the photograph, this table has an elegant Scandinavian look that will fit in well with contemporary or antique furnishings. Begin construction by jointing four % x 8 x 72" pine boards for the top, alternating the grain direction. These boards are joined with glue and %" dowel pins spaced about a foot apart. The boards should be cut slightly longer than 6' and trimmed to length after the glue has dried. You'll need five bar or pipe clamps 4' in length for the top. They should be applied on alternate sides of the slab to prevent distortion. Don't be upset if you find that the top is a bit wavy when the clamps arc removed. It will be flattened between battens later when you arc ready to attach it to the support cleats. Next shape three support cleats and two feet from 2" pine (actual thickness is 1 ft"). Pair up the two feet and matching cleats and lay out mortises and tenons. Be sure to mark each set carefully so that each tenon can later be inserted in its particular mortise. We cut the tenons to shape using a tenon jig on the table saw, but, of course, they can be done very nicely by hand with a tenon saw. Carefully center the tenons on the feet and cleats to scribe mortises, which are drilled out and then cleaned up with a sharp chisel or cut with a drill press or router. Note that the mortise in the feel does not go all the way through; this is a bit more trouble to clean out. but provides more gluing area. When the mortises and tenons have been cut and fit to your satisfaction, the long stretcher can be laid out and cut with tenons on each end and a ^"-diameter hole drilled in the top center to hold the spindle. Cut mortises in the posts for the stretcher tenons, taking care to get a good fit without splintered edges, particularly on the outside surfaces that are not covered by the shoulder of the tenon. Next, lathe turn the center support post, or chamfer a square post. For turning, start with a 1 "A" turning square and lay out the turned portions with a square at each end. Reduce turned portions to a cylinder and cut beads and coves. The square portions can be planed down after the turning is completed. Use the parting tool and calipers to cut %" pins at each end. Note that the rail that will hold the turned post is \%" thick, but the chamfers reduce its thickness to l%". Therefore, the bottom square of the turned post should be no wider than while the top square fits into a 2" cleat, so it doesn't matter if it is left oversize. Drill a %" hole in the center cleat and glue the spindle into it, but do not use glue for the bottom pin. If you failed to get a snug fit of the pins in their sockets, cut a slot in 90 |


