Woodworker's Journal 1983-7-3, страница 38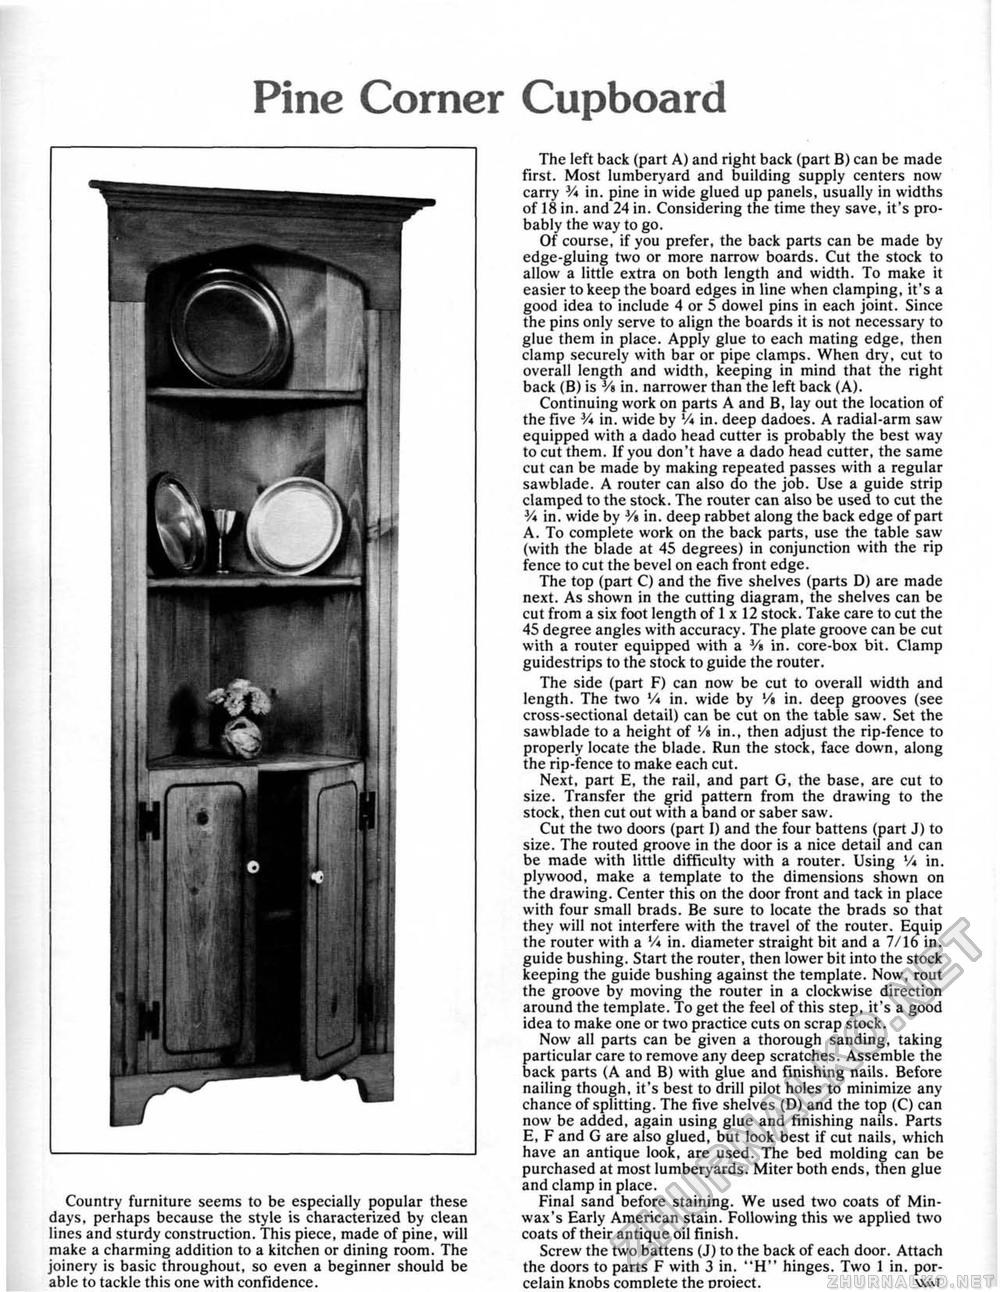
Pine Corner CupboardCountry furniture seems to be especially popular these days, perhaps because the style is characterized by clean lines and sturdy construction. This piece, made of pine, will make a charming addition to a kitchen or dining room. The joinery is basic throughout, so even a beginner should be able to tackle this one with confidence. The left back (part A) and right back (part B) can be made first. Most lumberyard and building supply centers now carry 3A in. pine in wide glued up panels, usually in widths of 18 in. and 24 in. Considering the time they save, it's probably the way to go. Of course, if you prefer, the back parts can be made by edge-gluing two or more narrow boards. Cut the stock to allow a little extra on both length and width. To make it easier to keep the board edges in line when clamping, it's a good idea to include 4 or 5 dowel pins in each joint. Since the pins only serve to align the boards it is not necessary to glue them in place. Apply glue to each mating edge, then clamp securely with bar or pipe clamps. When dry, cut to overall length and width, keeping in mind that the right back (B) is 3/s in. narrower than the left back (A). Continuing work on parts A and B, lay out the location of the five 3A in. wide by vi in. deep dadoes. A radial-arm saw equipped with a dado head cutter is probably the best way to cut them. If you don't have a dado head cutter, the same cut can be made by making repeated passes with a regular sawblade. A router can also do the job. Use a guide strip clamped to the stock. The router can also be used to cut the 3A in. wide by 3/s in. deep rabbet along the back edge of part A. To complete work on the back parts, use the table saw (with the blade at 45 degrees) in conjunction with the rip fence to cut the bevel on each front edge. The top (part C) and the five shelves (parts D) are made next. As shown in the cutting diagram, the shelves can be cut from a six foot length of 1 x 12 stock. Take care to cut the 45 degree angles with accuracy. The plate groove can be cut with a router equipped with a V> in. core-box bit. Clamp guidestrips to the stock to guide the router. The side (part F) can now be cut to overall width and length. The two 'A in. wide by '/> in. deep grooves (see cross-sectionai detail) can be cut on the table saw. Set the sawblade to a height of Vt in., then adjust the rip-fence to properly locate the blade. Run the stock, face down, along the rip-fence to make each cut. Next, part E, the rail, and part G, the base, are cut to size. Transfer the grid pattern from the drawing to the stock, then cut out with a band or saber saw. Cut the two doors (part I) and the four battens (part J) to size. The routed groove in the door is a nice detail and can be made with little difficulty with a router. Using V* in. plywood, make a template to the dimensions shown on the drawing. Center this on the door front and tack in place with four small brads. Be sure to locate the brads so that they will not interfere with the travel of the router. Equip the router with a '/« in. diameter straight bit and a 7/16 in. guide bushing. Start the router, then lower bit into the stock keeping the guide bushing against the template. Now, rout the groove by moving the router in a clockwise direction around the template. To get the feel of this step, it's a good idea to make one or two practice cuts on scrap stock. Now all parts can be given a thorough sanding, taking particular care to remove any deep scratches. Assemble the back parts (A and B) with glue and finishing nails. Before nailing though, it's best to drill pilot holes to minimize any chance of splitting. The five shelves (D) and the top (C) can now be added, again using glue and finishing nails. Parts E, F and G are also glued, but look best if cut nails, which have an antique look, are used. The bed molding can be purchased at most lumberyards. Miter both ends, then glue and clamp in place. Final sand before staining. We used two coats of Min-wax's Early American stain. Following this we applied two coats of their antique oil finish. Screw the two battens (J) to the back of each door. Attach the doors to parts F with 3 in, "H" hinges. Two 1 in. porcelain knobs com Diete the Droiect. w<vi |


