Woodworker's Journal 1983-7-6, страница 62
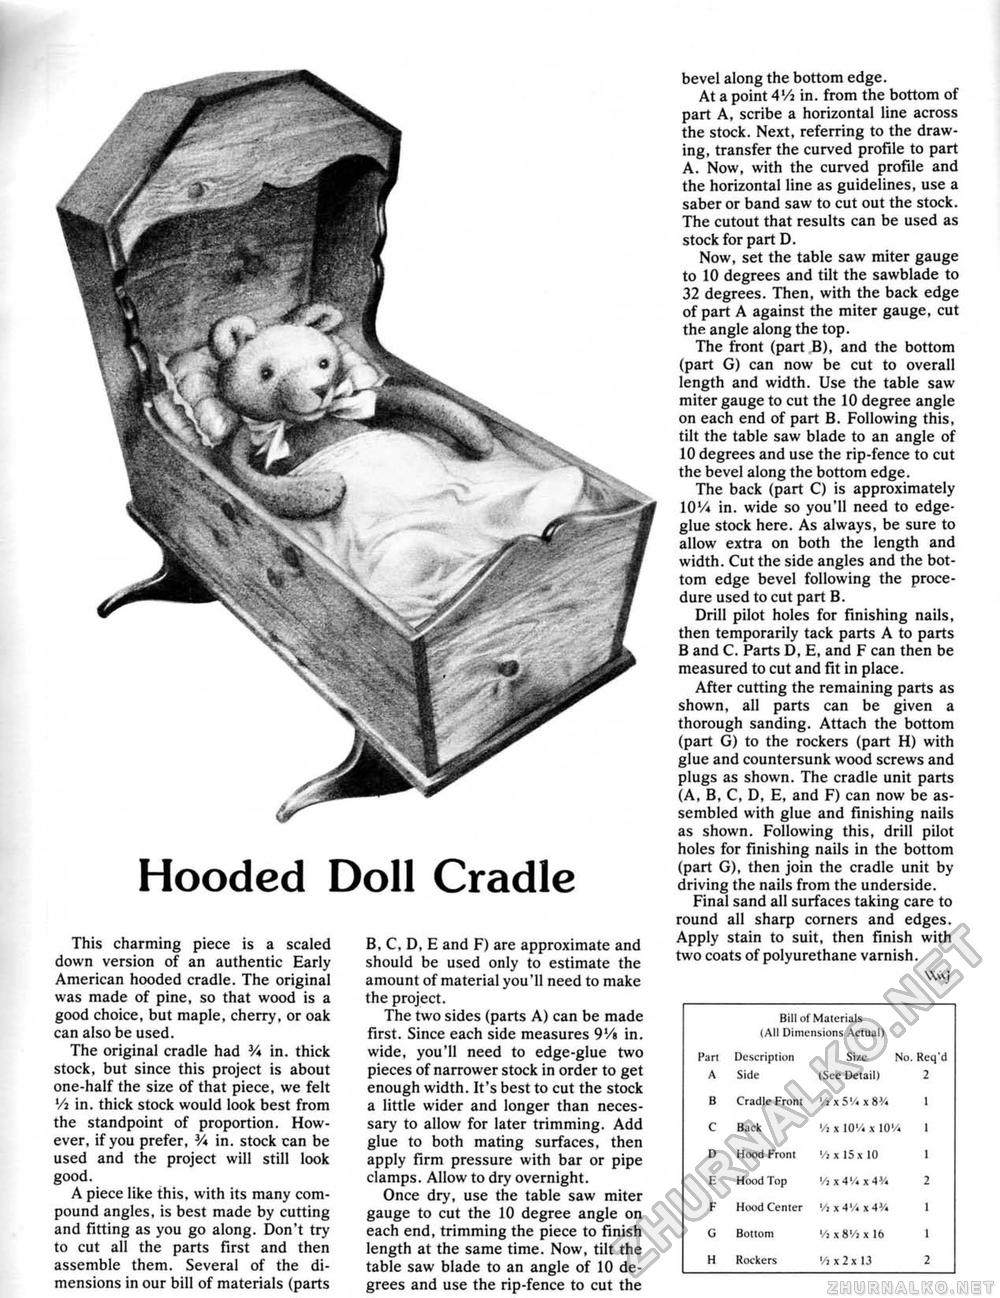
Hooded Doll Cradle This charming piece is a scaled down version of an authentic Early American hooded cradle. The original was made of pine, so that wood is a good choice, but maple, cherry, or oak can also be used. The original cradle had V* in. thick stock, but since this project is about one-half the size of that piece, we felt Vi in. thick stock would look best from the standpoint of proportion. However, if you prefer, V* in. stock can be used and the project will still look good. A piece like this, with its many compound angles, is best made by cutting and fitting as you go along. Don't try to cut all the parts first and then assemble them. Several of the dimensions in our bill of materials (parts B, C, D, E and F) are approximate and should be used only to estimate the amount of material you'll need to make the project. The two sides (parts A) can be made first. Since each side measures 9Vi in. wide, you'll need to edge-glue two pieces of narrower stock in order to get enough width. It's best to cut the stock a little wider and longer than necessary to allow for later trimming. Add glue to both mating surfaces, then apply firm pressure with bar or pipe clamps. Allow to dry overnight. Once dry, use the table saw miter gauge to cut the 10 degree angle on each end, trimming the piece to finish length at the same time. Now. tilt the table saw blade to an angle of 10 degrees and use the rip-fence to cut the bevel along the bottom edge. At a point 4Va in. from the bottom of part A, scribe a horizontal line across the stock. Next, referring to the drawing, transfer the curved profile to part A. Now, with the curved profile and the horizontal line as guidelines, use a saber or band saw to cut out the stock. The cutout that results can be used as stock for part D. Now, set the table saw miter gauge to 10 degrees and tilt the sawblade to 32 degrees. Then, with the back edge of part A against the miter gauge, cut the angle along the top. The front (part B), and the bottom (part G) can now be cut to overall length and width. Use the table saw miter gauge to cut the 10 degree angle on each end of part B. Following this, tilt the table saw blade to an angle of 10 degrees and use the rip-fence to cut the bevel along the bottom edge. The back (part C) is approximately 10Vi in. wide so you'll need to edge-glue stock here. As always, be sure to allow extra on both the length and width. Cut the side angles and the bottom edge bevel following the procedure used to cut part B. Drill pilot holes for finishing nails, then temporarily tack parts A to parts B and C. Parts D, E, and F can then be measured to cut and fit in place. After cutting the remaining parts as shown, all parts can be given a thorough sanding. Attach the bottom (part G) to the rockers (part H) with glue and countersunk wood screws and plugs as shown. The cradle unit parts (A, B, C, D, E, and F) can now be assembled with glue and finishing nails as shown. Following this, drill pilot holes for finishing nails in the bottom (part G), then join the cradle unit by driving the nails from the underside. Final sand all surfaces taking care to round all sharp corners and edges. Apply stain to suit, then finish with two coats of polyurethane varnish. W\vj Bill of Materials (All Dimensions Actual) Bill of Materials (All Dimensions Actual)
|


