Woodworker's Journal 1984-8-6, страница 63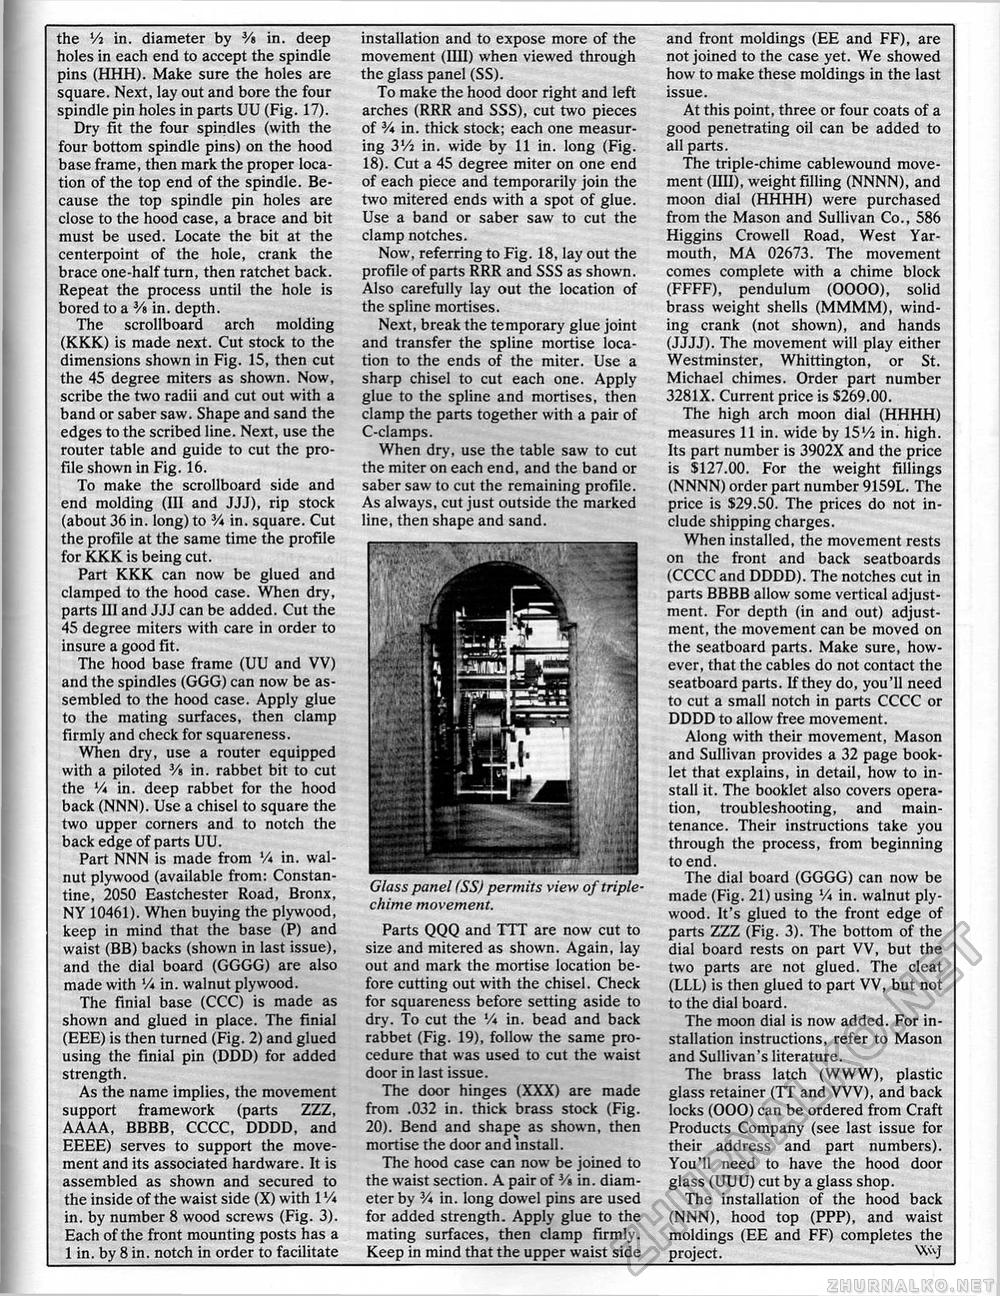
the Vi in. diameter by 3/« in. deep holes in each end to accept the spindle pins (HHH). Make sure the holes are square. Next, lay out and bore the four spindle pin holes in parts UU (Fig. 17). Dry fit the four spindles (with the four bottom spindle pins) on the hood base frame, then mark the proper location of the top end of the spindle. Because the top spindle pin holes are close to the hood case, a brace and bit must be used. Locate the bit at the centerpoint of the hole, crank the brace one-half turn, then ratchet back. Repeat the process until the hole is bored to a % in. depth. The scrollboard arch molding (KKK) is made next. Cut stock to the dimensions shown in Fig. 15, then cut the 45 degree miters as shown. Now, scribe the two radii and cut out with a band or saber saw. Shape and sand the edges to the scribed line. Next, use the router table and guide to cut the profile shown in Fig. 16. To make the scrollboard side and end molding (III and JJJ), rip stock (about 36 in. long) to V* in. square. Cut the profile at the same time the profile for KKK is being cut. Part KKK can now be glued and clamped to the hood case. When dry, parts III and JJJ can be added. Cut the 45 degree miters with care in order to insure a good fit. The hood base frame (UU and VV) and the spindles (GGG) can now be assembled to the hood case. Apply glue to the mating surfaces, then clamp firmly and check for squareness. When dry, use a router equipped with a piloted 3/» in. rabbet bit to cut the V* in. deep rabbet for the hood back (NNN). Use a chisel to square the two upper corners and to notch the back edge of parts UU. Part NNN is made from '/« in. walnut plywood (available from: Constan-tine, 2050 Eastchester Road, Bronx, NY 10461). When buying the plywood, keep in mind that the base (P) and waist (BB) backs (shown in last issue), and the dial board (GGGG) are also made with '/« in. walnut plywood. The finial base (CCC) is made as shown and glued in place. The finial (EEE) is then turned (Fig. 2) and glued using the finial pin (DDD) for added strength. As the name implies, the movement support framework (parts ZZZ, AAAA, BBBB, CCCC, DDDD, and EEEE) serves to support the movement and its associated hardware. It is assembled as shown and secured to the inside of the waist side (X) with 1'/« in. by number 8 wood screws (Fig. 3). Each of the front mounting posts has a 1 in. by 8 in. notch in order to facilitate installation and to expose more of the movement (IIII) when viewed through the glass panel (SS). To make the hood door right and left arches (RRR and SSS), cut two pieces of V* in. thick stock; each one measuring 3'/j in. wide by 11 in. long (Fig. 18). Cut a 45 degree miter on one end of each piece and temporarily join the two mitered ends with a spot of glue. Use a band or saber saw to cut the clamp notches. Now, referring to Fig. 18, lay out the profile of parts RRR and SSS as shown. Also carefully lay out the location of the spline mortises. Next, break the temporary glue joint and transfer the spline mortise location to the ends of the miter. Use a sharp chisel to cut each one. Apply glue to the spline and mortises, then clamp the parts together with a pair of C-clamps. When dry, use the table saw to cut the miter on each end, and the band or saber saw to cut the remaining profile. As always, cut just outside the marked line, then shape and sand. Glass panel (SS) permits view of triple-chime movement. Parts QQQ and TTT are now cut to size and mitered as shown. Again, lay out and mark the mortise location before cutting out with the chisel. Check for squareness before setting aside to dry. To cut the V* in. bead and back rabbet (Fig. 19), follow the same procedure that was used to cut the waist door in last issue. The door hinges (XXX) are made from .032 in. thick brass stock (Fig. 20). Bend and shape as shown, then mortise the door and install. The hood case can now be joined to the waist section. A pair of Vt in. diameter by V* in. long dowel pins are used for added strength. Apply glue to the mating surfaces, then clamp firmly. Keep in mind that the upper waist side and front moldings (EE and FF), are not joined to the case yet. We showed how to make these moldings in the last issue. At this point, three or four coats of a good penetrating oil can be added to all parts. The triple-chime cablewound movement (IIII), weight filling (NNNN), and moon dial (HHHH) were purchased from the Mason and Sullivan Co., 586 Higgins Crowell Road, West Yarmouth, MA 02673. The movement comes complete with a chime block (FFFF), pendulum (OOOO), solid brass weight shells (MMMM), winding crank (not shown), and hands (JJJJ). The movement will play either Westminster, Whittington, or St. Michael chimes. Order part number 3281X. Current price is $269.00. The high arch moon dial (HHHH) measures 11 in. wide by 15Vi in. high. Its part number is 3902X and the price is $127.00. For the weight fillings (NNNN) order part number 9159L. The price is $29.50. The prices do not include shipping charges. When installed, the movement rests on the front and back seatboards (CCCC and DDDD). The notches cut in parts BBBB allow some vertical adjustment. For depth (in and out) adjustment, the movement can be moved on the seatboard parts. Make sure, however, that the cables do not contact the seatboard parts. If they do, you'll need to cut a small notch in parts CCCC or DDDD to allow free movement. Along with their movement, Mason and Sullivan provides a 32 page booklet that explains, in detail, how to install it. The booklet also covers operation, troubleshooting, and maintenance. Their instructions take you through the process, from beginning to end. The dial board (GGGG) can now be made (Fig. 21) using V* in. walnut plywood. It's glued to the front edge of parts ZZZ (Fig. 3). The bottom of the dial board rests on part VV, but the two parts are not glued. The cleat (LLL) is then glued to part VV, but not to the dial board. The moon dial is now added. For installation instructions, refer to Mason and Sullivan's literature. The brass latch (WWW), plastic glass retainer (IT and VVV), and back locks (OOO) can be ordered from Craft Products Company (see last issue for their address and part numbers). You'll need to have the hood door glass (UUU) cut by a glass shop. The installation of the hood back (NNN), hood top (PPP), and waist moldings (EE and FF) completes the project. |


