Woodworker's Journal 1985-9-3, страница 28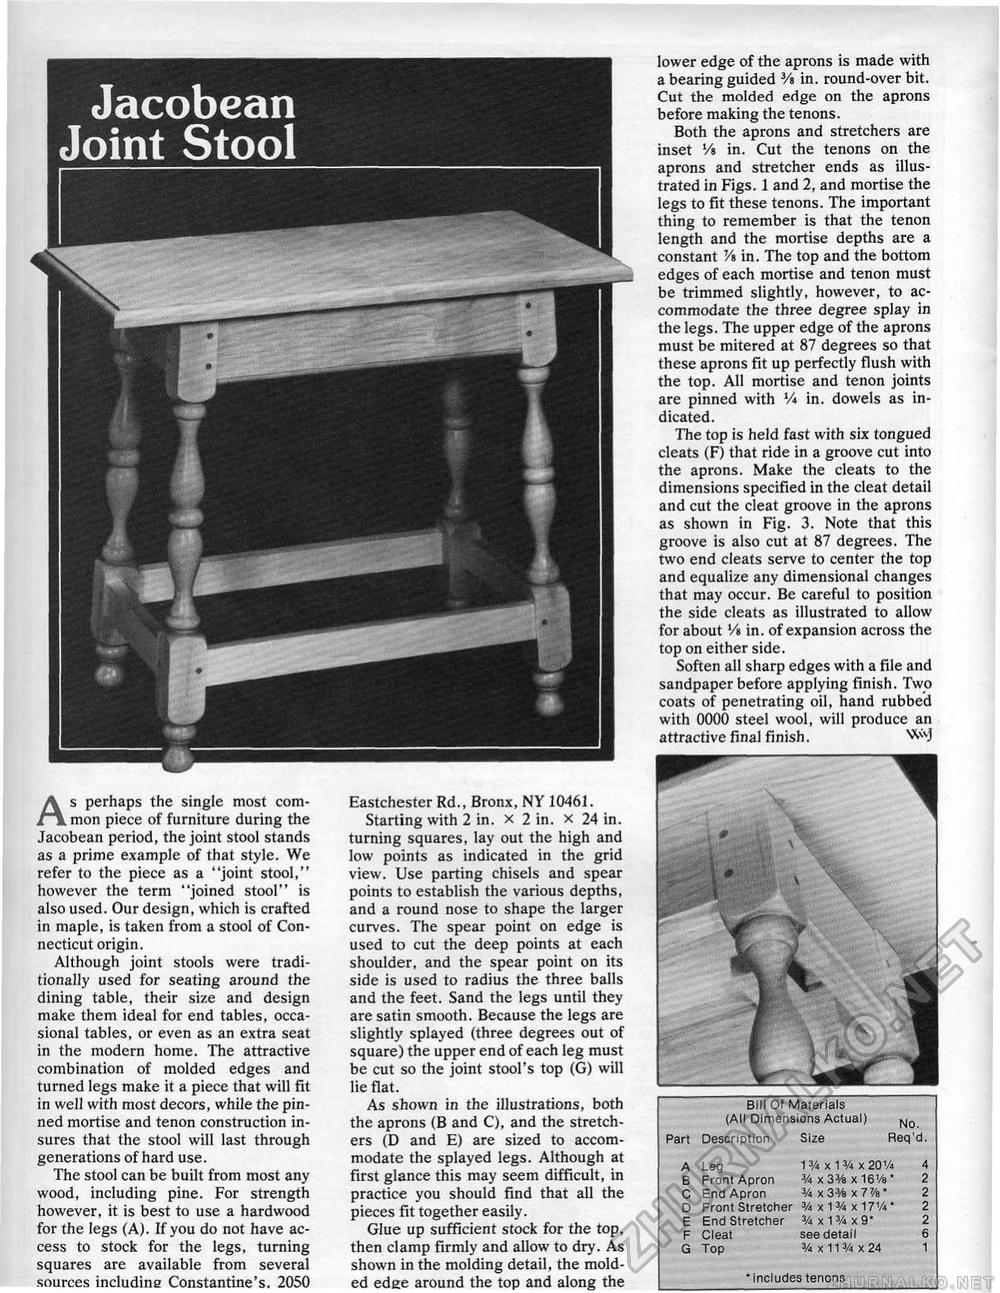
Jacobean Joint Stool Bill Of Materials (All Dimensions Actual)
'Includes tenons 'Includes tenons As perhaps the single most common piece of furniture during the Jacobean period, the joint stool stands as a prime example of that style. We refer to the piece as a "joint stool," however the term "joined stool" is also used, Our design, which is crafted in maple, is taken from a stool of Connecticut origin. Although joint stools were traditionally used for seating around the dining table, their size and design make them ideal for end tables, occasional tables, or even as an extra seat in the modern home. The attractive combination of molded edges and turned legs make it a piece that will fit in well with most decors, while the pinned mortise and tenon construction insures that the stool will last through generations of hard use. The stool can be built from most any wood, including pine. For strength however, it is best to use a hardwood for the legs (A). If you do not have access to stock for the legs, turning squares are available from several sources includina Constantine's. 2050 Eastchester Rd., Bronx, NY 10461. Starting with 2 in. x 2 in. x 24 in. turning squares, lay out the high and low points as indicated in the grid view. Use parting chisels and spear points to establish the various depths, and a round nose to shape the larger curves. The spear point on edge is used to cut the deep points at each shoulder, and the spear point on its side is used to radius the three balls and the feet. Sand the legs until they are satin smooth. Because the legs are slightly splayed (three degrees out of square) the upper end of each leg must be cut so the joint stool's top (G) will lie flat. As shown in the illustrations, both the aprons (B and C), and the stretchers (D and E) are sized to accommodate the splayed legs. Although at first glance this may seem difficult, in practice you should find that all the pieces fit together easily. Glue up sufficient stock for the top, then clamp firmly and allow to dry. As shown in the molding detail, the molded edee around the top and along the lower edge of the aprons is made with a bearing guided Vt in. round-over bit. Cut the molded edge on the aprons before making the tenons. Both the aprons and stretchers are inset Vi in. Cut the tenons on the aprons and stretcher ends as illustrated in Figs. 1 and 2, and mortise the legs to fit these tenons. The important thing to remember is that the tenon length and the mortise depths are a constant V% in. The top and the bottom edges of each mortise and tenon must be trimmed slightly, however, to accommodate the three degree splay in the legs. The upper edge of the aprons must be mitered at 87 degrees so that these aprons fit up perfectly flush with the top. All mortise and tenon joints are pinned with Vi in. dowels as indicated. The top is held fast with six tongued cleats (F) that ride in a groove cut into the aprons. Make the cleats to the dimensions specified in the cleat detail and cut the cleat groove in the aprons as shown in Fig. 3. Note that this groove is also cut at 87 degrees. The two end cleats serve to center the top and equalize any dimensional changes that may occur. Be careful to position the side cleats as illustrated to allow for about l/s in. of expansion across the top on either side. Soften all sharp edges with a file and sandpaper before applying finish. Two coats of penetrating oil, hand rubbed with 0000 steel wool, will produce an attractive final finish. |
||||||||||||||||||||||||||||||||


