Woodworker's Journal 1985-9-4, страница 32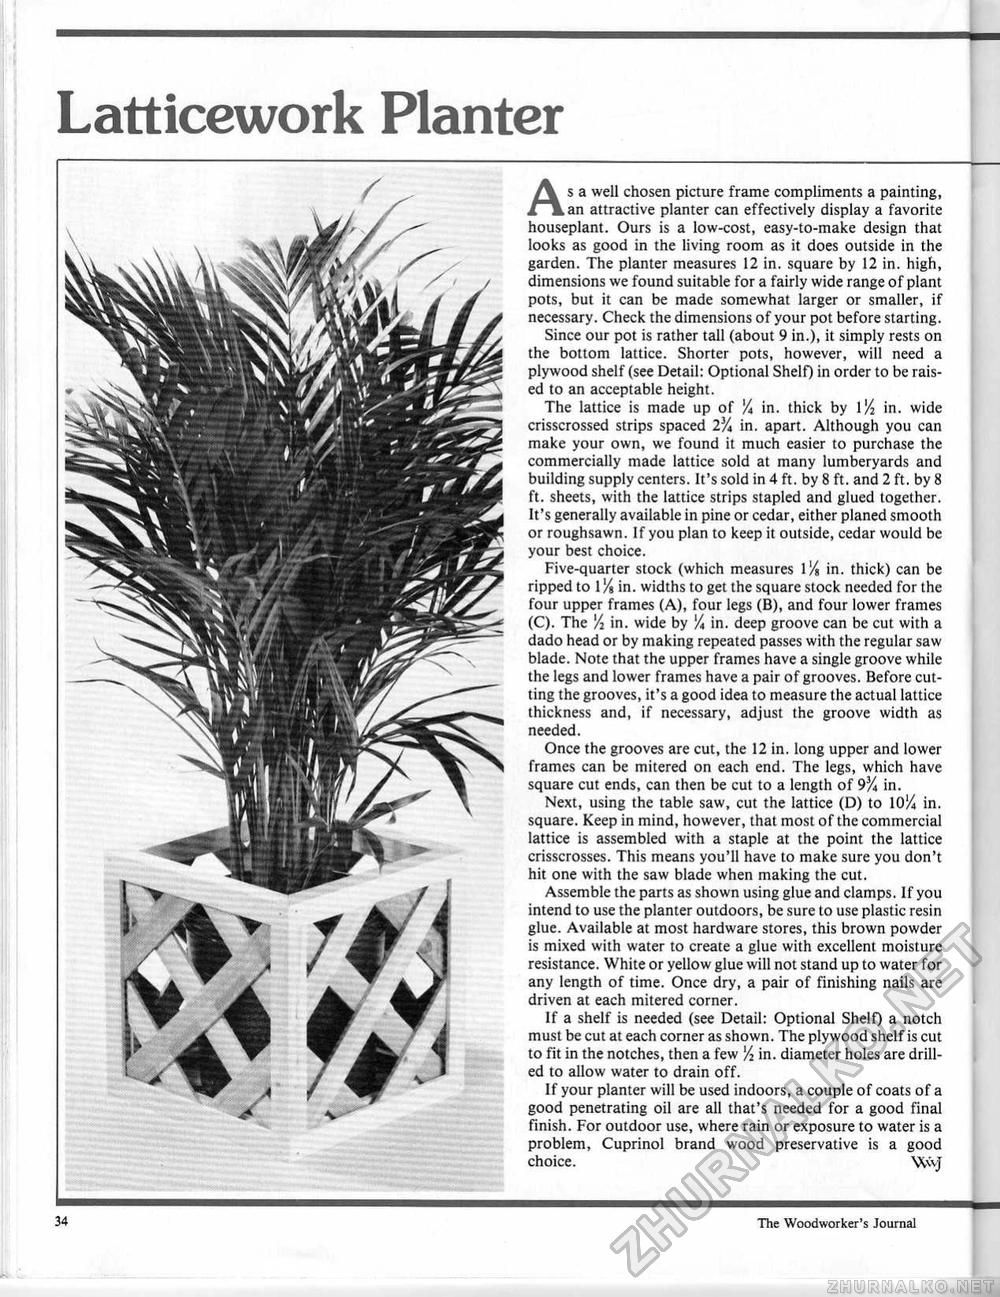
Latticework Planter As a well chosen picture frame compliments a painting, an attractive planter can effectively display a favorite houseplant. Ours is a low-cost, easy-to-make design that looks as good in the living room as it does outside in the garden. The planter measures 12 in. square by 12 in. high, dimensions we found suitable for a fairly wide range of plant pots, but it can be made somewhat larger or smaller, if necessary. Check the dimensions of your pot before starting. Since our pot is rather tall (about 9 in.), it simply rests on the bottom lattice. Shorter pots, however, will need a plywood shelf (see Detail: Optional Shelf) in order to be raised to an acceptable height. The lattice is made up of V* in. thick by I'A in. wide crisscrossed strips spaced 2% in. apart. Although you can make your own, we found it much easier to purchase the commercially made lattice sold at many lumberyards and building supply centers. It's sold in 4 ft. by 8 ft. and 2 ft. by 8 ft. sheets, with the lattice strips stapled and glued together. It's generally available in pine or cedar, either planed smooth or roughsawn. If you plan to keep it outside, cedar would be your best choice. Five-quarter stock (which measures 1% in, thick) can be ripped to 1 % in. widths to get the square stock needed for the four upper frames (A), four legs (B), and four lower frames (C). The % in. wide by 'A in, deep groove can be cut with a dado head or by making repeated passes with the regular saw blade. Note that the upper frames have a single groove while the legs and lower frames have a pair of grooves. Before cutting the grooves, it's a good idea to measure the actual lattice thickness and, if necessary, adjust the groove width as needed. Once the grooves are cut, the 12 in. long upper and lower frames can be mitered on each end. The legs, which have square cut ends, can then be cut to a length of 9% in. Next, using the table saw, cut the lattice (D) to IOYa in. square. Keep in mind, however, that most of the commercial lattice is assembled with a staple at the point the lattice crisscrosses. This means you'll have to make sure you don't hit one with the saw blade when making the cut. Assemble the parts as shown using glue and clamps. If you intend to use the planter outdoors, be sure to use plastic resin glue. Available at most hardware stores, this brown powder is mixed with water to create a glue with excellent moisture resistance. White or yellow glue will not stand up to water for any length of time. Once dry, a pair of finishing nails are driven at each mitered corner. If a shelf is needed (see Detail: Optional Shelf) a notch must be cut at each corner as shown. The plywood shelf is cut to fit in the notches, then a few A in. diameter holes are drilled to allow water to drain off. If your planter will be used indoors, a couple of coats of a good penetrating oil are all that's needed for a good final finish. For outdoor use, where rain or exposure to water is a problem, Cuprinol brand wood preservative is a good choice. Wvf 34 The Woodworker's Journal |


