Woodworker's Journal 1985-9-4, страница 34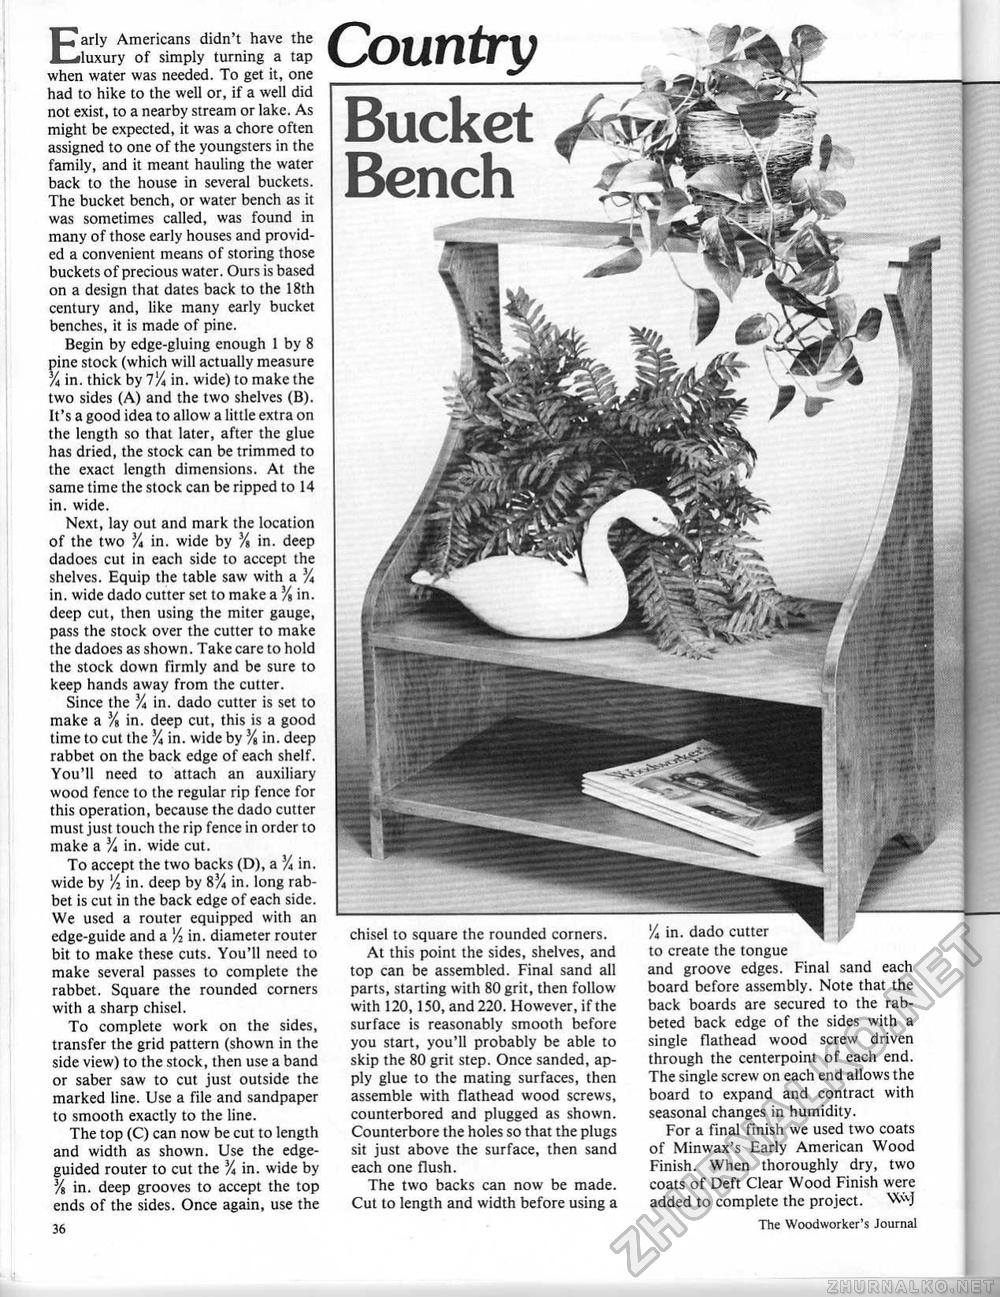
Early Americans didn't have the luxury of simply turning a tap when water was needed. To get it, one had to hike to the well or, if a well did not exist, to a nearby stream or lake. As might be expected, it was a chore often assigned to one of the youngsters in the family, and it meant hauling the water back to the house in several buckets. The bucket bench, or water bench as it was sometimes called, was found in many of those early houses and provided a convenient means of storing those buckets of precious water. Ours is based on a design that dales back to the 18th century and, like many early bucket benches, it is made of pine. Begin by edge-gluing enough 1 by 8 pine stock (which will actually measure % in. thick by 1% in. wide) to make the two sides (A) and the two shelves (B). It's a good idea to allow a little extra on the length so that later, after the glue has dried, the stock can be trimmed to the exact length dimensions. At the same time the stock can be ripped to 14 in. wide. Next, lay out and mark the location of the two % in. wide by % in. deep dadoes cut in each side to accept the shelves, Equip the table saw with a % in. wide dado cutter set to make a % in. deep cut, then using the miter gauge, pass the stock over the cutter to make the dadoes as shown. Take care to hold the stock down firmly and be sure to keep hands away from the cutter. Since the X in, dado cutter is set to make a % in. deep cut, this is a good time to cut the % in. wide by % in, deep rabbet on the back edge of each shelf. You'll need to attach an auxiliary wood fence to the regular rip fence for this operation, because the dado cutter must just touch the rip fence in order to make a % in. wide cut. To accept the two backs (D), a % in, wide by J4 in. deep by 8% in. long rabbet is cut in the back edge of each side. We used a router equipped with an edge-guide and a 14 in. diameter router bit to make these cuts. You'll need to make several passes to complete the rabbet. Square the rounded corners with a sharp chisel. To complete work on the sides, transfer the grid pattern (shown in the side view) to the stock, then use a band or saber saw to cut just outside the marked line. Use a file and sandpaper to smooth exactly to the line. The top (C) can now be cut to length and width as shown. Use the edge-guided router to cut the % in. wide by % in. deep grooves to accept the top ends of the sides. Once again, use the 36 ( % in. dado cutter to create the tongue and groove edges. Final sand each board before assembly. Note that the back boards are secured to the rabbeted back edge of the sides with a single flathead wood screw driven through the centerpoint of each end. The single screw on each end allows the board to expand and contract with seasonal changes in humidity. For a final finish we used two coats of Minwax's Early American Wood Finish. When thoroughly dry, two coats of Deft Clear Wood Finish were added to complete the project. Wvj The Woodworker's Journal chisel to square the rounded corners. At this point the sides, shelves, and top can be assembled. Final sand all parts, starting with 80 grit, then follow with 120,150, and 220. However, if the surface is reasonably smooth before you start, you'll probably be able to skip the 80 grit step. Once sanded, apply glue to the mating surfaces, then assemble with flathead wood screws, counterbored and plugged as shown. Counterbore the holes so that the plugs sit just above the surface, then sand each one flush. The two backs can now be made. Cut to length and width before using a Bucket Bench |


