Woodworker's Journal 1993-17-1, страница 24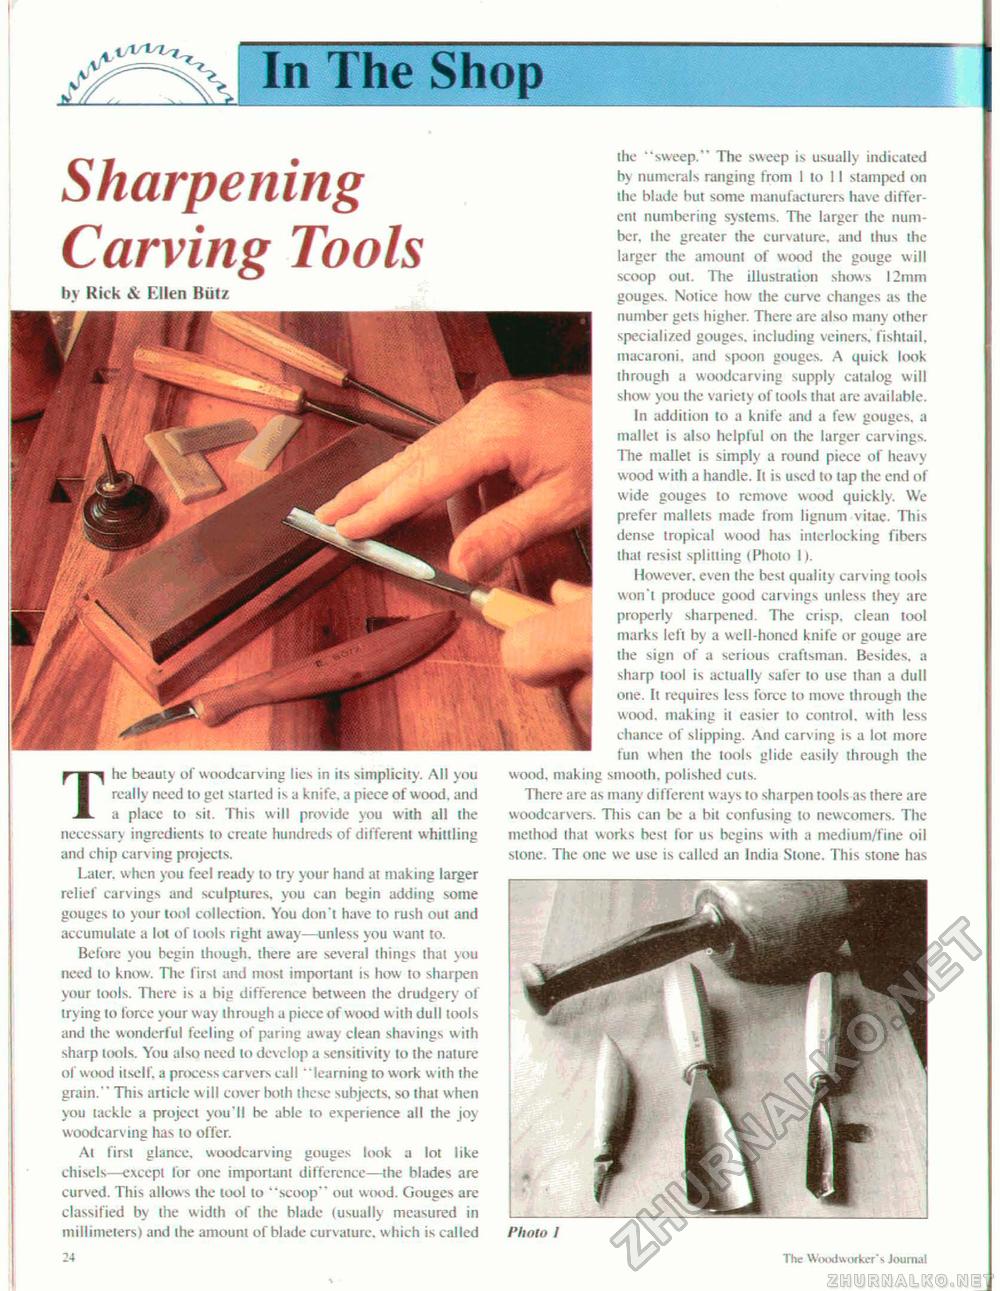
In The ShopSharpening Carving Tools by Kick & Ellen Biitz The beauty of woodcarving lies in its simplicity. All you really need to get started is a knife, a piece of wood, and a place to Nit. This will provide you with all ihe necessary ingredients to create hundreds of different whittling and chip carving projects. Later, when you feel ready to try your hand at making larger relict" carvings and sculptures, you can begin adding some gouges to your tool collection. You don't have to rush out and accumulate a lot of tools right away—unless you want to. Before you begin though, there are several things that you need lo know. The first and most important is how to sharpen your tools. There is a big difference between the drudgery of trying to force your way through a piece of wood with dull took and the wonderful feeling of paring away clean shavings with sharp tools. You also need to develop a sensitivity to the nature of wood itself, a process carvers call " learning to work with the grain." This article will cover both these subjects, so that when you tackle a project you'll be able to experience all the joy woodcarving has lo offer. At first glance, woodcarving gouges look a lot like chisels—except for one important difference—the blades are curved. This allows the tool to "scoop" out wood. Gouges are classified by the width of ihe blade (usually measured in millimeters) and the amount of blade curvature, w hich is called the "sweep." The sweep is usually indicated by numerals ranging from 1 to 11 stamped on the blade hut some manufacturers have different numbering systems. The larger the number, the greater the curvature, and thus the larger the amount of wood the gouge will scoop out. The illustration shows 12mm gouges. Notice how the curve changes as the number gets higher. There are also many other specialized gouges, including veiners. fishtail, macaroni, and spoon gouges. A quick look through a woodcarving supply catalog will show you the variety of tools that are available. In addition to a knife and a few gouges, a mallet is also helpful on the larger carvings. The mallet is simply a round piece of heavy wood with a handle. It is used to tap the end of wide gouges to remove wood quickly. We prefer mallets made from lignum vitae. This dense tropical wood has interlocking fibers that resist splitting (Photo 1). However, even the best quality carving tools won't produce good carvings unless they arc properly sharpened. The crisp, clean too! marks left by a well-honed knife or gouge are the sign of a serious craftsman. Besides, a sharp tool is actually safer to use than a dull one. It requires less force to move through the wood, making ii easier lo control, with less chance of slipping. And carving is a lot more fun when the tools glide easily through the wood, making smooth, polished cuts. There are as many different ways to sharpen toots as ihere are woodcarvers. This can be a bit confusing to newcomers. The method thai works best for us begins with a medium/fine oil stone. The one we use is called an India Stone. This stone has IX The Woodworker'1, Journal Photo 1 |


