Woodworker's Journal 1994-18-1, страница 49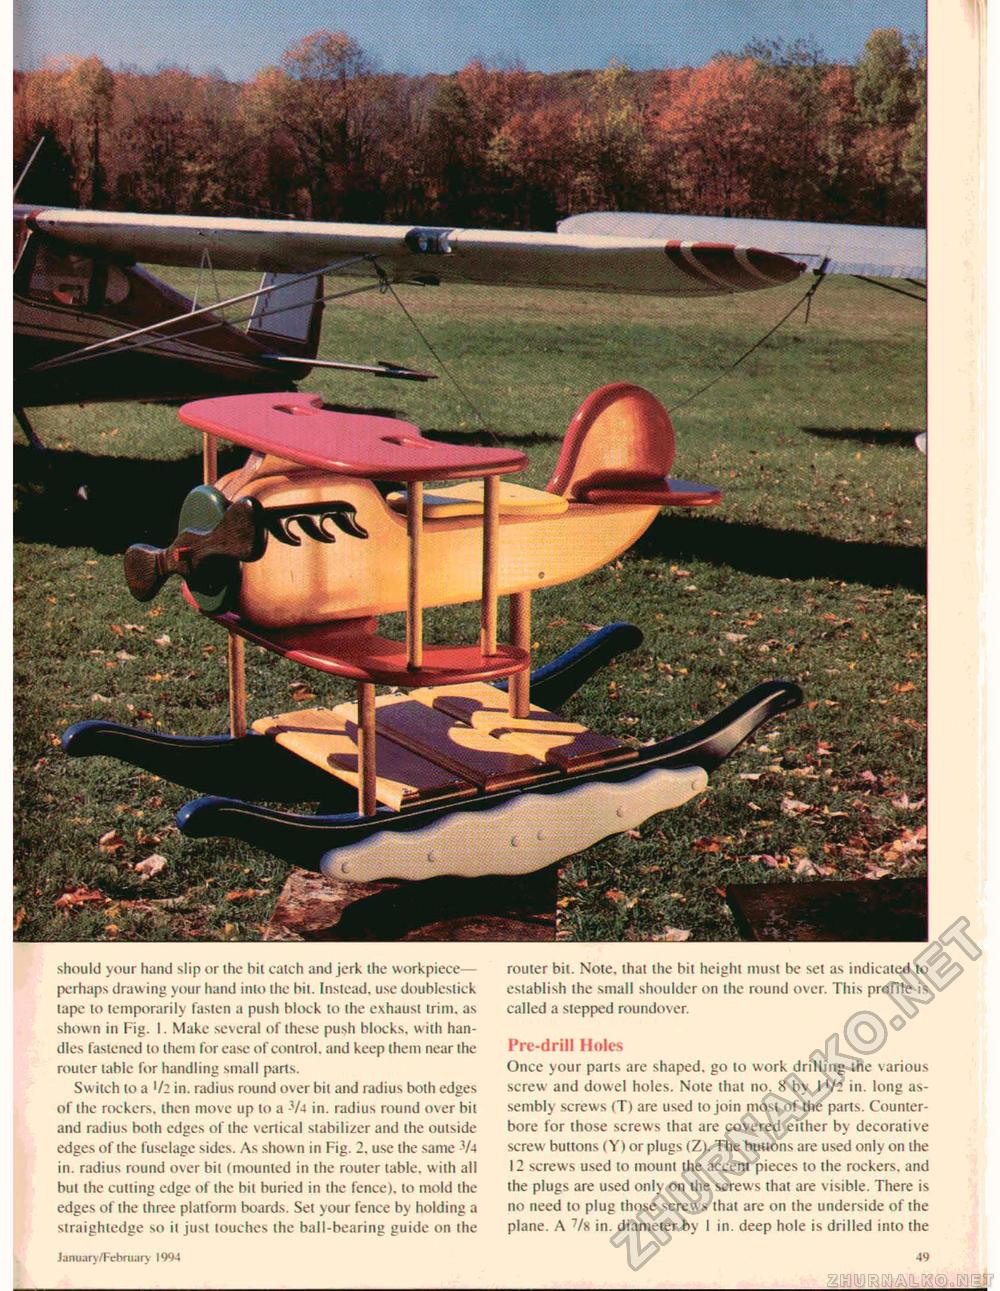
should your hand slip or the bit catch and jerk the workpiece— perhaps drawing your hand into the bit. Instead, use doublestick tape to temporarily fasten a push block to the exhaust trim, as shown in Fig. I. Make several of these push blocks, with handles fastened to them for ease of control, and keep them near the router table for handling small parts. Switch to a '/2 in. radius round over bit and radius both edges of the rockers, then move up to a -Va in. radius round over bit and radius both edges of the vertical stabilizer and the outside edges of the fuselage sides. As show n in Fig. 2. use the same -V-t in. radius round over bit (mounted in the router table, with all but the cutting edge of the bit buried in the fence), to mold the edges of the three platform boards. Set your fence by holding a straightedge so it just touches the ball-bearing guide on the router bit. Note, that the bit height must be set as indicated to establish the small shoulder on the round over. This profile is called a stepped roundover. Pre-drill Holes Once your parts are shaped, go to work drilling the various screw and dowel holes. Note that no. 8 by I'/: in. long assembly screws (T) are used to join most of the parts. Counter-bore for those screws that are covered either by decorative screw buttons (Y) or plugs (Z). The buttons are used only on the 12 screws used to mount the accent pieces to the rockers, and the plugs are used only on the screws that are visible. There is no need to plug those screws that are on the underside of the plane. A 7/8 in. diameter by I in. deep hole is drilled into the January/February 1994 49 |


