Woodworker's Journal 1994-18-6, страница 61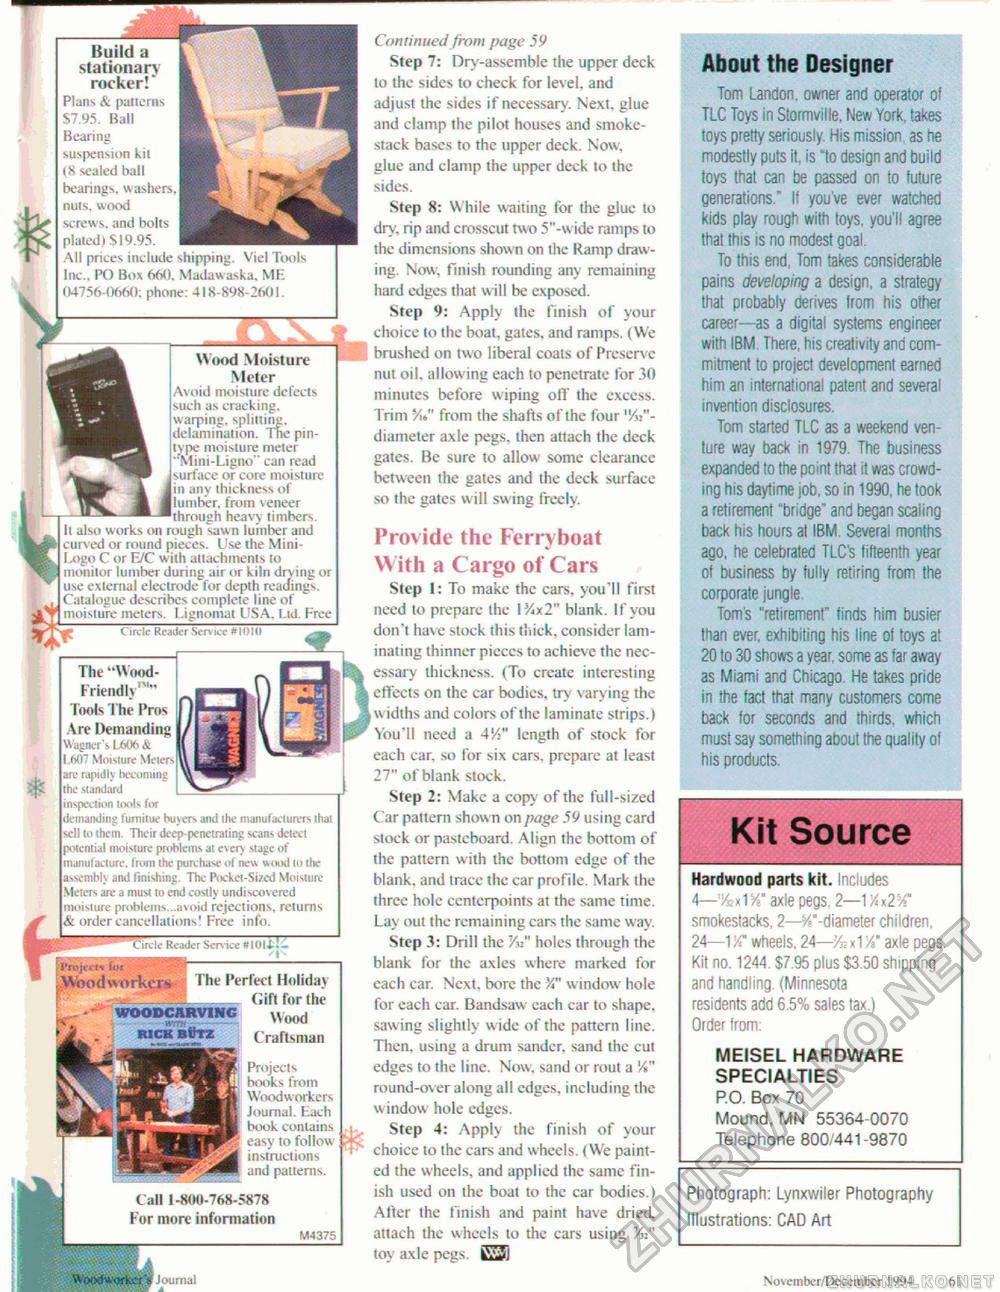
Build a stationary rocker!" Plans & patterns S7.95. Ball Bearing suspension kit (8 sealed ball bearings, washers. | nuts, wood screw s, and bolts plated) SI9.95. All prices include shipping. Viel Tools Inc., PO Box 660. Madawaska. ME 04756-0660: phone: 418-898-2601. Wood Moisture Meter Avoid moisture dcfects such as cracking, warping, splitting, de lamination. Tne pin-type moisture meter "Mini-Ligno" can read surface or core moisture in any thickness of lumber, from veneer through heavy timbers. It also works on rough sawn lumber and curved or round pieces. Use the Mini-Logo C or E/C with attachments to monitor lumber during air or kiln drving or use external electrode for depth readings. Catalogue describes complete tine of moisture meters. Lignomat USA. Ltd. Free * L Circle Reader Sen ice #101(1 The "Wood-Friendly™" Tools The Pros Are Demanding Wagner's L606 & 1.607 Moisture Meiers arc rapiiilv becoming the standard inspection tools for demanding fumitue buyers and ihe manufacturers that sell to (hem. Their deep-penetrating scans detect potential moisture problems at every stage of manufacture, from the purchase of new wood lo the assembh and finishing. The Pocket-Sized Moisture Meters are a must to end cosdy undiscovered moisture problems ..avoid rejections, returns & order cancellations! Free info. "Circle Reader Service «I OiJ-I Ii'rpjrrh for Woodworkers The Perfect Holiday _____ Gift for the WOODCARVINC VVood Craftsman Projects bodes from Woodworkers Journal. F.ach book contains easy to follow instructions and patterns. Call 1-800-768-5878 For more information M4375 Continued from page 59 Step 7: Dry-assemble the upper deck to the sides to check for level, and adjust the sides if necessary. Next, glue and clamp the pilot houses and smokestack bases to the upper deck. Now. glue and clamp the upper deck to the sides. Step 8: While waiting for the glue to dry, rip and crosscut two 5"-wide ramps to the dimensions shown on the Ramp drawing. Now, finish rounding any remaining hard edges that will be exposed. Step 9: Apply the finish of your choice to the boat, gates, and ramps. (We brushed on two liberal coals of Preserve nut oil, allowing each to penetrate for 30 minutes before wiping off the excess. Trim '/{*" from the shafts of the four %"-diameter axle pegs, then attach the deck gates. Be sure to allow some clearance between the gates and the deck surface so the gates w ill swing freely. Provide the Ferryboat With a Cargo of Cars Step 1: To make the cars, you'll first need to prepare the 1^x2" blank. If you don't have stock (his thick, consider laminating thinner pieccs to achieve the necessary thickness. (To crcate interesting effects on the car bodies, try varying the (widths and colors of the laminate strips.) You'll need a AY" length of stock for each car, so for six cars, prepare at least 27" of blank stock. Step 2: Make a copy of the full-sized Car pattern shown on page 59 using card stock or pasteboard. Align the bottom of the pattern with the bottom edge of the blank, and trace the car profile. Mark the three hole centcrpoints at the same time. Lay out the remaining cars the same way. Step 3: Drill the 7«" holes through the blank for the axles where marked for each car. Next, bore the Y" window hole for each car. Bandsaw each car to shape, sawing slightly wide of the pattern line. Then, using a drum sandcr, sand the cut edges to the line. Now, sand or rout a Y»" round-over along all edges, including the window hole edges. Step 4: Apply the finish of your choice to the cars and wheels. (We painted the wheels, and applied the same finish used on the boat to the car bodies.) After the finish and paint have dried, attach the wheels to the cars using Yn" toy axle pegs. EJ] Woodworker s Journal About the Designer Tom Landon, owner and operator of TLC Toys in Stormvifle, New York, takes toys pretty seriously. His mission, as he modestly puts it, is "to design and build toys that can be passed on to future generations." It you've ever watched kids play rough with toys, you'll agree that this is no modest goal. To this end, Tom takes considerable pains developing a design, a strategy that probably derives from his other career—as a digital systems engineer with IBM There, his creativity and commitment to project development earned him an international patent and several invention disclosures. Tom started TLC as a weekend venture way back in 1979. The business expanded to the point that it was crowding his daytime job, so in 1990, he took a retirement "bridge" and began scaling back his hours at IBM. Several months ago, he celebrated TLC's fifteenth year of business by fully retiring from the corporate jungle. Tom's "retirement" finds him busier than ever, exhibiting his line of toys al 20 to 30 shows a year, some as far away as Miami and Chicago. He takes pride in the fact that many customers come back for seconds and thirds, which must say something about the quality of his products. Kit Source Hardwood parts kit. Includes 4— JfcjtlK* axle pegs. 2—1>ix25/T smokestacks, 2—^'-diameter children, 24—1Y? wheels. 24—& x1 Y>" axle pegs. Kit no. 1244. $7.95 plus $3.50 shipping and handling (Minnesota residents add 6.5% sales tax.) Order from: MEISEL HARDWARE SPECIALTIES P.O. Box 70 Mound, MN 55364-0070 Telephone 800/441 9870 Photograph: Lynxwiler Photography Illustrations: CAD Art Novembcr/December 1994 1<1 |


