Woodworker's Journal 2001-25-1, страница 64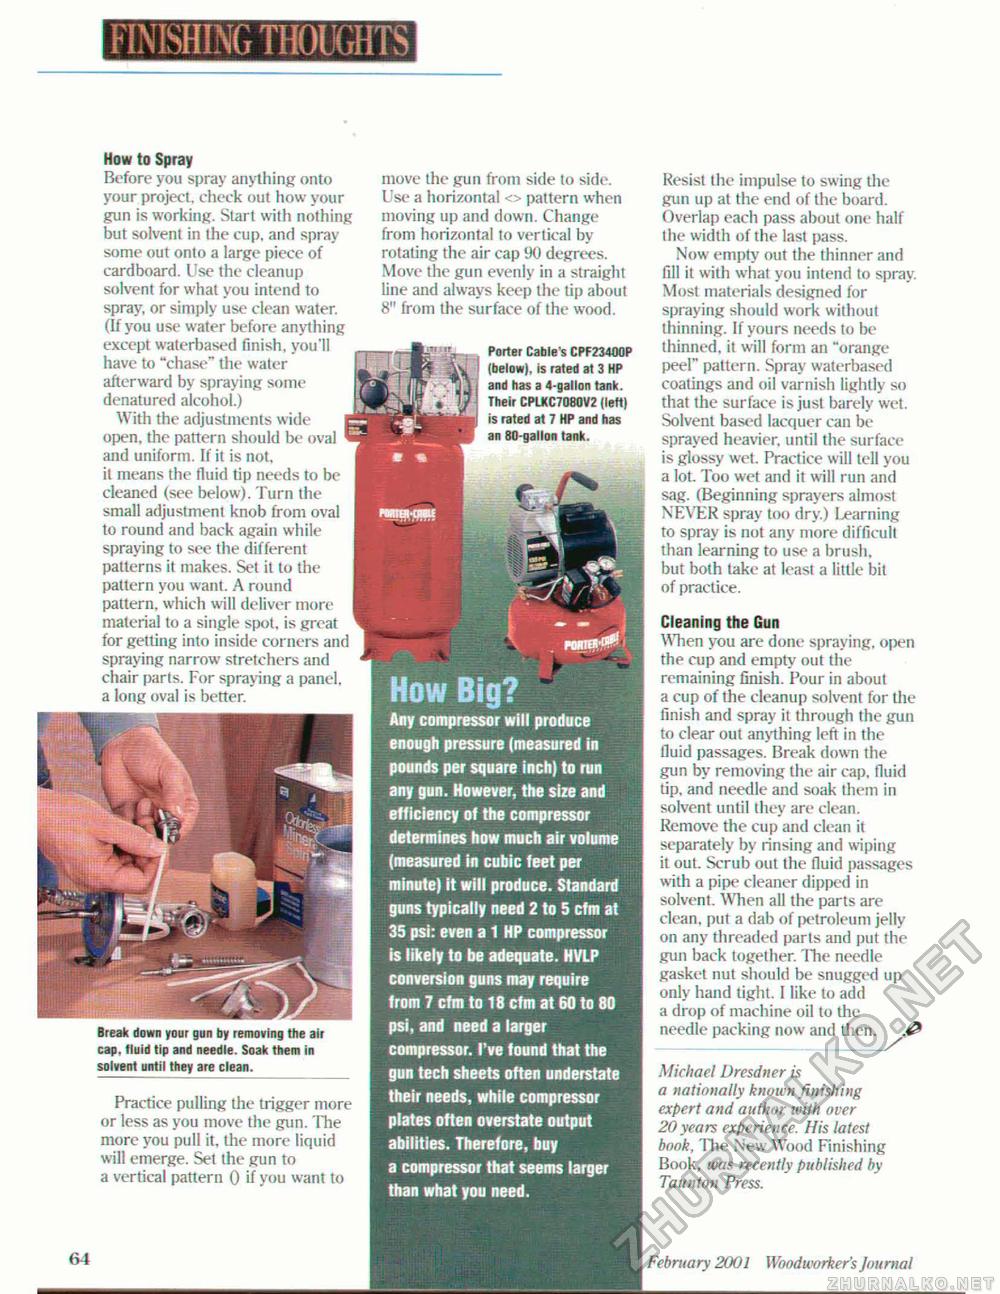
FINISHING THOUGHTS How to Spray Before you spray anything onto your project, check out how your gun is working. Start with nothing but solvent in the cup, and spray some out onto a large piece of cardboard. Use the cleanup solvent for what you intend to spray, or simply use clean water. (If you use water before anything except waterbased finish, you'll have to "chase" the water afterward by spraying some denatured alcohol.) With the adjustments wide open, the pattern should be oval and uniform. If it is not, it means the fluid tip needs to be cleaned (see below). Turn the small adjustment knob from oval to round and back again while spraying to see the different patterns it makes. Set it to the pattern you want. A round pattern, which will deliver more material to a single spot, is great for getting into inside corners and spraying narrow stretchers and chair parts. For spraying a panel, a long oval is better. Break down your gun by removing the air cap. fluid tip and needle. Soak them in solvent until they are clean. Practice pulling the trigger more or less as you move the gun. The more you pull it, the more liquid will emerge. Set the gun to a vertical pattern 0 if you want to move the gun from side to side. Use a horizontal <> pattern when moving up and down. Change from horizontal to vertical by rotating the air cap 90 degrees. Move the gun evenly in a straight line and always keep the lip about 8" from the surface of the wood. Porter Cable s CPF23400P (below), is rated at 3 HP and has a 4-gallon tank. Their CPtKC7080V2 (left) is rated at 7 HP and has an 80-gallon tank. Any compressor will produce enough pressure (measured in pountis per square inch) to run any gun. However, the size and efficiency of the compressor determines how much air volume (measured in cubic feet per minute) it will produce. Standard guns typically need 2 to 5 cfm at 35 psi: even a 1 HP compressor is likely to be adequate. HVLP conversion guns may require from 7 cfm to 18 cfm at 60 to 80 psi, and need a larger compressor. I've found that the gun tech sheets often understate their needs, while compressor plates often overstate output abilities. Therefore, buy a compressor that seems larger than what you need. Resist the impulse to swing the gun up at the end of the board. Overlap each pass about one half the width of the last pass. Now empty out the thinner and fill it with what you intend to spray. Most materials designed for spraying should work without thinning. If yours needs to be thinned, it will form an "orange peei" pattern. Spray waterbased coatings and oil varnish lightly so that the surface is just barely wet. Solvent based lacquer can be sprayed heavier, until the surface is glossy wet. Practice will tell you a lot. Too wet and it will run and sag. (Beginning sprayers almost NEVER spray too dry.) learning to spray is not any more difficult than learning to use a brush, but both lake at least a little bit of practice. Cleaning the Gun When you are done spraying, open the cup and empty out the remaining finish. Pour in about a cup of the cleanup solvent for the finish and spray il through the gun to clear out anything left in the fluid passages. Break flown the gun by removing the air cap. fluid tip, and needle and soak them in solvent until they are clean. Remove the cup and clean it separately by rinsing and wiping it out. Scrub out the fluid passages with a pipe cleaner dipped in solvent. When all the parts are clean, put a dab of petroleum jelly on any threaded parts and put the gun back together. The needle gasket nut should be snugged up only hand Ught, I like to add a drop of machine oil to the needle packing now and then. Michael Dresdner is a nationally known finishing expert and author with over 20 years experience. His latest book, The New Wood Finishing Book, was recently published by Taunton Press. 64 February 2001 Wood wo rker's Jo u mat |


