Woodworker's Journal 2008-32-2, страница 44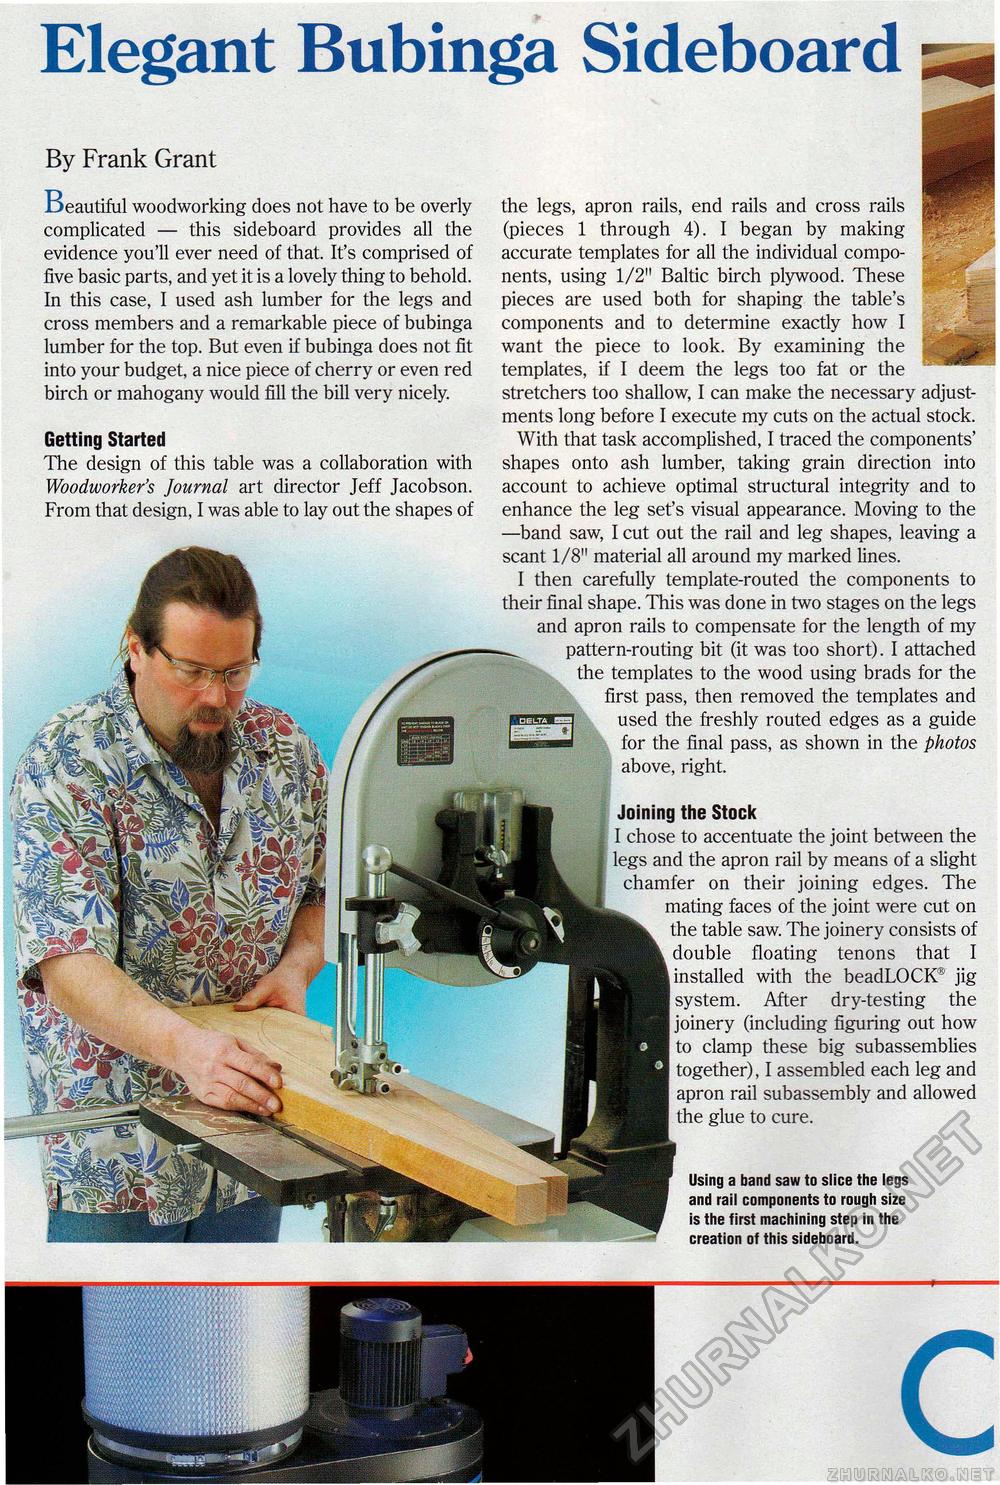
Elegant Bubinga Sideboard Joining the Stock I chose to accentuate the joint between the id the apron rail by means of a slight fer on their joining edges. The nating faces of the joint were cut on the table saw. The joinery consists of double floating tenons that I installed with the beadLOCK® jig system. After dry-testing the joinery (including figuring out how to clamp these big subassemblies together), I assembled each leg and apron rail subassembly and allowed the glue to cure. Using a band saw to slice the legs and rail components to rough size is the first machining step in the creation of this sideboard. the legs, apron rails, end rails and cross rails (pieces 1 through 4). I began by making accurate templates for all the individual components, using 1/2" Baltic birch plywood. These pieces are used both for shaping the table's components and to determine exactly how I want the piece to look. By examining the j templates, if I deem the legs too fat or the stretchers too shallow, I can make the necessary adjustments long before I execute my cuts on the actual stock. With that task accomplished, I traced the components' shapes onto ash lumber, taking grain direction into account to achieve optimal structural integrity and to enhance the leg set's visual appearance. Moving to the —band saw, I cut out the rail and leg shapes, leaving a scant 1/8" material all around my marked lines. I then carefully template-routed the components to their final shape. This was done in two stages on the legs and apron rails to compensate for the length of my pattern-routing bit (it was too short). I attached the templates to the wood using brads for the first pass, then removed the templates and used the freshly routed edges as a guide for the final pass, as shown in the photos above, right. By Frank Grant Beautiful woodworking does not have to be overly complicated — this sideboard provides all the evidence you'll ever need of that. It's comprised of five basic parts, and yet it is a lovely thing to behold. In this case, I used ash lumber for the legs and cross members and a remarkable piece of bubinga lumber for the top. But even if bubinga does not fit into your budget, a nice piece of cherry or even red birch or mahogany would fill the bill very nicely. Getting Started The design of this table was a collaboration with Woodworker's Journal art director Jeff Jacobson. From that design, I was able to lay out the shapes of |


