Woodworker's Journal 2008-32-4, страница 9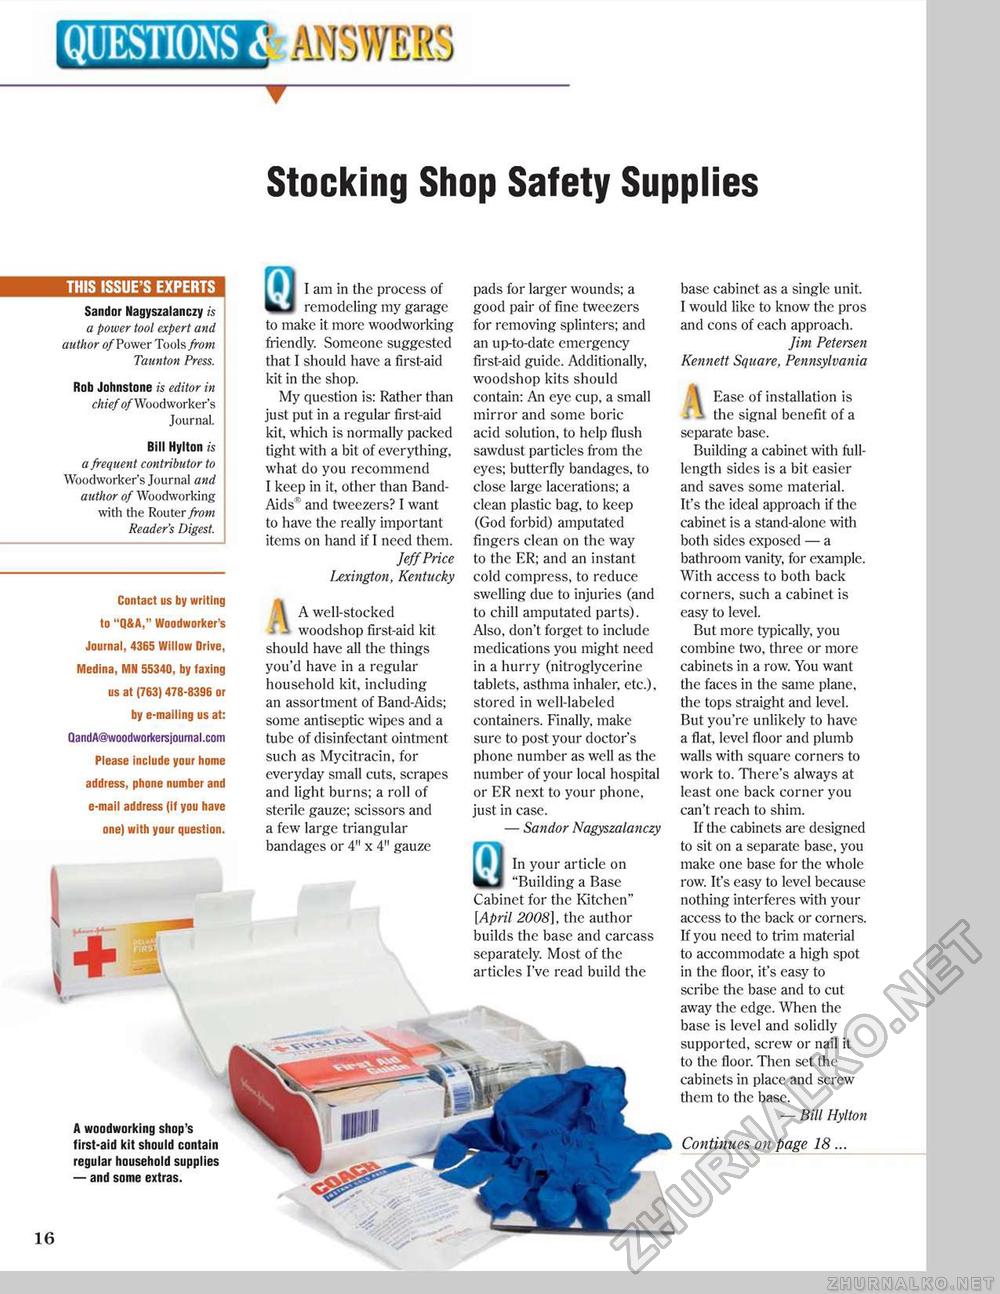
QUESTIONS\ EES Stocking Shop Safety Supplies THIS ISSOE'S EXPERTS Sandor Nagyszalanczy is a power tool expert and author of Power Tools from Taunton Press. Rob Johnstone is editor in chief o/Wooclworker's Journal. Bill Hylton is a frequent con tributor to Woodworker's Journal and author of Woodworking with the Router from Reader's Digest. Contact us by writing to "Q&A," Woodworker's Journal, 4365 Willow Drive, Medina, MN 55340, by faxing us at(763)478-8396 or by e-mailing us at: QandA@woodworkersjournal.com Please include your home address, phone number and e-mail address (if you have one) with your question. + -M A woodworking shop's first-aid kit should contain regular household supplies — and some extras. 0 I am in the process of remodeling my garage to make it more woodworking friendly. Someone suggested that I should have a first-aid kit in the shop. My question is: Rather than just put in a regular first-aid kit, which is normally packed tight with a bit of everything, what do you recommend I keep in it, other than Band-Aids' and tweezers? I want to have the really important items on hand if I need them. Jeff Price Lexington, Kentucky A A well-stocked woodshop first-aid kit should have all the things you'd have in a regular household kit, including an assortment of Band-Aids; some antiseptic wipes and a tube of disinfectant ointment such as Mycitracin, for everyday small cuts, scrapes and light burns; a roll of sterile gauze; scissors and a few large triangular bandages or 4" x 4" gauze pads for larger wounds; a good pair of fine tweezers for removing splinters; and an up-to-date cmcrgcncy first-aid guide. Additionally, woodshop kits should contain: An eye cup, a small mirror and some boric acid solution, to help flush sawdust particles from the eyes; butterfly bandages, to close large lacerations; a clean plastic bag, to keep (God forbid) amputated fingers clean on the way to the ER; and an instant cold compress, to reduce swelling due to injuries (and to chill amputated parts). Also, don't forget to include medications you might need in a hurry (nitroglycerine tablets, asthma inhaler, etc.), stored in well-labeled containers. Finally, make sure to post your doctor's phone number as well as the number of your local hospital or ER next to your phone, just in case. — Sandor Nagyszalanczy 0 In your article on "Building a Base Cabinet for the Kitchen" [April 2008). the author builds the base and carcass separately. Most of the articles I've read build the base cabinet as a single unit. I would like to know the pros and cons of each approach. Jim Petersen Kennett Square, Pennsylvania A 16 Ease of installation is the signal benefit of a separate base. Building a cabinet with full-length sides is a bit easier and saves some material. It's the ideal approach if the cabinet is a stand-alone with both sides exposed — a bathroom vanity, for example. With access to both back corners, such a cabinet is easy to level. But more typically, you combine two, three or more cabinets in a row. You want the faces in the same plane, the tops straight and level. But you're unlikely to have a flat, level floor and plumb walls with square corners to work to. There's always at least one back corner you can't reach to shim. If the cabinets are designed to sit on a separate base, you make one base for the whole row. It's easy to level because nothing interferes with your access to the back or corners. If you need to trim material to accommodate a high spot in the floor, it's easy to scribe the base and to cut away the edge. When the base is level and solidly supported, screw or nail it to the floor. Then set the cabinets in place and screw them to the base. — Bill Hylton Continues on page 18 ... |


