Woodworker's Journal 2009-33-4, страница 27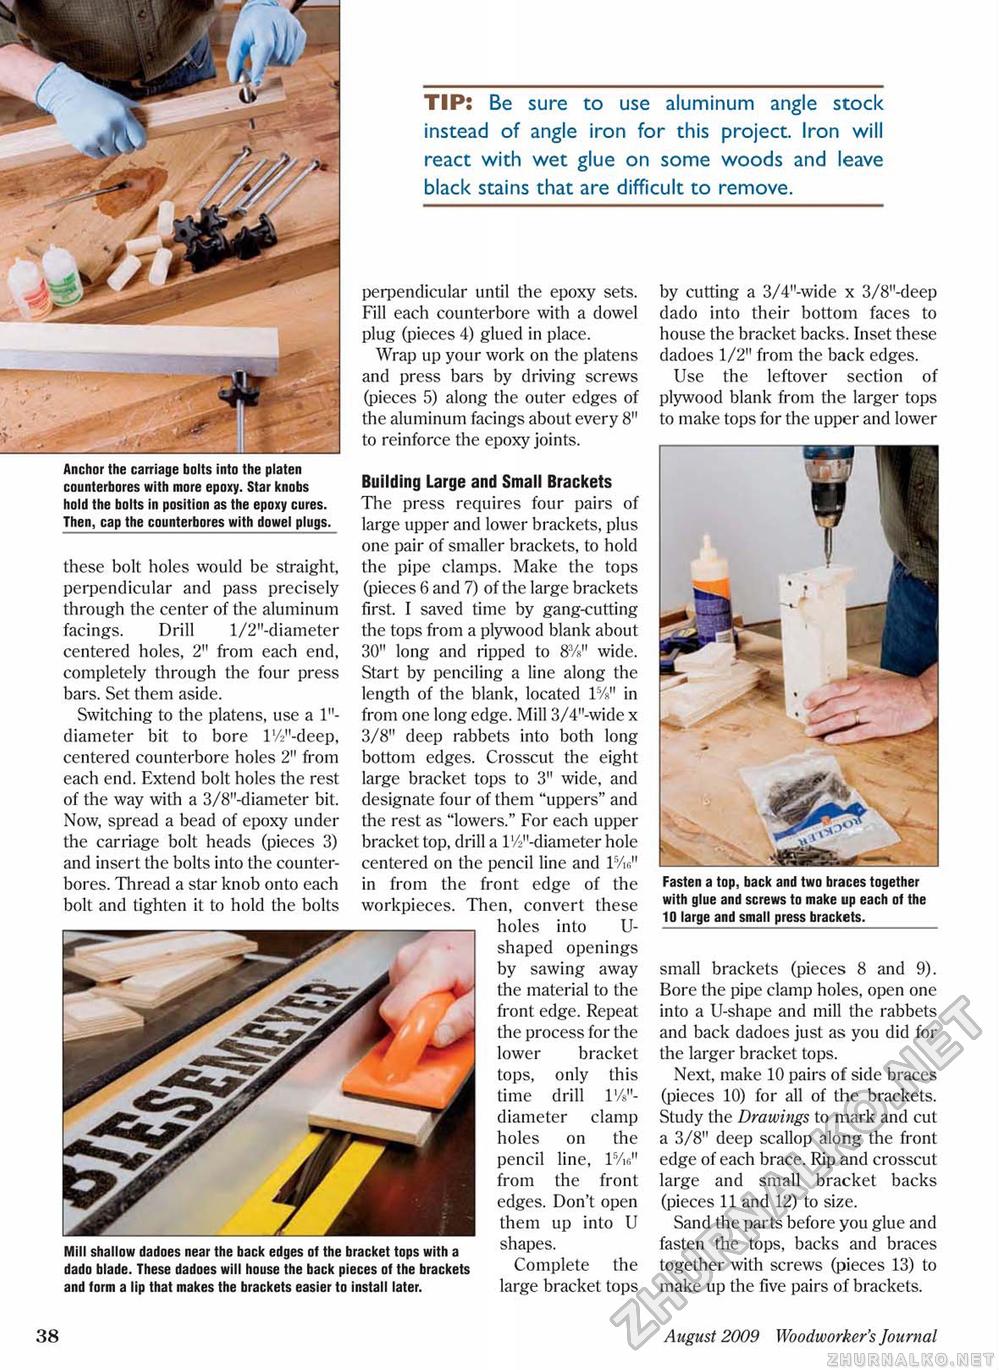
TIP: Be sure to use aluminum angle stock instead of angle iron for this project. Iron will react with wet glue on some woods and leave black stains that are difficult to remove. Anchor the carriage bolts into the platen counterbores with more epoxy. Star knobs hold the bolts in position as the epoxy cures. Then, cap the counterbores with dowel plugs. these bolt holes would be straight, perpendicular and pass precisely through the center of the aluminum facings. Drill l/2"-diameter centered holes, 2" from each end, completely through the four press bars. Set them aside. Switching to the platens, use a 1"-diameter bit to bore l'/2"-deep, centered counterbore holes 2" from each end. Extend bolt holes the rest of the way with a 3/8"-diameter bit. Now, spread a bead of epoxy under the carriage bolt heads (pieces 3) and insert the bolts into the counterbores. Thread a star knob onto each bolt and tighten it to hold the bolts Mill shallow dadoes near the back edges of the bracket tops with a dado blade. These dadoes will house the back pieces of the brackets and form a lip that makes the brackets easier to install later. Building Large and Small Brackets The press requires four pairs of large upper and lower brackets, plus one pair of smaller brackets, to hold the pipe clamps. Make the tops (pieces 6 and 7) of the large brackets first. I saved time by gang-cutting the tops from a plywood blank about 30" long and ripped to 8%" wide. Start by penciling a line along the length of the blank, located l5/s" in from one long edge. Mill 3/4"-wide x 3/8" deep rabbets into both long bottom edges. Crosscut the eight large bracket tops to 3" wide, and designate four of them "uppers" and the rest as "lowers." For each upper bracket top, drill a lV^'-diameter hole centered on the pencil line and 1%" in from the front edge of the workpieces. Then, convert these holes into U-shaped openings by sawing away the material to the front edge. Repeat the process for the lower bracket tops, only this time drill 1%"-diameter clamp holes on the pencil line, l5/i«" from the front edges. Don't open them up into U shapes. Complete the large bracket tops small brackets (pieces 8 and 9). Bore the pipe clamp holes, open one into a U-shape and mill the rabbets and back dadoes just as you did for the larger bracket tops. Next, make 10 pairs of side braces (pieces 10) for all of the brackets. Study the Drawings to mark and cut a 3/8" deep scallop along the front edge of each brace. Rip and crosscut large and small bracket backs (pieces 11 and 12) to size. Sand the parts before you glue and fasten the tops, backs and braces together with screws (pieces 13) to make up the five pairs of brackets. perpendicular until the epoxy sets. Fill each counterbore with a dowel plug (pieces 4) glued in place. Wrap up your work on the platens and press bars by driving screws (pieces 5) along the outer edges of the aluminum facings about every 8" to reinforce the epoxy joints. by cutting a 3/4"-wide x 3/8"-deep dado into their bottom faces to house the bracket backs. Inset these dadoes 1/2" from the back edges. Use the leftover section of plywood blank from the larger tops to make tops for the upper and lower _ Fasten a top, back and two braces together with glue and screws to make up each of the 10 large and small press brackets. 38 August 2009 Woodworker's Journal |


