Woodworker's Journal 2009-33-4, страница 29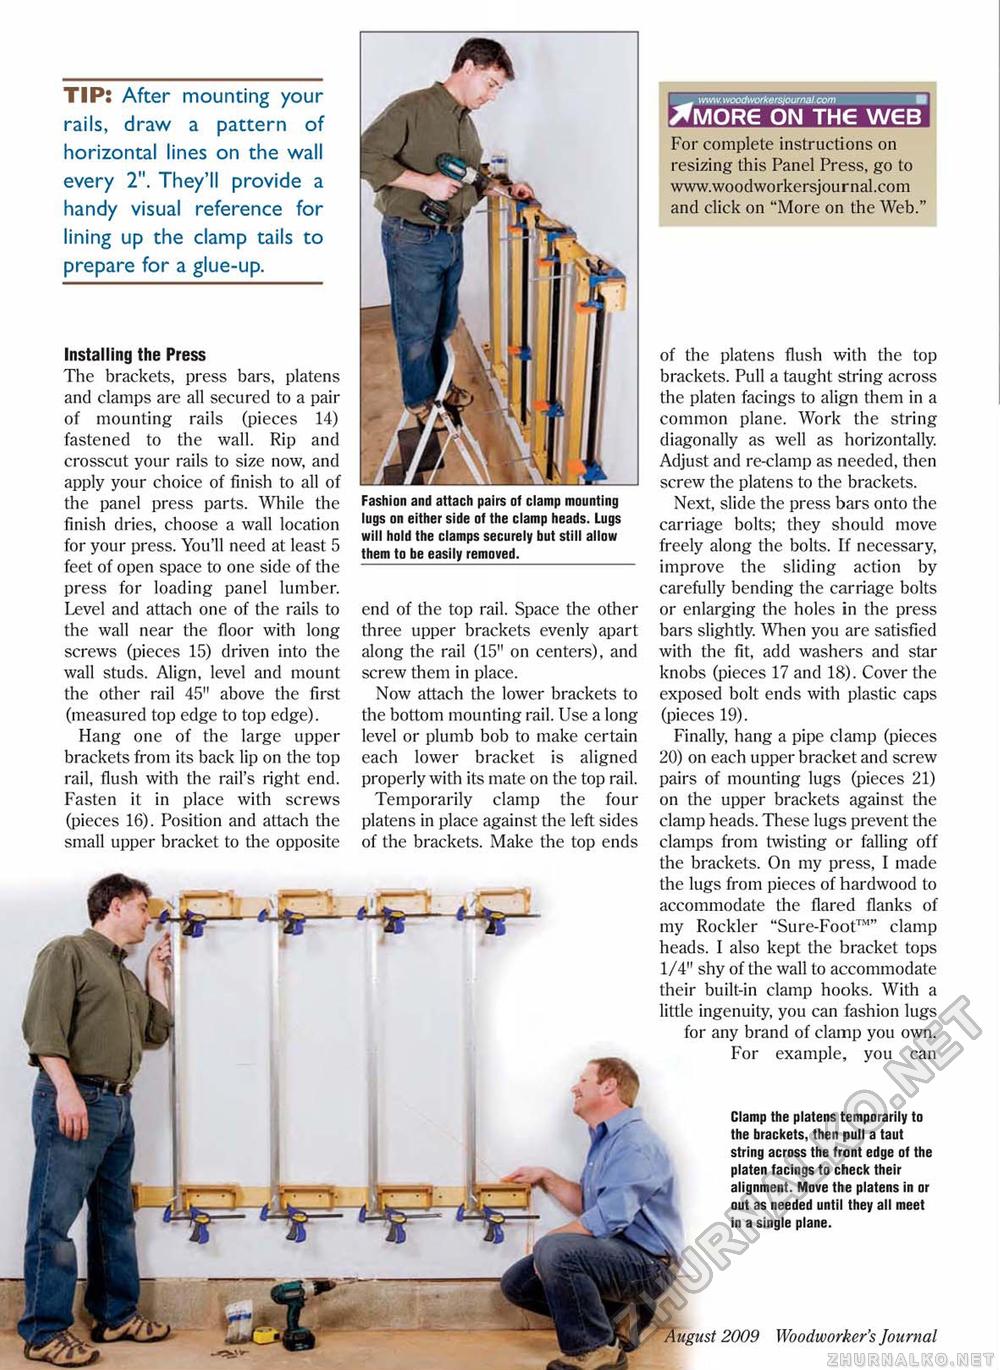
TIP: After mounting your rails, draw a pattern of horizontal lines on the wall every 2". They'll provide a handy visual reference for lining up the clamp tails to prepare for a glue-up. Fashion and attach pairs of clamp mounting lugs on either side of the clamp heads. Lugs will hold the clamps securely but still allow them to be easily removed. ^ wmv.wocdworkersiournal.com ■■ ^MORG ON THE W6B For complete instructions on resizing this Panel Press, go to www.woodworkersjournal.com and click on "More on the Web. Clamp the platens temporarily to the brackets, then pull a taut string across the front edge of the platen facings to check their alignment. Move the platens in or out as needed until they all meet in a single plane. of the platens flush with the top brackets. Pull a taught string across the platen facings to align them in a common plane. Work the string diagonally as well as horizontally. Adjust and re-clamp as needed, then screw the platens to the brackets. Next, slide the press bars onto the carriage bolts; they should move freely along the bolts. If necessary, improve the sliding action by carefully bending the carriage bolts or enlarging the holes in the press bars slightly. When you are satisfied with the fit, add washers and star knobs (pieces 17 and 18). Cover the exposed bolt ends with plastic caps (pieces 19). Finally, hang a pipe clamp (pieces 20) on each upper bracket and screw pairs of mounting lugs (pieces 21) on the upper brackets against the clamp heads. These lugs prevent the clamps from twisting or falling off the brackets. On my press, I made the lugs from pieces of hardwood to accommodate the flared flanks of my Rockier "Sure-Foot™" clamp heads. I also kept the bracket tops 1/4" shy of the wall to accommodate their built-in clamp hooks. With a little ingenuity, you can fashion lugs for any brand of clamp you own. For example, you can 29 August 2009 Woodworker's Journal Installing the Press The brackets, press bars, platens and clamps are all secured to a pair of mounting rails (pieces 14) fastened to the wall. Rip and crosscut your rails to size now, and apply your choice of finish to all of the panel press parts. While the finish dries, choose a wall location for your press. You'll need at least 5 feet of open space to one side of the press for loading panel lumber. Level and attach one of the rails to the wall near the floor with long screws (pieces 15) driven into the wall studs. Align, level and mount the other rail 45" above the first (measured top edge to top edge). Hang one of the large upper brackets from its back lip on the top rail, flush with the rail's right end. Fasten it in place with screws (pieces 16). Position and attach the small upper bracket to the opposite end of the top rail. Space the other three upper brackets evenly apart along the rail (15" on centers), and screw them in place. Now attach the lower brackets to the bottom mounting rail. Use a long level or plumb bob to make certain each lower bracket is aligned properly with its mate on the top rail. Temporarily clamp the four platens in place against the left sides of the brackets. Make the top ends |


