Woodworker's Journal 2009-33-4, страница 42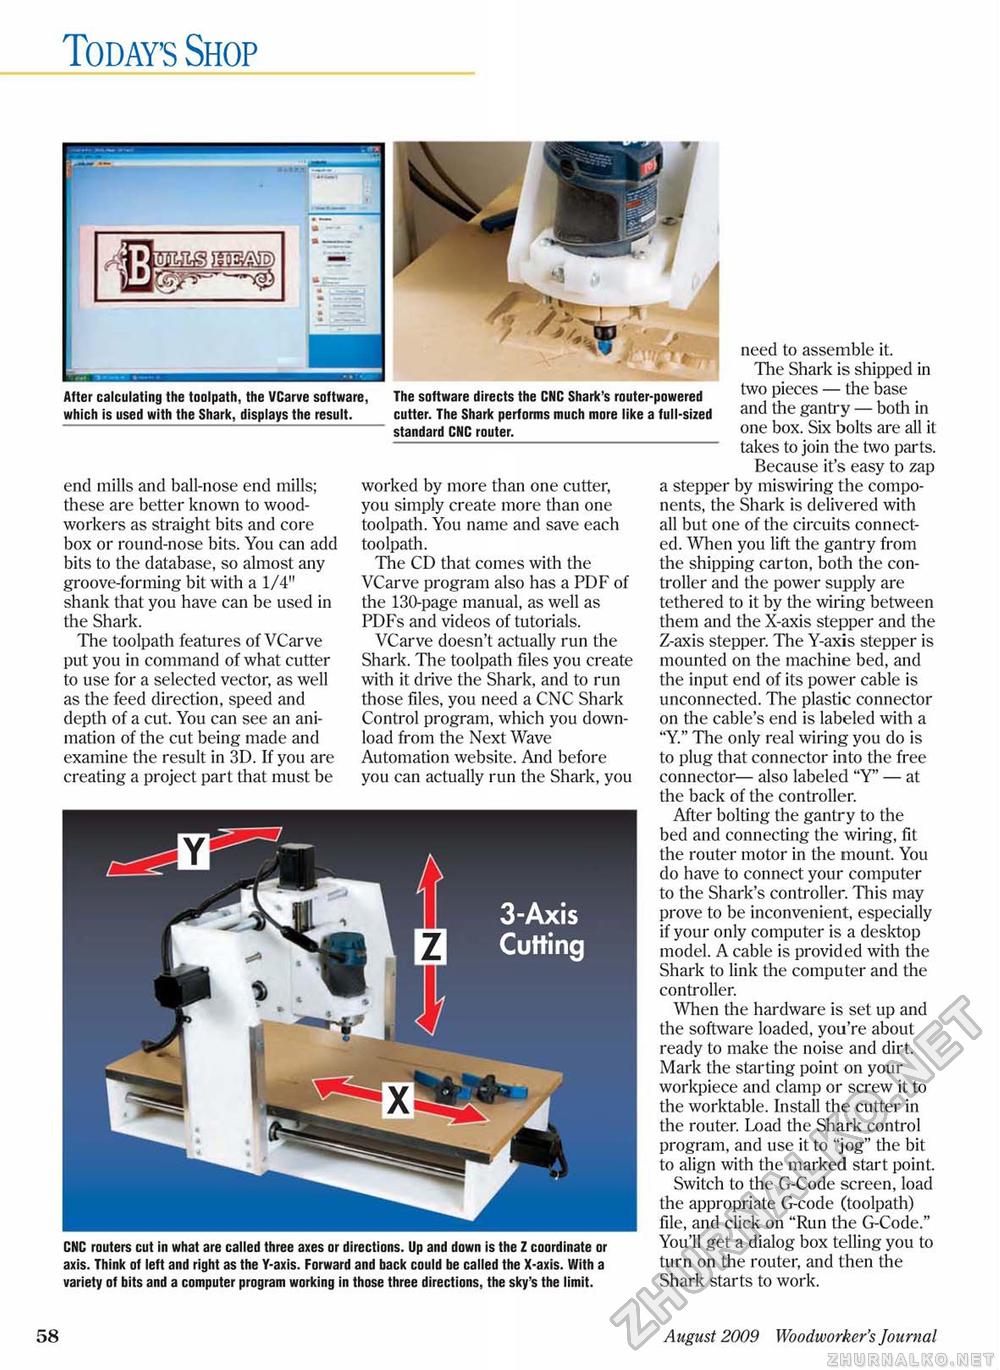
Today's Shop I i J^ras^f After calculating the toolpath, the VCarve software, which is used with the Shark, displays the result. The software directs the CNC Shark's router-powered cutter. The Shark performs much more like a full-sized standard CNC router. end mills and ball-nose end mills; these are better known to woodworkers as straight bits and core box or round-nose bits. You can add bits to the database, so almost any groove-forming bit with a 1/4" shank that you have can be used in the Shark. The toolpath features of VCarve put you in command of what cutter to use for a selected vector, as well as the feed direction, speed and depth of a cut. You can see an animation of the cut being made and examine the result in 3D. If you are creating a project part that must be worked by more than one cutter, you simply create more than one toolpath. You name and save each toolpath. The CD that comes with the VCarve program also has a PDF of the 130-page manual, as well as PDFs and videos of tutorials. VCarve doesn't actually run the Shark. The toolpath files you create with it drive the Shark, and to run those files, you need a CNC Shark Control program, which you download from the Next Wave Automation website. And before you can actually run the Shark, you need to assemble it. The Shark is shipped in two pieces — the base and the gantry — both in one box. Six bolts are all it takes to join the two parts. Because it's easy to zap a stepper by miswiring the components, the Shark is delivered with all but one of the circuits connected. When you lift the gantry from the shipping carton, both the controller and the power supply are tethered to it by the wiring between them and the X-axis stepper and the Z-axis stepper. The Y-axis stepper is mounted on the machine bed, and the input end of its power cable is unconnected. The plastic connector on the cable's end is labeled with a "Y." The only real wiring you do is to plug that connector into the free connector— also labeled "Y' — at the back of the controller. After bolting the gantry to the bed and connecting the wiring, fit the router motor in the mount. You do have to connect your computer to the Shark's controller. This may prove to be inconvenient, especially if your only computer is a desktop model. A cable is provided with the Shark to link the computer and the controller. When the hardware is set up and the software loaded, you're about ready to make the noise and dirt. Mark the starting point on your workpiece and clamp or screw it to the worktable. Install the cutter in the router. Load the Shark control program, and use it to "jog" the bit to align with the marked start point. Switch to the G-Code screen, load the appropriate G-code (toolpath) file, and click on "Run the G-Code." You'll get a dialog box telling you to turn on the router, and then the Shark starts to work. CNC routers cut in what are called three axes or directions. Up and down is the Z coordinate or axis. Think of left and right as the Y-axis. Forward and back could be called the X-axis. With a variety of bits and a computer program working in those three directions, the sky's the limit. 58 August 2009 Woodworker's Journal |


