Woodworker's Journal 2009-33-4, страница 47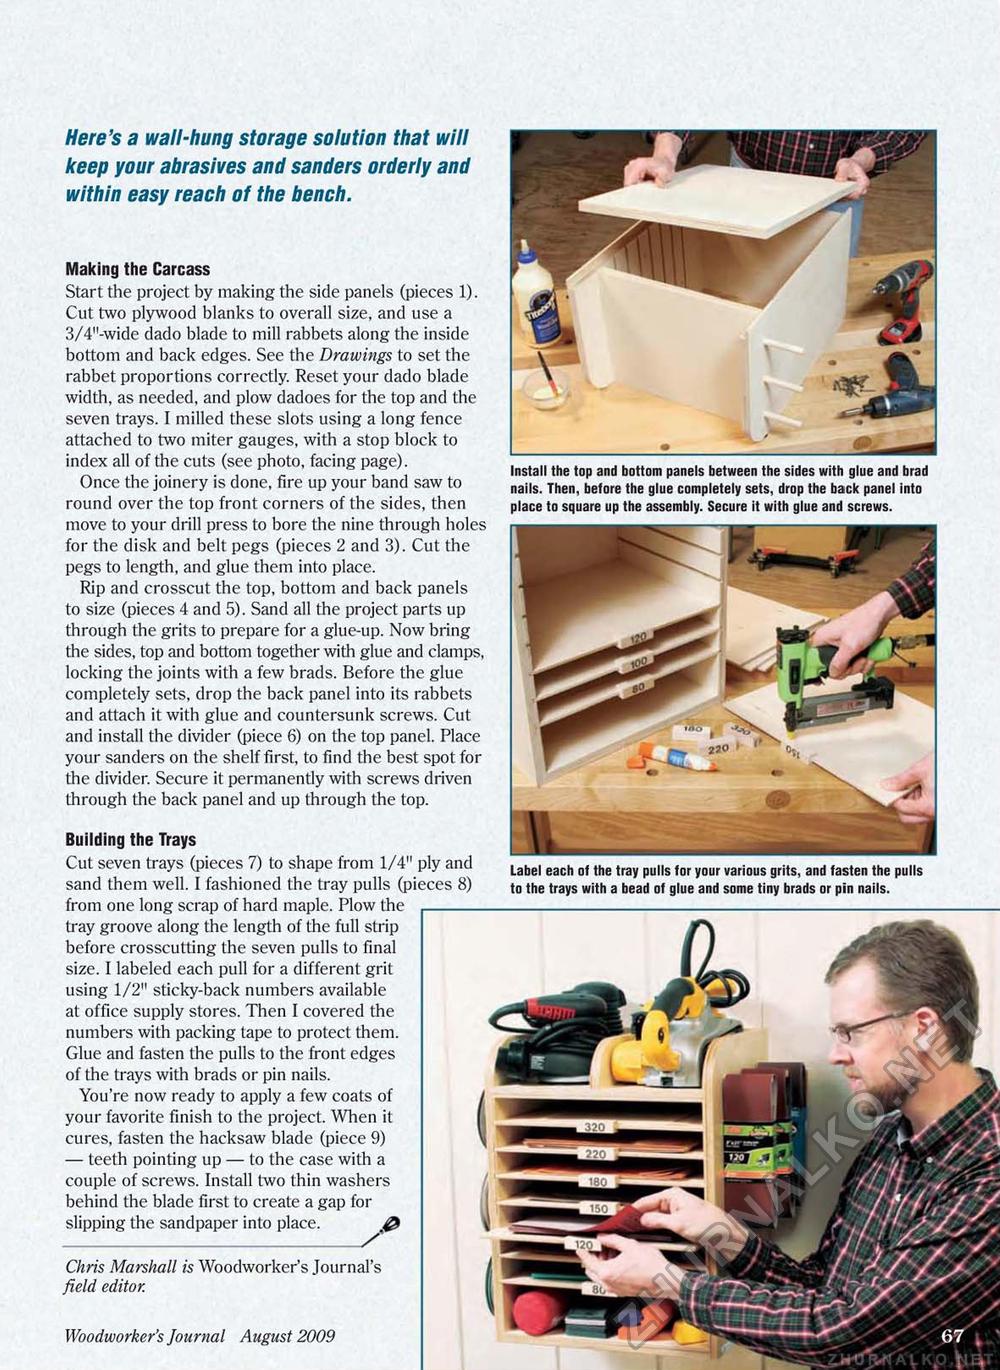
Here's a wall-hung storage solution that will keep your abrasives and sanders orderly and within easy reach of the bench. Woodworker's Journal August 2009 47 Chris Marshall is Woodworker's Journal's field editor. Making the Carcass Start the project by making the side panels (pieces 1). Cut two plywood blanks to overall size, and use a 3/4"-wide dado blade to mill rabbets along the inside bottom and back edges. See the Drawings to set the rabbet proportions correctly. Reset your dado blade width, as needed, and plow dadoes for the top and the seven trays. I milled these slots using a long fence attached to two miter gauges, with a stop block to index all of the cuts (see photo, facing page). Once the joinery is done, fire up your band saw to round over the top front corners of the sides, then move to your drill press to bore the nine through holes for the disk and belt pegs (pieces 2 and 3). Cut the pegs to length, and glue them into place. Rip and crosscut the top, bottom and back panels to size (pieces 4 and 5). Sand all the project parts up through the grits to prepare for a glue-up. Now bring the sides, top and bottom together with glue and clamps, locking the joints with a few brads. Before the glue completely sets, drop the back panel into its rabbets and attach it with glue and countersunk screws. Cut and install the divider (piece 6) on the top panel. Place your sanders on the shelf first, to find the best spot for the divider. Secure it permanently with screws driven through the back panel and up through the top. Install the top and bottom panels between the sides with glue and brad nails. Then, before the glue completely sets, drop the back panel into place to square up the assembly. Secure it with glue and screws. Building the Trays Cut seven trays (pieces 7) to shape from 1/4" ply and sand them well. I fashioned the tray pulls (pieces 8) from one long scrap of hard maple. Plow the - tray groove along the length of the full strip before crosscutting the seven pulls to final size. I labeled each pull for a different grit using 1/2" sticky-back numbers available at office supply stores. Then I covered the numbers with packing tape to protect them. Glue and fasten the pulls to the front edges of the trays with brads or pin nails. You're now ready to apply a few coats of your favorite finish to the project. When it cures, fasten the hacksaw blade (piece 9) — teeth pointing up — to the case with a couple of screws. Install two thin washers behind the blade first to create a gap for slipping the sandpaper into place. Label each of the tray pulls for your various grits, and fasten the pulls to the trays with a bead of glue and some tiny brads or pin nails. |


