Woodworker's Journal 2009-33-5, страница 29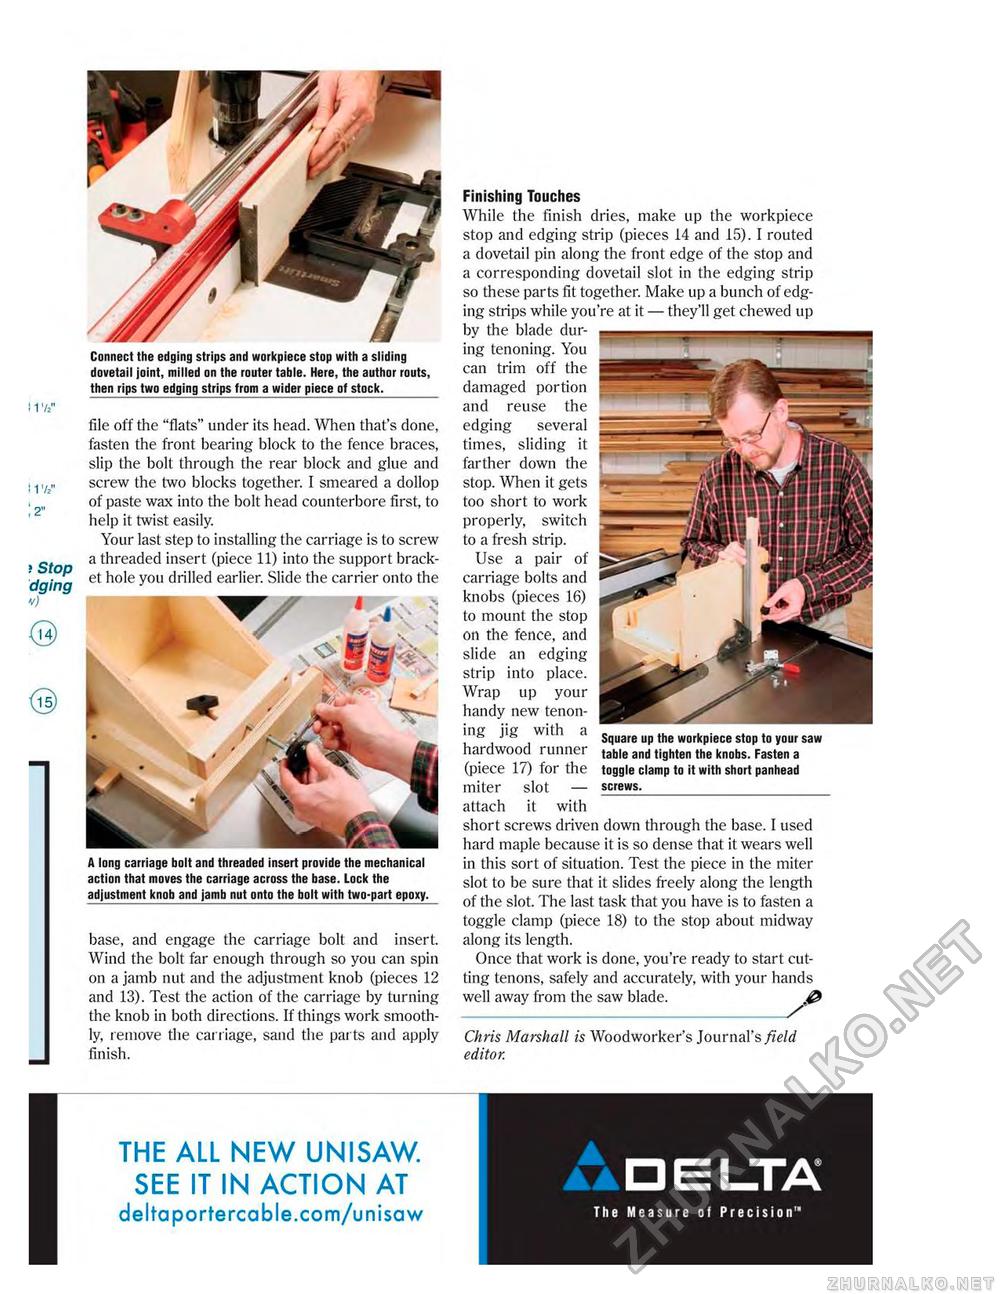
I THE ALL NEW UNISAW. SEE IT IN ACTION AT deltaportercable.com/unisaw A long carriage bolt and threaded insert provide the mechanical action that moves the carriage across the base. Lock the adjustment knob and jamb nut onto the bolt with two-part epoxy. base, and engage the carriage boll and insert. Wind the bolt far enough through so you can spin on a jamb nut and the adjustment knob (pieces 12 and 13). Test the action of the carriage by turning the knob in both directions. If things work smoothly, remove the car r iage, sand the parts and apply finish. attach it with short screws driven down through the base. I used hard maple because it is so dense that it wears well in this sort of situation. Test the piece in the miter slot to be sure that it slides freely along the length of the slot. The last task that you have is to fasten a toggle clamp (piece 18) to the stop about midway along its length. Once that work is done, you're ready to start cutting tenons, safely and accurately, with your hands well away from the saw blade. Chris Marshall is Woodworker's Journal's field editor. Connect the edging strips and workpiece stop with a sliding dovetail joint, milled on the router table. Here, the author routs, then rips two edging strips from a wider piece of stock. i Stop dging V) file off the "flats" under its head. When that's done, fasten the front bearing block to the fence braces, slip the bolt through the rear block and glue and screw the two blocks together. I smeared a dollop of paste wax into the bolt head counterbore first, to help it twist easily. Your last step to installing the carriage is to screw a threaded insert (piece 11) into the support bracket hole you drilled earlier. Slide the carrier onto the Finishing Touches While the finish dries, make up the workpiece stop and edging strip (pieces 14 and 15). I routed a dovetail pin along the front edge of the stop and a corresponding dovetail slot in the edging strip so these parts fit together. Make up a bunch of edging strips while you're at it — they'll get chewed up by the blade during tenoning. You can trim off the damaged portion and reuse the edging several times, sliding it farther down the stop. When it gets too short to work properly, switch to a fresh strip. Use a pair of carriage bolts and knobs (pieces 16) to mount the stop on the fence, and slide an edging strip into place. Wrap up your handy new tenoning jig with a hardwood runner (piece 17) for the miter slot — Square up the workpiece stop to your saw table and tighten the knobs. Fasten a toggle clamp to it with short panhead screws. |


