Woodworker's Journal 2009-33-5, страница 45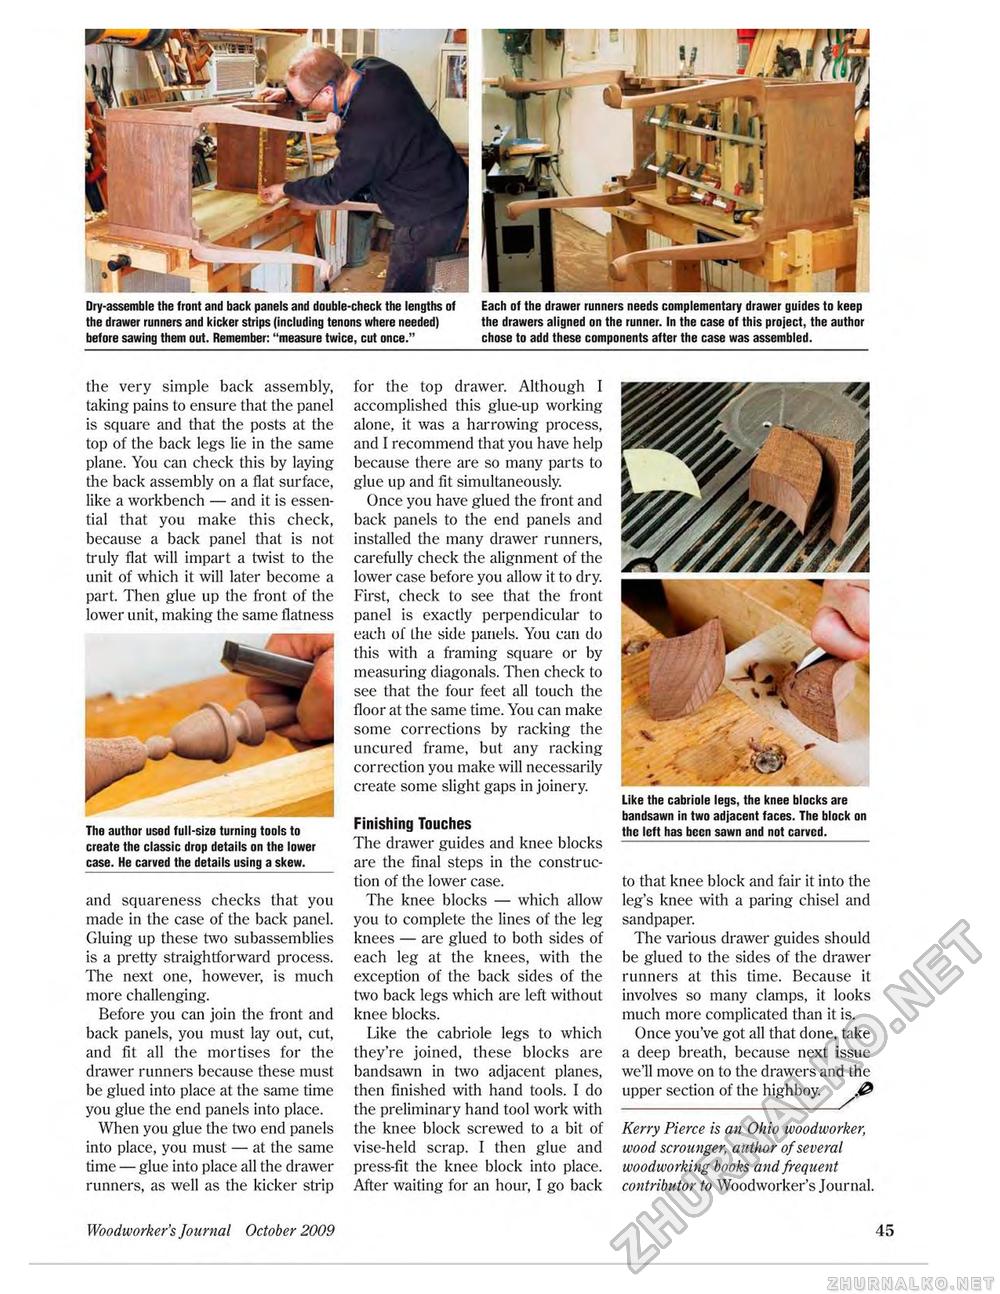
Dry-assemble the front and back panels and double-check the lengths of Each of the drawer runners needs complementary drawer guides to keep the drawer runners and kicker strips (including tenons where needed) the drawers aligned on the runner. In the case of this project, the author before sawing them out. Remember: "measure twice, cut once." chose to add these components after the case was assembled. the very simple back assembly, taking pains to ensure that the panel is square and that the posts at the top of the back legs lie in the same plane. You can check this by laying the back assembly on a flat surface, like a workbench — and it is essential that you make this check, because a back panel that is not truly flat will impart a twist to the unit of which it will later become a part. Then glue up the front of the lower unit, making the same flatness The author used full-size turning tools to create the classic drop details on the lower case. He carved the details using a skew. and squareness checks that you made in the case of the back panel. Gluing up these two subassemblies is a pretty straightforward process. The next one, however, is much more challenging. Before you can join the front and back panels, you must lay out, cut, and fit all the mortises for the drawer runners because these must be glued into place at the same time you glue the end panels into place. When you glue the two end panels into place, you must — at the same time — glue into place all the drawer runners, as well as the kicker strip for the top drawer. Although I accomplished this glue-up working alone, it was a harrowing process, and I recommend that you have help because there are so many parts to glue up and fit simultaneously. Once you have glued the front and back panels to the end panels and installed the many drawer runners, carefully check the alignment of the lower case before you allow it to dry. First, check to see that the front panel is exactly perpendicular to each of the side panels. You can do this with a framing square or by measuring diagonals. Then check to see that the four feet all touch the floor at the same time. You can make some corrections by racking the uncured frame, but any racking correction you make will necessarily create some slight gaps in joinery. Finishing Touches The drawer guides and knee blocks are the final steps in the construction of the lower case. The knee blocks — which allow you to complete the lines of the leg knees — are glued to both sides of each leg at the knees, with the exception of the back sides of the two back legs which are left without knee blocks. Like the cabriole legs to which they're joined, these blocks are bandsawn in two adjacent planes, then finished with hand tools. I do the preliminary hand tool work with the knee block screwed to a bit of vise-held scrap. I then glue and press-fit the knee block into place. After waiting for an hour, I go back Like the cabriole legs, the knee blocks are bandsawn in two adjacent faces. The block on the left has been sawn and not carved. to that knee block and fair it into the leg's knee with a paring chisel and sandpaper. The various drawer guides should be glued to the sides of the drawer runners at this time. Because it involves so many clamps, it looks much more complicated than it is. Once you've got all that done, take a deep breath, because next issue we'll move on to the drawers and the upper section of the highboy. Kerry Pierce is an Ohio woodworker, wood scrounger, author of several woodworking books and frequent contributor to Woodworker's Journal. Woodworker's Journal October 2009 1 9 |


