Woodworker's Journal 2010-34-2, страница 64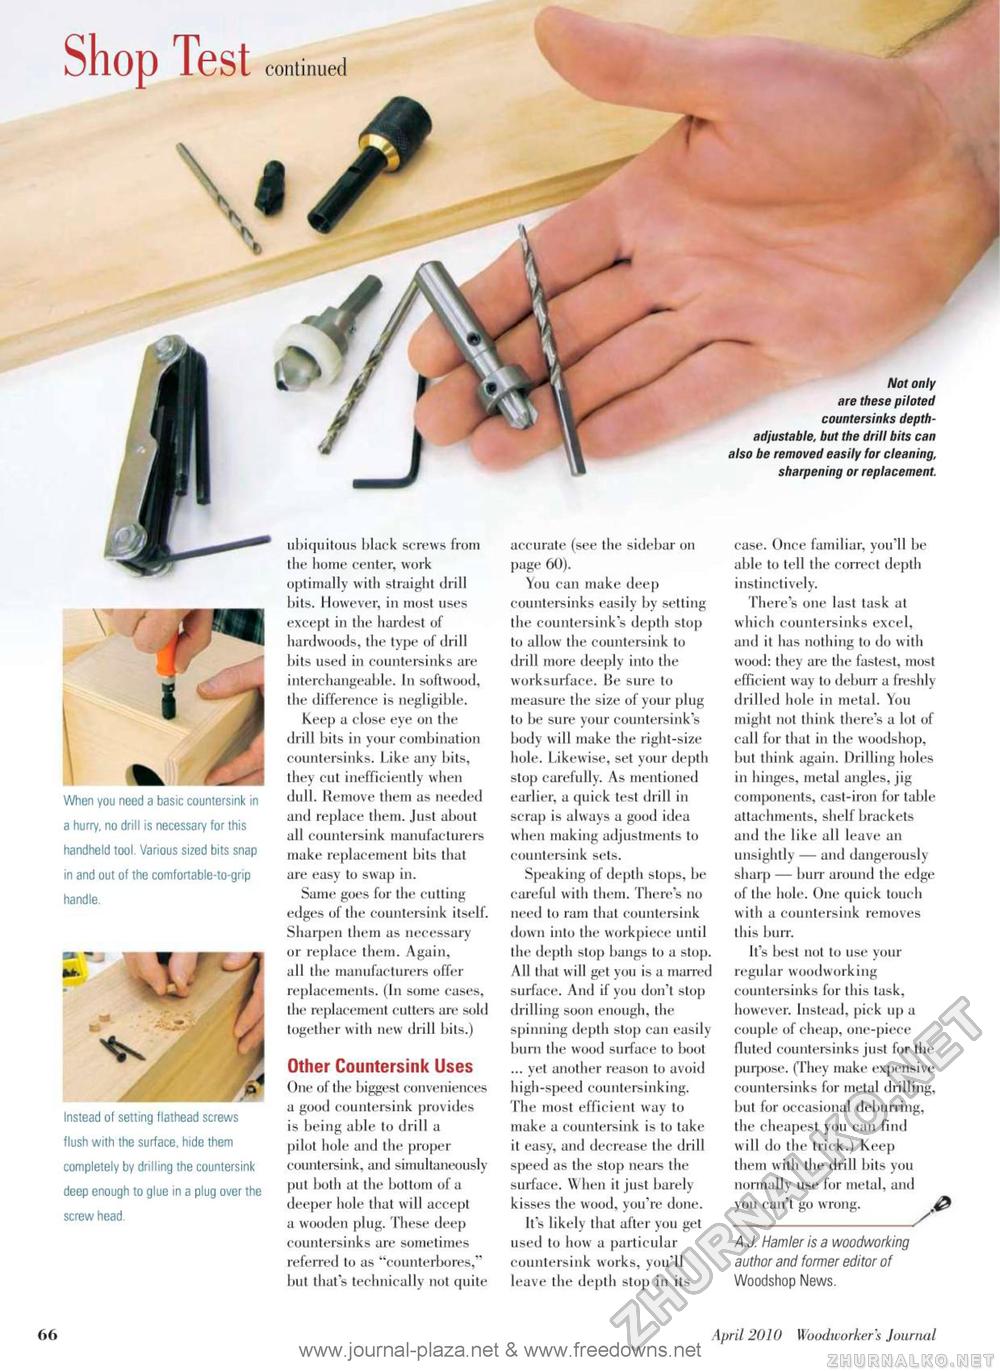
Shop Test c continued When you need a basic countersink in a hurry, no drill is necessary for this handheld tool. Various sized bits snap in and out of the comfortable-to-grip handle. " ' / ^ % Instead of setting flathead screws flush with the surface, hide them completely by drilling the countersink deep enough to glue in a plug over the screw head. ubiquitous black screws from the home center, work optimally with straight drill bits. However, in most uses except in the hardest of hardwoods, the type of drill hits used in countersinks are interchangeable. In softwood, the difference is negligible. Keep a close eye on the drill bits in your combination countersinks. Like any bits, they cut inefficiently when dull. Remove them as needed and replace them. Just about all countersink manufacturers make replacement bits that are easy to swap in. Same goes for the cutting edges of the countersink itself. Sharpen them as necessary or replace them. Again, all the manufacturers offer replacements. (In some cases, the replacement cutters are sold together with new drill bits.) Other Countersink Uses One of the biggest conveniences a good countersink provides is being able to drill a pilot hole anil the proper countersink, and simultaneously put both at the bottom of a deeper hole that will accept a wooden plug. These deep countersinks are sometimes referred to as "counterbores," but that's technically not quite accurate (see the sidebar on page 60). You can make deep countersinks easily by setting the countersink's depth stop to allow the countersink to drill more deeply into the worksurface. He sure to measure the size of your plug lo be sure your countersink's body will make the right-size hole. Likewise, set your depth stop carefully. As mentioned earlier, a quick test drill in scrap is always a good idea when making adjustments to countersink sets. Speaking of depth stops, be careful with them. There's 110 need lo ram that countersink down into the workpiece until the depth stop bangs lo a stop. All that will get you is a marred surface. And if you don't stop drilling soon enough, the spinning depth stop can easily bum the wood surface to boot ... yet another reason to avoid high-speed countersinking. The most efficient way to make a countersink is to take it easy, and decrease the drill speed as the stop nears the surface. When it just barely kisses the wood, you're done. It's likely that after you get used lo how a particular countersink works, you'll leave the deplh stop in its Not only are these piloted countersinks depth-adjustable, but the drill bits can also be removed easily for cleaning, sharpening or replacement. case. Once familiar, you'll be able to tell the correct depth instinctively. There's one last task at which countersinks excel, and it has nothing to do with wood: they are the fastest, most efficient way to deburr a freshly drilled hole in metal. You might not think there's a lol of call for that in the woodshop, but think again. Drilling holes in hinges, metal angles, jig components, cast-iron for table attachments, shelf brackets and the like all leave an unsightly — and dangerously sharp — buir around the edge of the hole. One quick touch with a countersink removes this burr. it's best not to use your regular woodworking countersinks for this lask, however. Instead, pick up a couple of cheap, one-piece fluted countersinks just for the purpose. (They make expensive countersinks for metal drilling, but for occasional deburring, the cheapest you can find will do the trick.) Keep them with the drill bits you normally use for metal, anil you can t go wrong. A.J. Hamler is a woodworking author and former editor of Woodshop News. 66 April 2010 Woodworkers Jourruil |


