Woodworker's Journal fall-2009, страница 61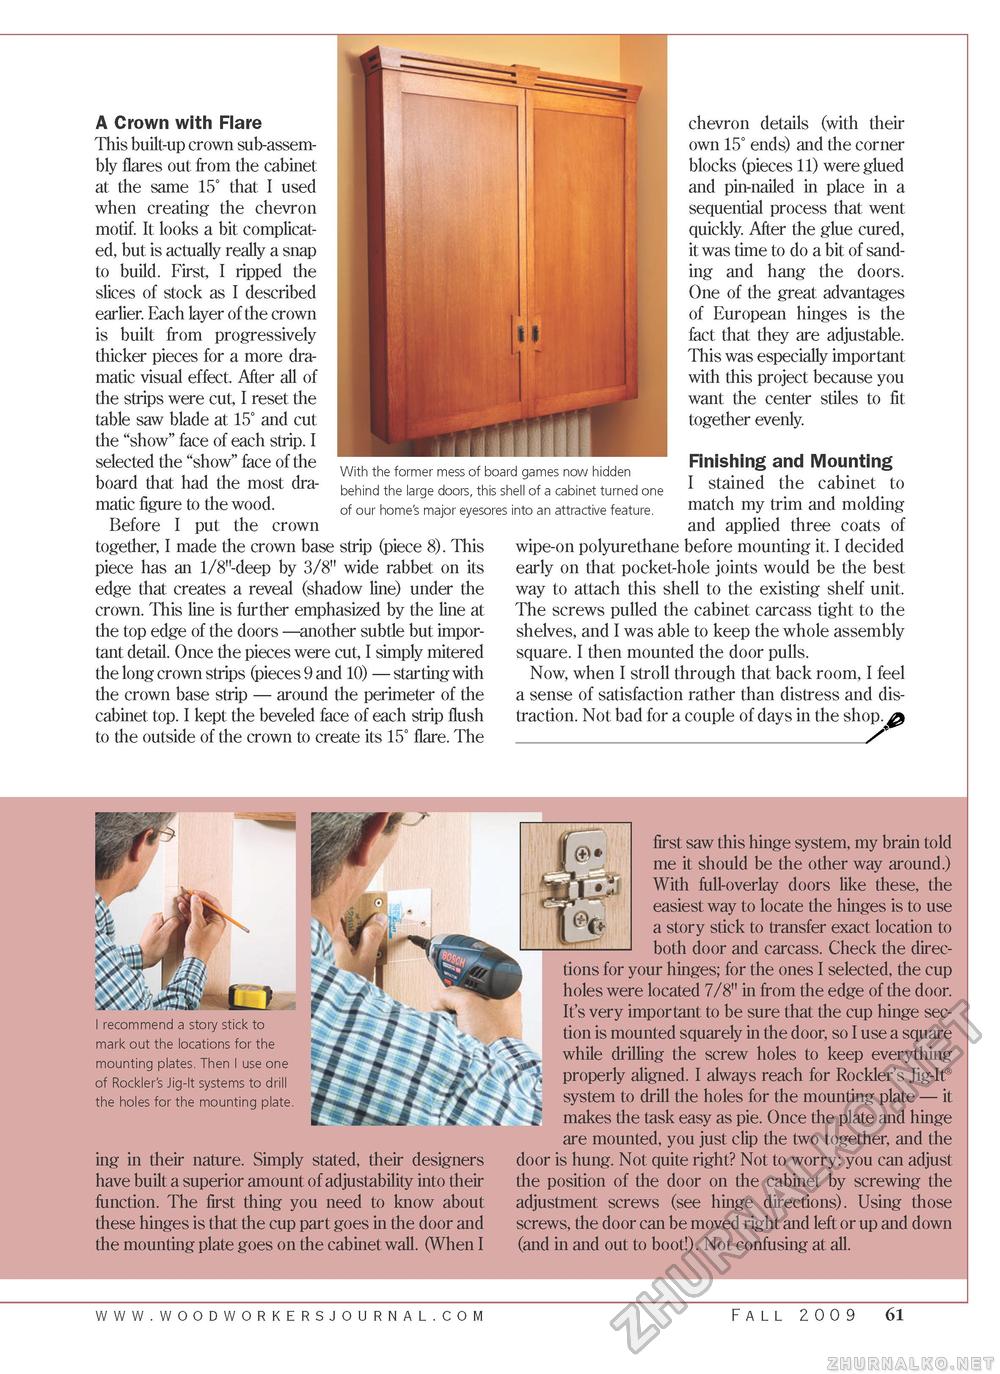
A Crown with Flare This built-up crown sub-assembly flares out from the cabinet at the same 15° that I used when creating the chevron motif. It looks a bit complicated, but is actually really a snap to build. First, I ripped the slices of stock as I described earlier. Each layer of the crown is built from progressively thicker pieces for a more dramatic visual effect. After all of the strips were cut, I reset the table saw blade at 15° and cut the "show" face of each strip. I selected the "show" face of the board that had the most dramatic figure to the wood. Before I put the crown together, I made the crown base strip (piece 8). This piece has an 1/8"-deep by 3/8" wide rabbet on its edge that creates a reveal (shadow line) under the crown. This line is further emphasized by the line at the top edge of the doors —another subtle but important detail. Once the pieces were cut, I simply mitered the long crown strips (pieces 9 and 10) — starting with the crown base strip — around the perimeter of the cabinet top. I kept the beveled face of each strip flush to the outside of the crown to create its 15° flare. The With the former mess of board games now hidden behind the large doors, this shell of a cabinet turned one of our home's major eyesores into an attractive feature. chevron details (with their own 15° ends) and the corner blocks (pieces 11) were glued and pin-nailed in place in a sequential process that went quickly. After the glue cured, it was time to do a bit of sanding and hang the doors. One of the great advantages of European hinges is the fact that they are adjustable. This was especially important with this project because you want the center stiles to fit together evenly. Finishing and Mounting I stained the cabinet to match my trim and molding and applied three coats of wipe-on polyurethane before mounting it. I decided early on that pocket-hole joints would be the best way to attach this shell to the existing shelf unit. The screws pulled the cabinet carcass tight to the shelves, and I was able to keep the whole assembly square. I then mounted the door pulls. Now, when I stroll through that back room, I feel a sense of satisfaction rather than distress and distraction. Not bad for a couple of days in the shop. a / I recommend a story stick to mark out the locations for the mounting plates. Then I use one of Rockler's Jig-It systems to drill the holes for the mounting plate. ing in their nature. Simply stated, their designers have built a superior amount of adjustability into their function. The first thing you need to know about these hinges is that the cup part goes in the door and the mounting plate goes on the cabinet wall. (When I first saw this hinge system, my brain told me it should be the other way around.) With full-overlay doors like these, the easiest way to locate the hinges is to use a story stick to transfer exact location to both door and carcass. Check the directions for your hinges; for the ones I selected, the cup holes were located 7/8" in from the edge of the door. It's very important to be sure that the cup hinge section is mounted squarely in the door, so I use a square while drilling the screw holes to keep everything properly aligned. I always reach for Rockler's Jig-It® system to drill the holes for the mounting plate — it makes the task easy as pie. Once the plate and hinge are mounted, you just clip the two together, and the door is hung. Not quite right? Not to worry: you can adjust the position of the door on the cabinet by screwing the adjustment screws (see hinge directions). Using those screws, the door can be moved right and left or up and down (and in and out to boot!). Not confusing at all. Fall 2009 61 |


