Woodworker's Journal fall-2009, страница 69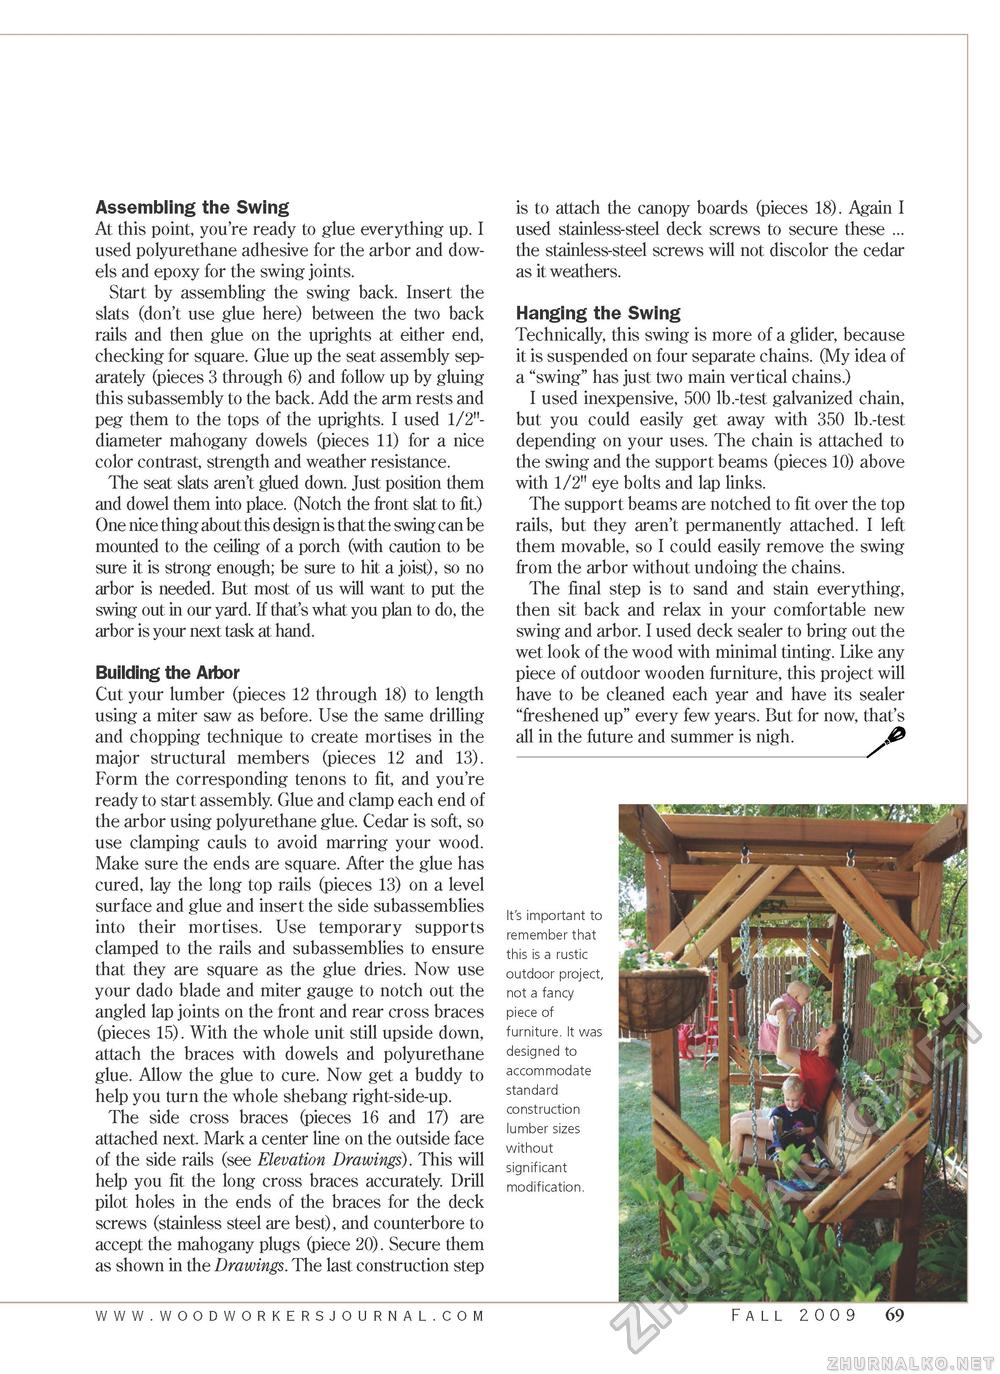
Assembling the Swing At this point, you're ready to glue everything up. I used polyurethane adhesive for the arbor and dowels and epoxy for the swing joints. Start by assembling the swing back. Insert the slats (don't use glue here) between the two back rails and then glue on the uprights at either end, checking for square. Glue up the seat assembly separately (pieces 3 through 6) and follow up by gluing this subassembly to the back. Add the arm rests and peg them to the tops of the uprights. I used 1/2"-diameter mahogany dowels (pieces 11) for a nice color contrast, strength and weather resistance. The seat slats aren't glued down. Just position them and dowel them into place. (Notch the front slat to fit.) One nice thing about this design is that the swing can be mounted to the ceiling of a porch (with caution to be sure it is strong enough; be sure to hit a joist), so no arbor is needed. But most of us will want to put the swing out in our yard. If that's what you plan to do, the arbor is your next task at hand. Building the Arbor Cut your lumber (pieces 12 through 18) to length using a miter saw as before. Use the same drilling and chopping technique to create mortises in the major structural members (pieces 12 and 13). Form the corresponding tenons to fit, and you're ready to start assembly. Glue and clamp each end of the arbor using polyurethane glue. Cedar is soft, so use clamping cauls to avoid marring your wood. Make sure the ends are square. After the glue has cured, lay the long top rails (pieces 13) on a level surface and glue and insert the side subassemblies into their mortises. Use temporary supports clamped to the rails and subassemblies to ensure that they are square as the glue dries. Now use your dado blade and miter gauge to notch out the angled lap joints on the front and rear cross braces (pieces 15). With the whole unit still upside down, attach the braces with dowels and polyurethane glue. Allow the glue to cure. Now get a buddy to help you turn the whole shebang right-side-up. The side cross braces (pieces 16 and 17) are attached next. Mark a center line on the outside face of the side rails (see Elevation Drawings). This will help you fit the long cross braces accurately. Drill pilot holes in the ends of the braces for the deck screws (stainless steel are best), and counterbore to accept the mahogany plugs (piece 20). Secure them as shown in the Drawings. The last construction step is to attach the canopy boards (pieces 18). Again I used stainless-steel deck screws to secure these ... the stainless-steel screws will not discolor the cedar as it weathers. Hanging the Swing Technically, this swing is more of a glider, because it is suspended on four separate chains. (My idea of a "swing" has just two main vertical chains.) I used inexpensive, 500 lb.-test galvanized chain, but you could easily get away with 350 lb.-test depending on your uses. The chain is attached to the swing and the support beams (pieces 10) above with 1/2" eye bolts and lap links. The support beams are notched to fit over the top rails, but they aren't permanently attached. I left them movable, so I could easily remove the swing from the arbor without undoing the chains. The final step is to sand and stain everything, then sit back and relax in your comfortable new swing and arbor. I used deck sealer to bring out the wet look of the wood with minimal tinting. Like any piece of outdoor wooden furniture, this project will have to be cleaned each year and have its sealer "freshened up" every few years. But for now, that's all in the future and summer is nigh. It's important to remember that this is a rustic outdoor project, not a fancy piece of furniture. It was designed to accommodate standard construction lumber sizes without significant modification. Fall 2009 69 |


