Woodworker's Journal fall-2010, страница 48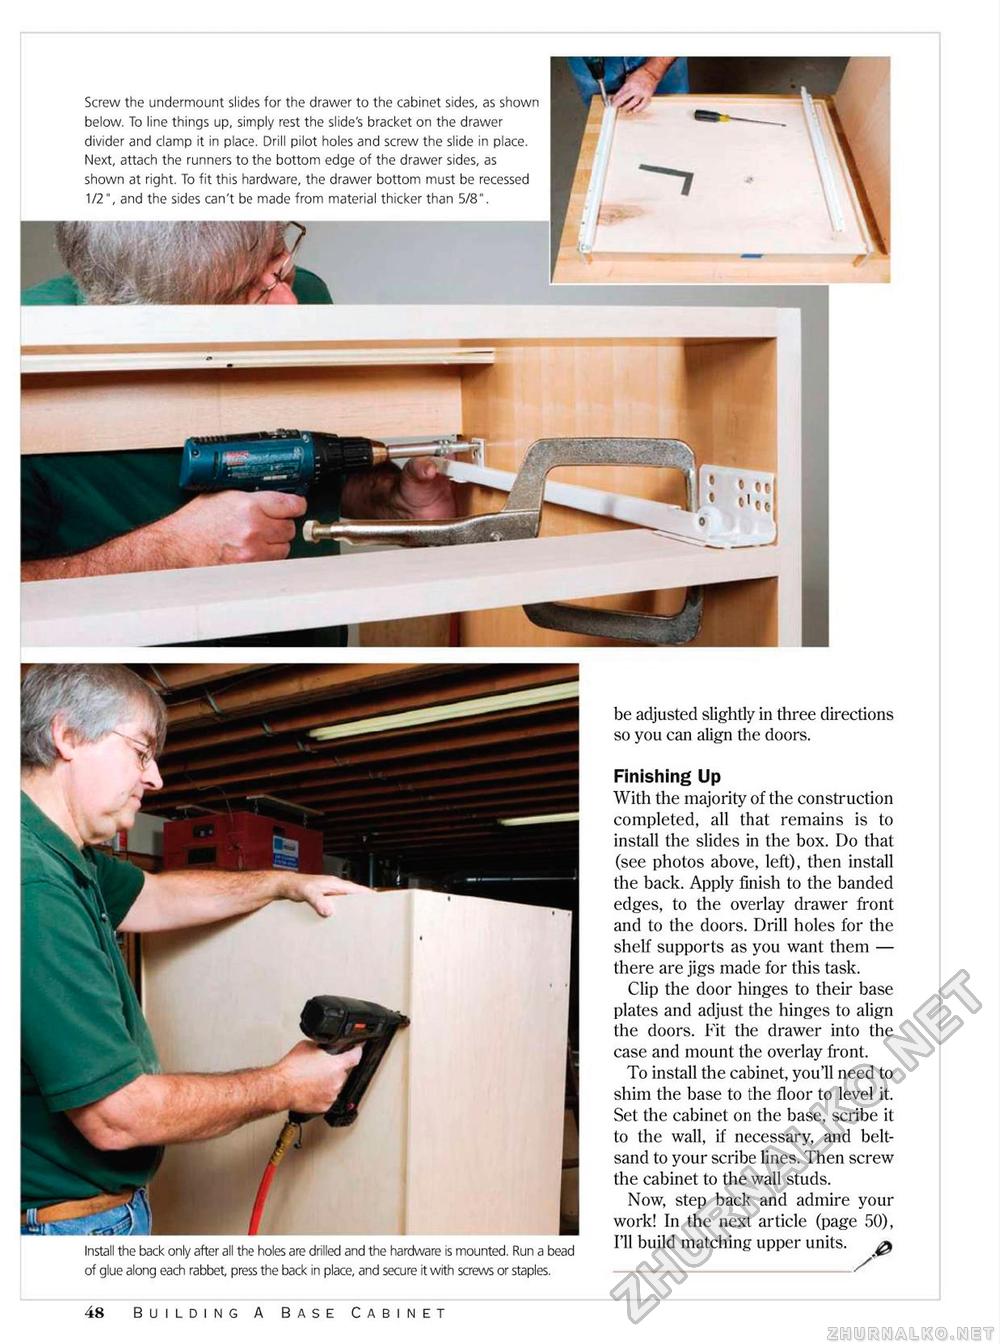
Screw the undermount slides for the drawer to the cabinet sides, as shown below. To line things up, simply rest the slide's bracket on the drawer divider and clamp it in place. Drill pilot holes and screw the slide in place. Next, attach the runners to the bottom edge of the drawer sides, as shown at right. To fit this hardware, the drawer bottom must be recessed 1/2", and the sides can't be made from material thicker than 5/8". be adjusted slightly in three directions so you can align the doors. Finishing Up With the majority of the construction completed, all that remains is to install the slides in the box. Do that (see photos above, left), then install the back. Apply finish to the banded edges, to the overlay drawer front and to the doors. Drill holes for the shelf supports as you want them — there are jigs made for this task. Clip the door hinges to their base plates and adjust the hinges to align the doors. Fit the drawer into the case and mount the overlay front. To install the cabinet, you'll need to shim the base to the floor to level it. Set the cabinet on the base, scribe it to the wall, if necessary, and belt-sand to your scribe lines. Then screw the cabinet to the wall studs. Now, step back and admire your work! In the next article (page 50), I'll build matching upper units. Install the back only after all the holes are drilled and the hardware is mounted. Run a bead of glue along each rabbet, press the back in place, and secure it with screws or staples. 48 Building A Base Cabinet |


