Woodworker's Journal fall-2010, страница 69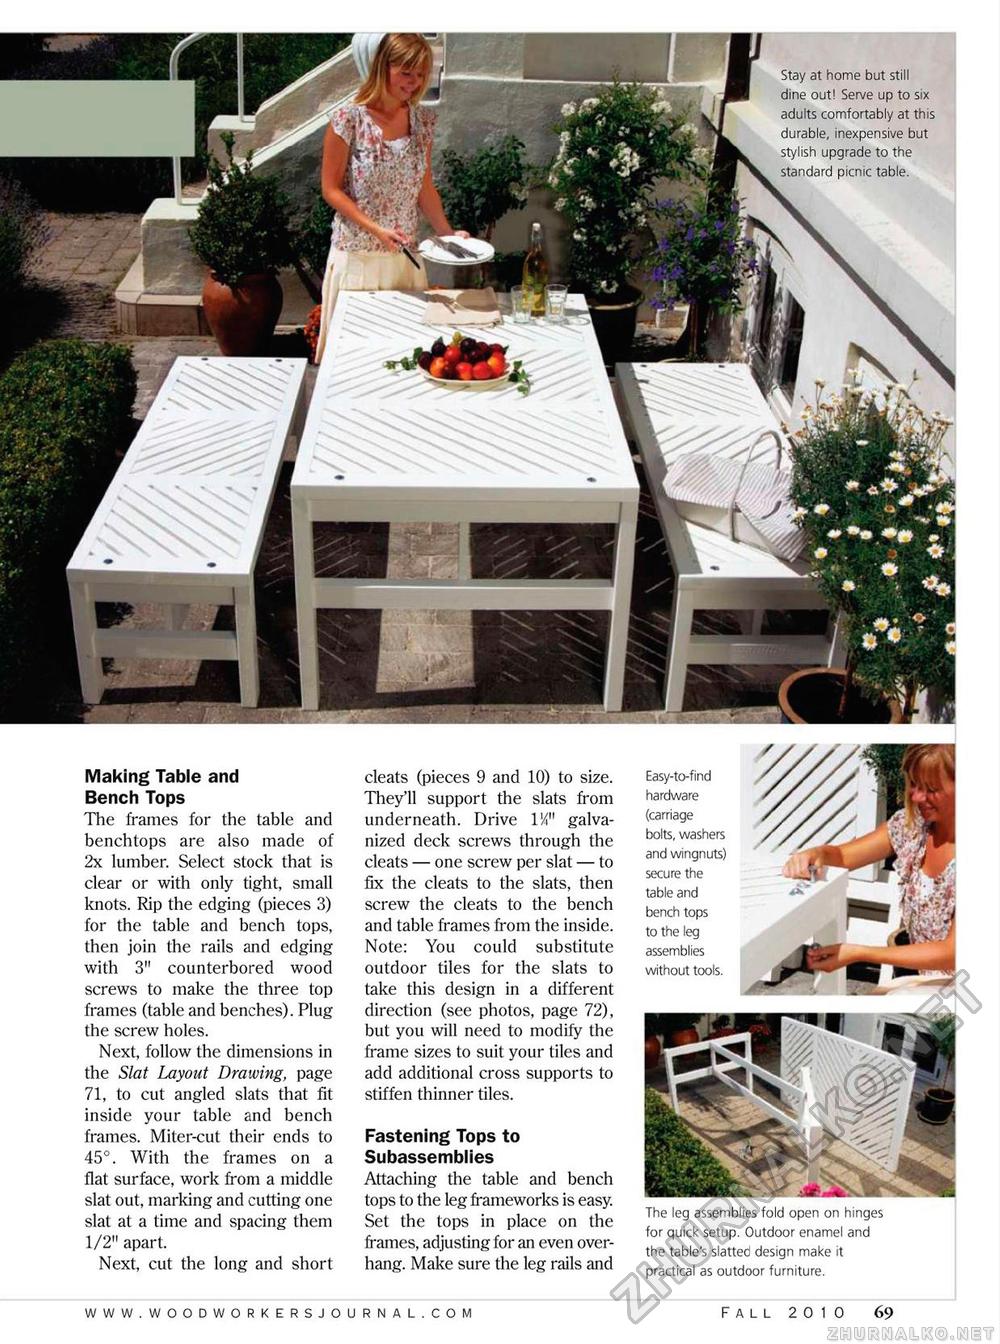
Stay at home but still dine out! Serve up to six adults comfortably at this durable, inexpensive but stylish upgrade to the standard picnic table. Making Table and Bench Tops The frames for the table and benchtops are also made of 2x lumber. Select stock that is clear or with only tight, small knots. Rip the edging (pieces 3) for the table and bench tops, then join the rails and edging with 3" counterbored wood screws to make the three top frames (table and benches). Plug the screw holes. Next, follow the dimensions in the Slat Layout Drawing, page 71, to cut angled slats that fit inside your table and bench frames. Miter-cut their ends to 45°. With the frames on a flat surface, work from a middle slat out, marking and cutting one slat at a time and spacing them 1/2" apart. Next, cut the long and short cleats (pieces 9 and 10) to size. They'll support the slats from underneath. Drive 1M" galvanized deck screws through the cleats — one screw per slat — to fix the cleats to the slats, then screw the cleats to the bench and table frames from the inside. Note: You could substitute outdoor tiles for the slats to take this design in a different direction (see photos, page 72), but you will need to modify the frame sizes to suit your tiles and add additional cross supports to stiffen thinner tiles. Fastening Tops to Subassemblies Attaching the table and bench tops to the leg frameworks is easy. Set the tops in place on the frames, adjusting for an even overhang. Make sure the leg rails and Easy-to-find hardware (carriage bolts, washers and wingnuts) secure the table and bench tops to the leg assemblies without tools. The leg assemblies fold open on hinges for quick setup. Outdoor enamel and the table's slatted design make it practical as outdoor furniture. Fall 2010 69 |


