Woodworker's Journal Full-Length-Curio-Cabinet, страница 5
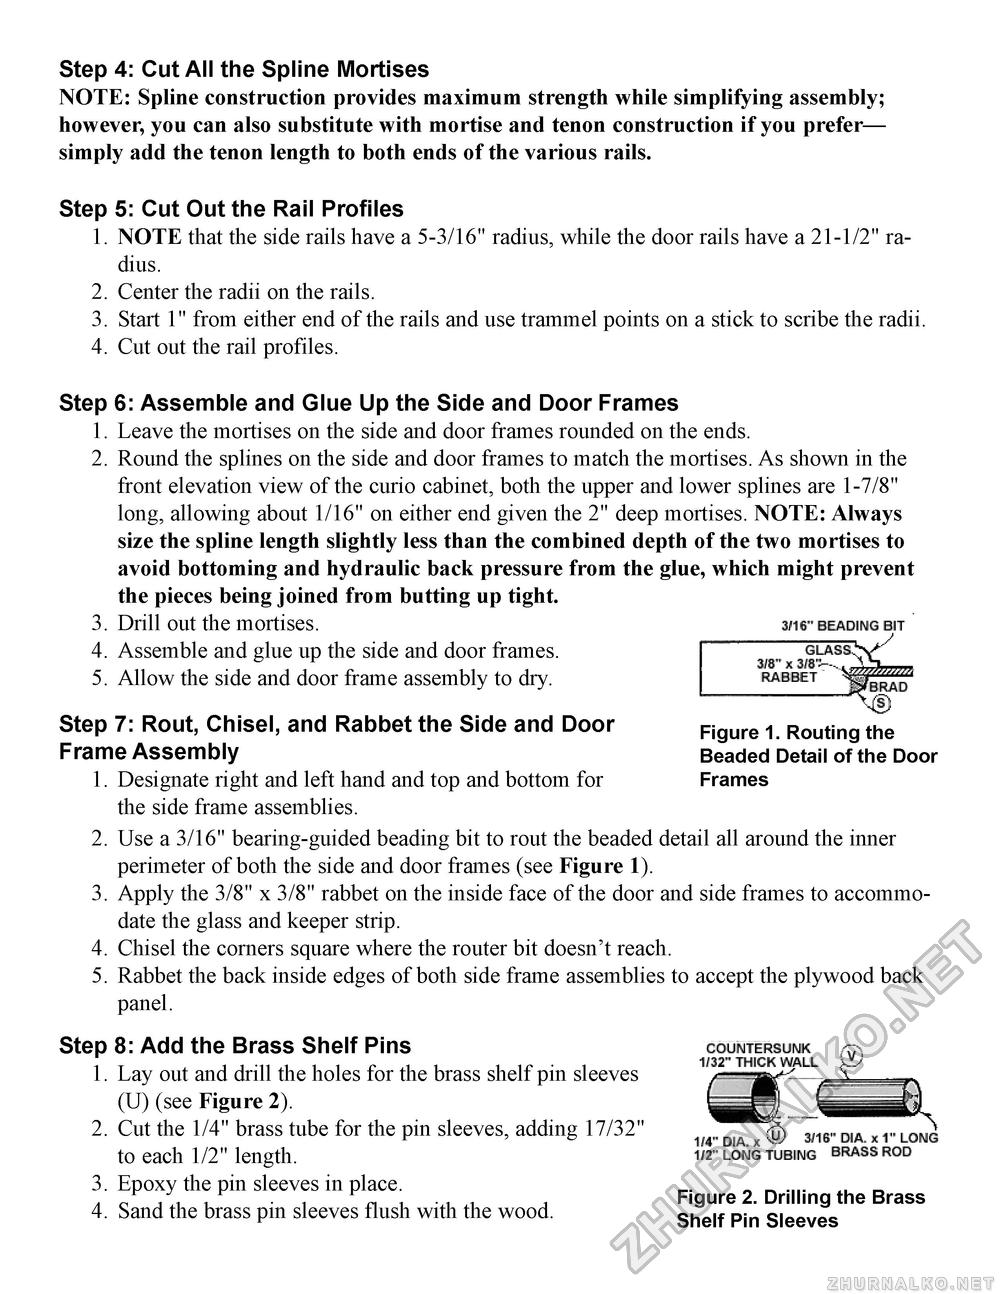
Step 4: Cut All the Spline MortisesNOTE: Spline construction provides maximum strength while simplifying assembly; however, you can also substitute with mortise and tenon construction if you prefer— simply add the tenon length to both ends of the various rails. Step 5: Cut Out the Rail Profiles1. NOTE that the side rails have a 5-3/16" radius, while the door rails have a 21-1/2" radius. 2. Center the radii on the rails. 3. Start 1" from either end of the rails and use trammel points on a stick to scribe the radii. 4. Cut out the rail profiles. Step 6: Assemble and Glue Up the Side and Door Frames1. 2. 3. 4. 5. Leave the mortises on the side and door frames rounded on the ends. Round the splines on the side and door frames to match the mortises. As shown in the front elevation view of the curio cabinet, both the upper and lower splines are 1-7/8" long, allowing about 1/16" on either end given the 2" deep mortises. NOTE: Always size the spline length slightly less than the combined depth of the two mortises to avoid bottoming and hydraulic back pressure from the glue, which might prevent the pieces being joined from butting up tight. Drill out the mortises. Assemble and glue up the side and door frames. Allow the side and door frame assembly to dry. BEADING I WJJJJA BRAD Figure 1. Routing the Beaded Detail of the Door Frames Step 7: Rout, Chisel, and Rabbet the Side and Door Frame Assembly1. Designate right and left hand and top and bottom for the side frame assemblies. 2. Use a 3/16" bearing-guided beading bit to rout the beaded detail all around the inner perimeter of both the side and door frames (see Figure 1). 3. Apply the 3/8" x 3/8" rabbet on the inside face of the door and side frames to accommodate the glass and keeper strip. 4. Chisel the corners square where the router bit doesn't reach. 5. Rabbet the back inside edges of both side frame assemblies to accept the plywood back panel. Step 8: Add the Brass Shelf Pins1. Lay out and drill the holes for the brass shelf pin sleeves (U) (see Figure 2). 2. Cut the 1/4" brass tube for the pin sleeves, adding 17/32" to each 1/2" length. 3. Epoxy the pin sleeves in place. Fi ure 2 Drillin the Brass 4. Sand the brass pin sleeves flush with the wood. Shelf Pin Sleeves |


