Woodworker's Journal winter-2009, страница 52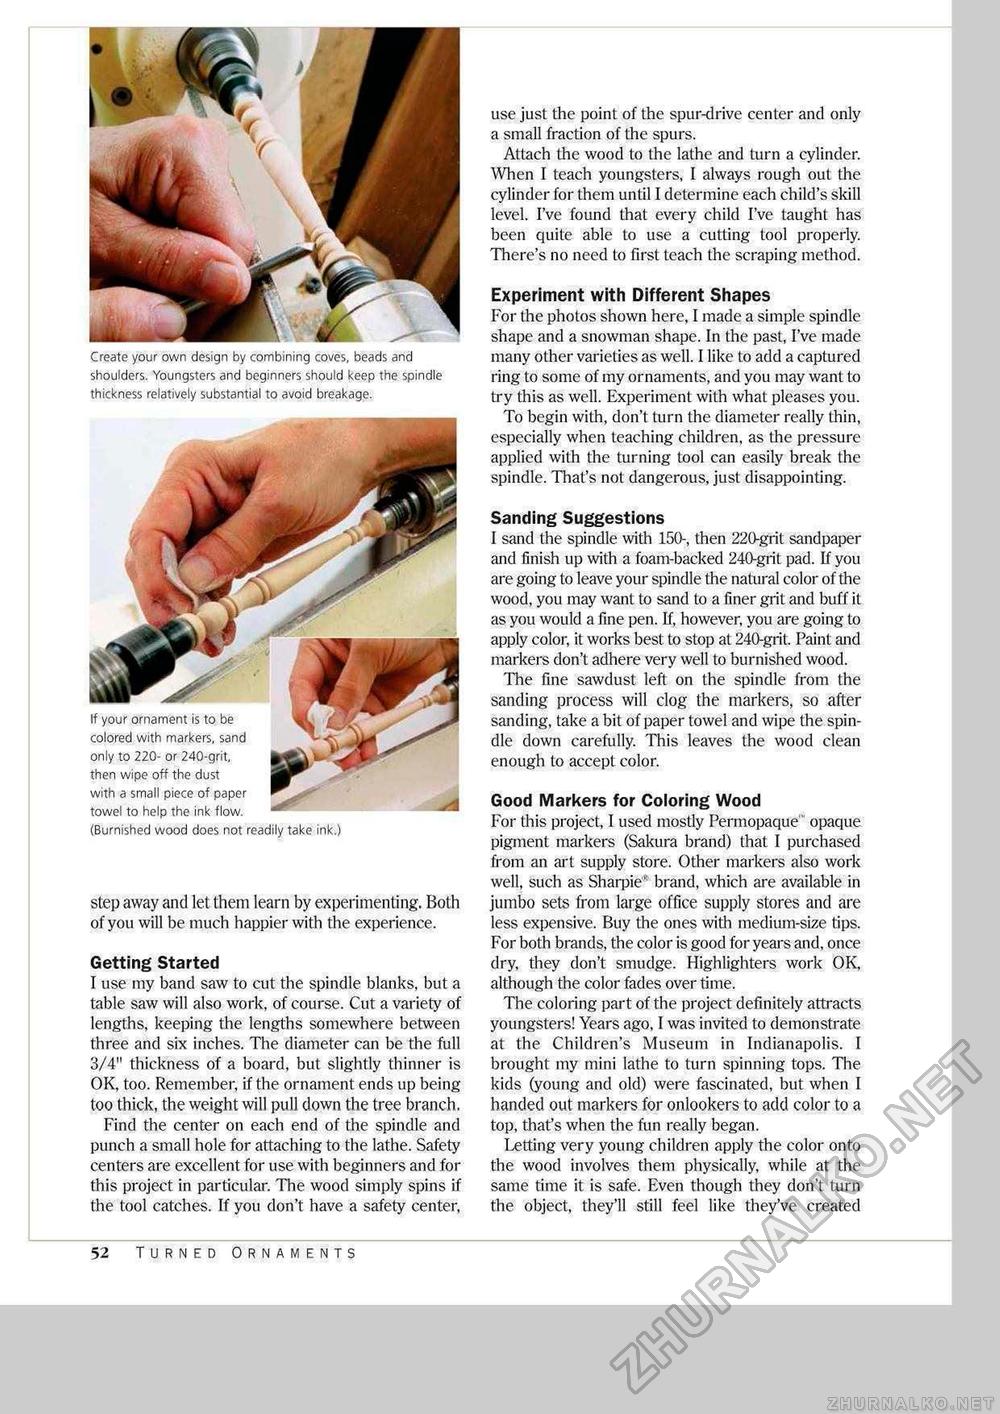
Create your own design by combining coves, beads and shoulders. Youngsters and beginners should keep the spindle thickness relatively substantial to avoid breakage. If your ornament is to be colored with markers, sand only to 220- or 240-grit, then wipe off the dust with a small piece of paper towel to help the ink flow. (Burnished wood does not readily take ink.) step away and let them learn by experimenting. Both of you will be much happier with the experience. Getting Started I use my band saw to cut the spindle blanks, but a table saw will also work, of course. Cut a variety of lengths, keeping the lengths somewhere between three and six inches. The diameter can be the full 3/4" thickness of a board, but slightly thinner is OK, too. Remember, if the ornament ends up being too thick, the weight will pull down the tree branch. Find the center on each end of the spindle and punch a small hole for attaching to the lathe. Safety centers are excellent for use with beginners and for this project in particular. The wood simply spins if the tool catches. If you don't have a safety center. use just the point of the spur-drive center and only a small fraction of the spurs. Attach the wood to the lathe and turn a cylinder. When I teach youngsters, I always rough out the cylinder for them until I determine each child's skill level. I've found that every child I've taught has been quite able to use a cutting tool properly. There's no need to first teach the scraping method. Experiment with Different Shapes For the photos shown here, I made a simple spindle shape and a snowman shape. In the past, I've made many other varieties as well. I like to add a captured ring to some of my ornaments, and you may want to try this as well. Experiment with what pleases you. To begin with, don't turn the diameter really thin, especially when teaching children, as the pressure applied with the turning tool can easily break the spindle. Thai's not dangerous, just disappointing. Sanding Suggestions I sand the spindle with 150-, then 220-grif sandpaper and finish up with a foam-backed 240-grit pad. If you are going to leave your spindle the natural color of the wood, you may want to sand to a finer grit and buff it as you would a fine pen. If, however, you are going to apply color, it works best to stop at 240-grit. Paint and markers don't adhere very well to burnished wood. The fine sawdust left on the spindle from the sanding process will clog the markers, so after sanding, take a bit of paper towel and wipe the spindle down carefully. This leaves the wood clean enough to accept color. Good Markers for Coloring Wood For this project, I used mostly Permopaque opaque pigment markers (Sakura brand) that I purchased from an art supply store. Other markers also work well, such as Sharpie" brand, which are available in jumbo sets from large office supply stores and are less expensive. Buy the ones with medium-size tips. For both brands, the color is good for years and, once dry, they don't smudge. Highlighters work OK, although the color fades over time. The coloring part of the project definitely attracts youngsters! Years ago, I was invited to demonstrate at the Children's Museum in Indianapolis. I brought my mini lathe to turn spinning tops. The kids (young and old) were fascinated, but when I handed out markers for onlookers to add color to a top, that's when the fun really began. letting very young children apply the color onto the wood involves them physically, while at the same time it is safe. Even though they don't turn the object, they'll still feel like they've created 52 Turned Ornaments |


