Creative Woodworks & crafts 1998-09, страница 38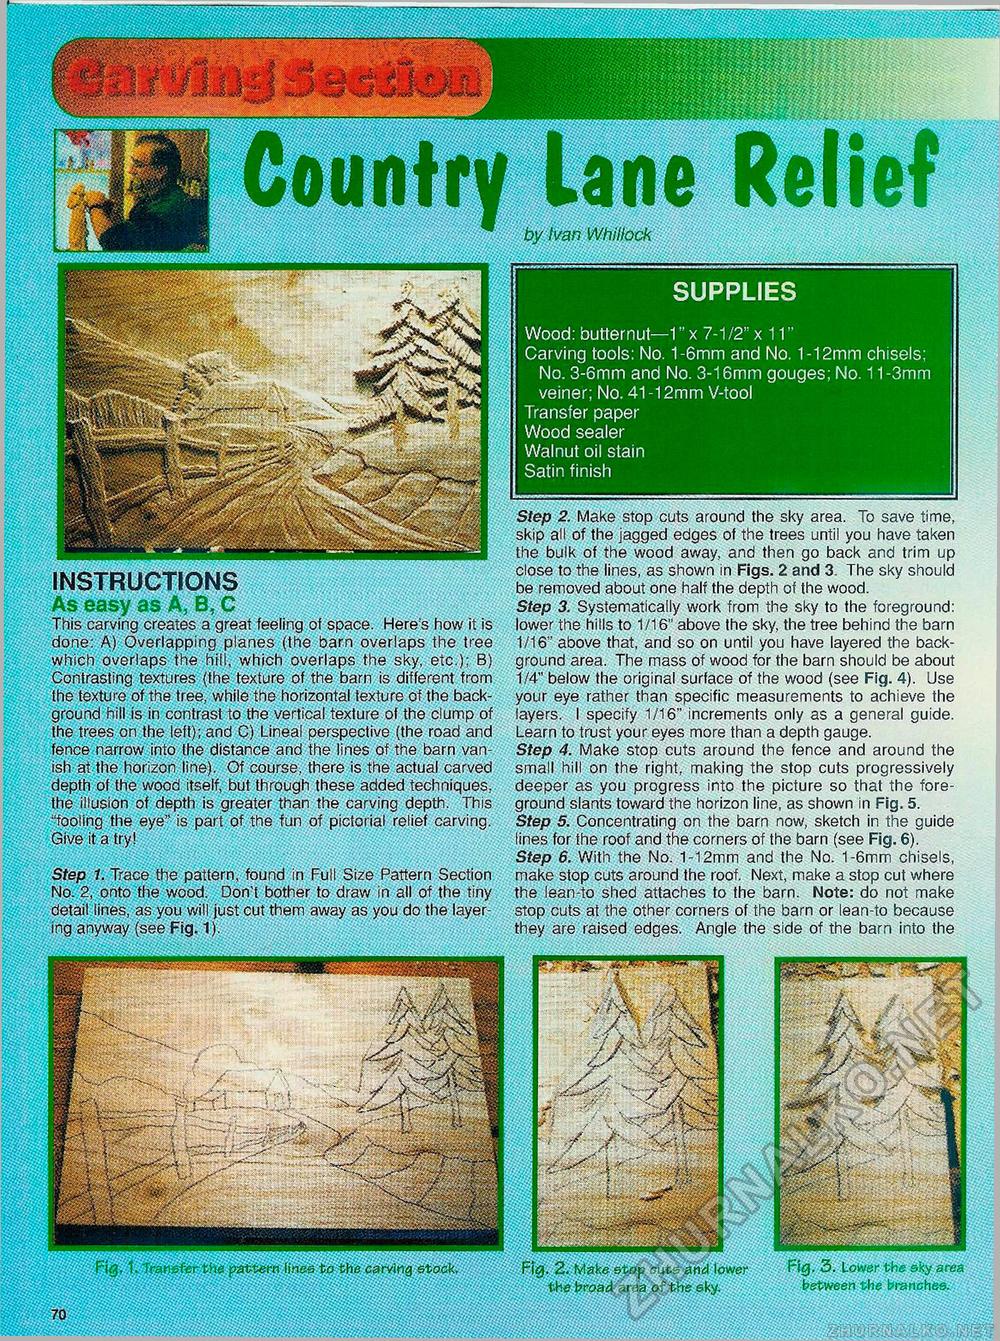
SUPPLIES Wood: butternut—1" x 7-1/2" x 11" Carving tools: No. 1-6mm and No. 1-12mm chisels; No. 3-6mm and No. 3-16mm gouges; No. 11 -3mm veiner; No. 41 -12mm V-tool Transfer paper Wood sealer Walnut oil stain Satin finish by Ivan Whillock Step 2. Make stop cuts around the sky area. To save time, skip all of the jagged edges of the trees until you have taken the bulk of the wood away, and then go back and trim up close to the lines, as shown in Figs. 2 and 3. The sky should be removed about one half the depth of the wood. Step 3. Systematically work from the sky to the foreground: lower the hills to 1/16" above the sky, the tree behind the barn 1/16" above that, and so on until you have layered the background area. The mass of wood for the barn should be about 1/4" below the original surface of the wood (see Fig. 4). Use your eye rather than specific measurements to achieve the layers. I specify 1/16" increments only as a general guide. Learn to trust your eyes more than a depth gauge. Step 4. Make stop cuts around the fence and around the small hill on the right, making the stop cuts progressively deeper as you progress into the picture so that the foreground slants toward the horizon line, as shown in Fig. 5. Step 5. Concentrating on the barn now, sketch in the guide lines for the roof and the corners of the barn (see Fig. 6). Step 6. With the No. 1-12mm and the No. 1-6mm chisels, make stop cuts around the roof. Next, make a stop cut where the lean-to shed attaches to the barn. Note: do not make stop cuts at the other corners of the barn or lean-to because they are raised edges. Angle the side of the barn into the a £ pP^Pg^S&a* • -XTZ: INSTRUCTIONS As easy as A, B, C This carving creates a great feeling of space. Here's how it is done: A) Overlapping planes (the barn overlaps the tree which overlaps the hit I, which overlaps the sky, etc.); 8) Contrasting textures (the texture of the barn is different from the texture of the tree, while the horizontal texture of the background hill is in contrast to the vertical texture of the clump of the trees on the left); and C) Lineal perspective (the road and fence narrow into the distance and the lines of the barn vanish at the horizon line). Of course, there is the actual carved depth ot the wood itself, but through these added techniques, the illusion of depth is greater than the carving depth. This "fooling the eye" is part of the fun of pictorial relief carving. Give it a try! Step 1. Trace the pattern, found in Full Size Pattern Section No. 2, onto the wood. Don't bother to draw in all of the tiny detail lines, as you will just cut them away as you do the layering anyway (see Fig. 1). Fig. 3. lower the sky area between the branches. Fig, 1. Transfer the pattern lines to the carving stock. Fig. 2. Make stop cuts and lower the broad area of the eky. |


