Creative Woodworks & crafts 1999-11, страница 16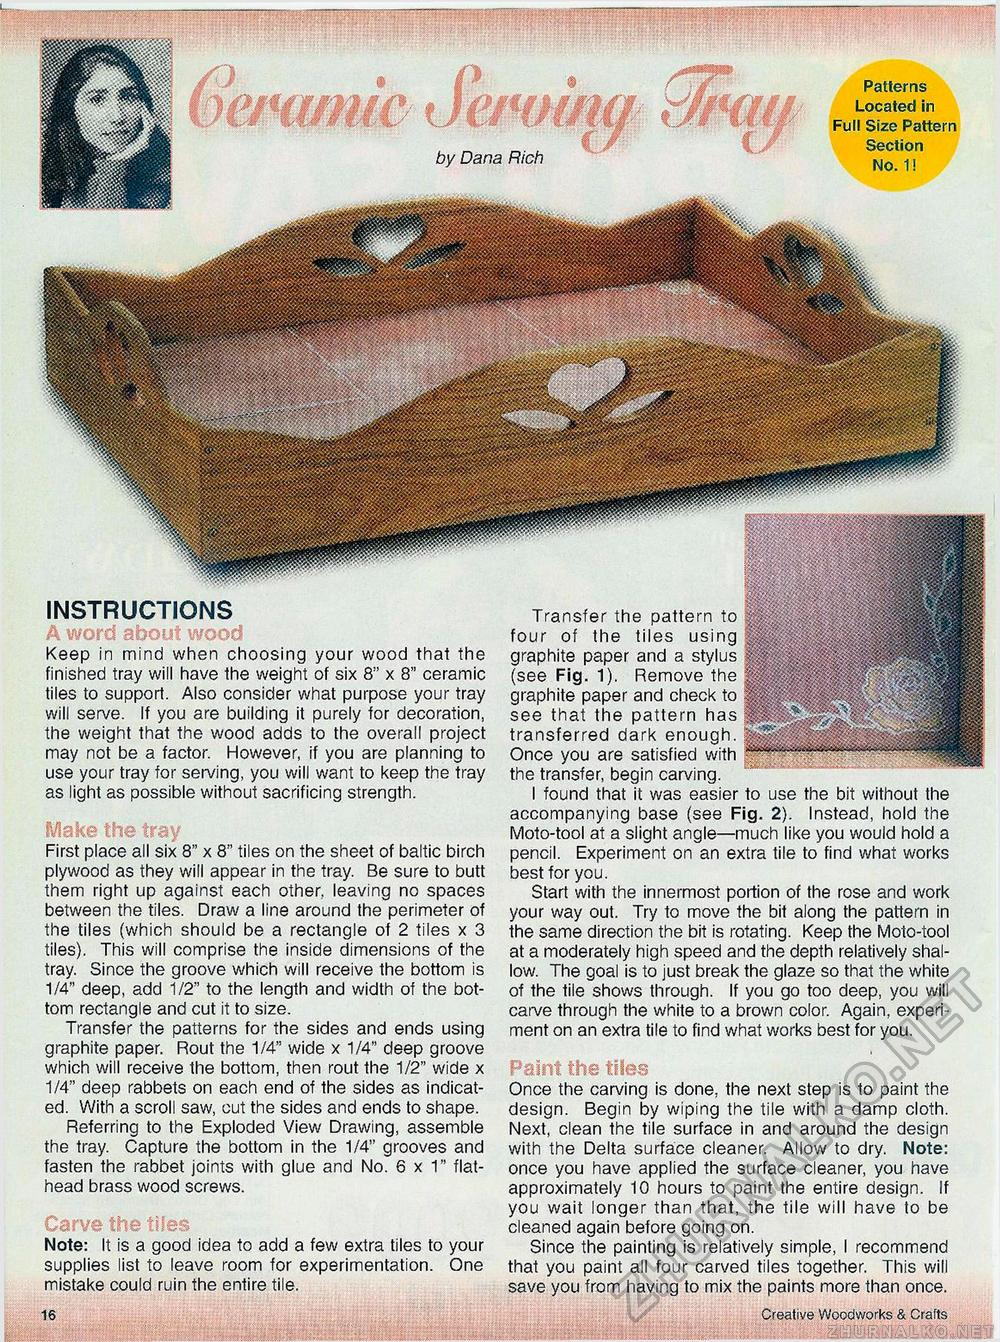
Patterns Located in Full Size Pattern Section No. 1! instructions Keep in mind when choosing your wood that the finished tray will have the weight of six 8" x 8" ceramic tiles to support. Also consider what purpose your tray will serve. If you are building it purely for decoration, the weight that the wood adds to the overall project may not be a factor. However, if you are planning to use your tray for serving, you will want to keep the tray as light as possible without sacrificing strength. First place all six 8" x 8" tiles on the sheet of baltic birch plywood as they will appear in the tray. Be sure to butt them right up against each other, leaving no spaces between the tiles. Draw a line around the perimeter of the tiles (which should be a rectangle of 2 tiles x 3 tiles). This will comprise the inside dimensions of the tray. Since the groove which will receive the bottom is 1/4" deep, add 1/2" to the length and width of the bottom rectangle and cut it to size. Transfer the patterns for the sides and ends using graphite paper. Rout the 1/4" wide x 1/4" deep groove which will receive the bottom, then rout the 1/2" wide x 1/4" deep rabbets on each end of the sides as indicated. With a scroll saw, cut the sides and ends to shape. Referring to the Exploded View Drawing, assemble the tray. Capture the bottom in the 1/4" grooves and fasten the rabbet joints with glue and No. 6x1" flat-head brass wood screws. Note: It is a good idea to add a few extra tiles to your supplies list to leave room for experimentation. One mistake could ruin the entire tile. 16 Transfer the pattern to four of the tiles using graphite paper and a stylus (see Fig. 1). Remove the graphite paper and check to see that the pattern has transferred dark enough. Once you are satisfied with the transfer, begin carving. I found that it was easier to use the bit without the accompanying base (see Fig. 2). Instead, hold the Moto-tool at a slight angle—much like you would hold a pencil. Experiment on an extra tile to find what works best for you. Start with the innermost portion of the rose and work your way out. Try to move the bit along the pattern in the same direction the bit is rotating. Keep the Moto-tool at a moderately high speed and the depth relatively shallow. The goal is to just break the glaze so that the white of the tile shows through. If you go too deep, you will carve through the white to a brown color. Again, experiment on an extra tile to find what works best for you. Paint the tiles Once the carving is done, the next step is to paint the design. Begin by wiping the tile with a damp cloth. Next, clean the tile surface in and around the design with the Delta surface cleaner. Allow to dry. Note: once you have applied the surface cleaner, you have approximately 10 hours to paint the entire design. If you wait longer than that, the tile will have to be cleaned again before going on. Since the painting is relatively simple, I recommend that you paint all four carved tiles together. This will save you from having to mix the paints more than once. Creative Woodworks & Crafts by Dana Rich |


