Creative Woodworks & crafts 2000-01, страница 28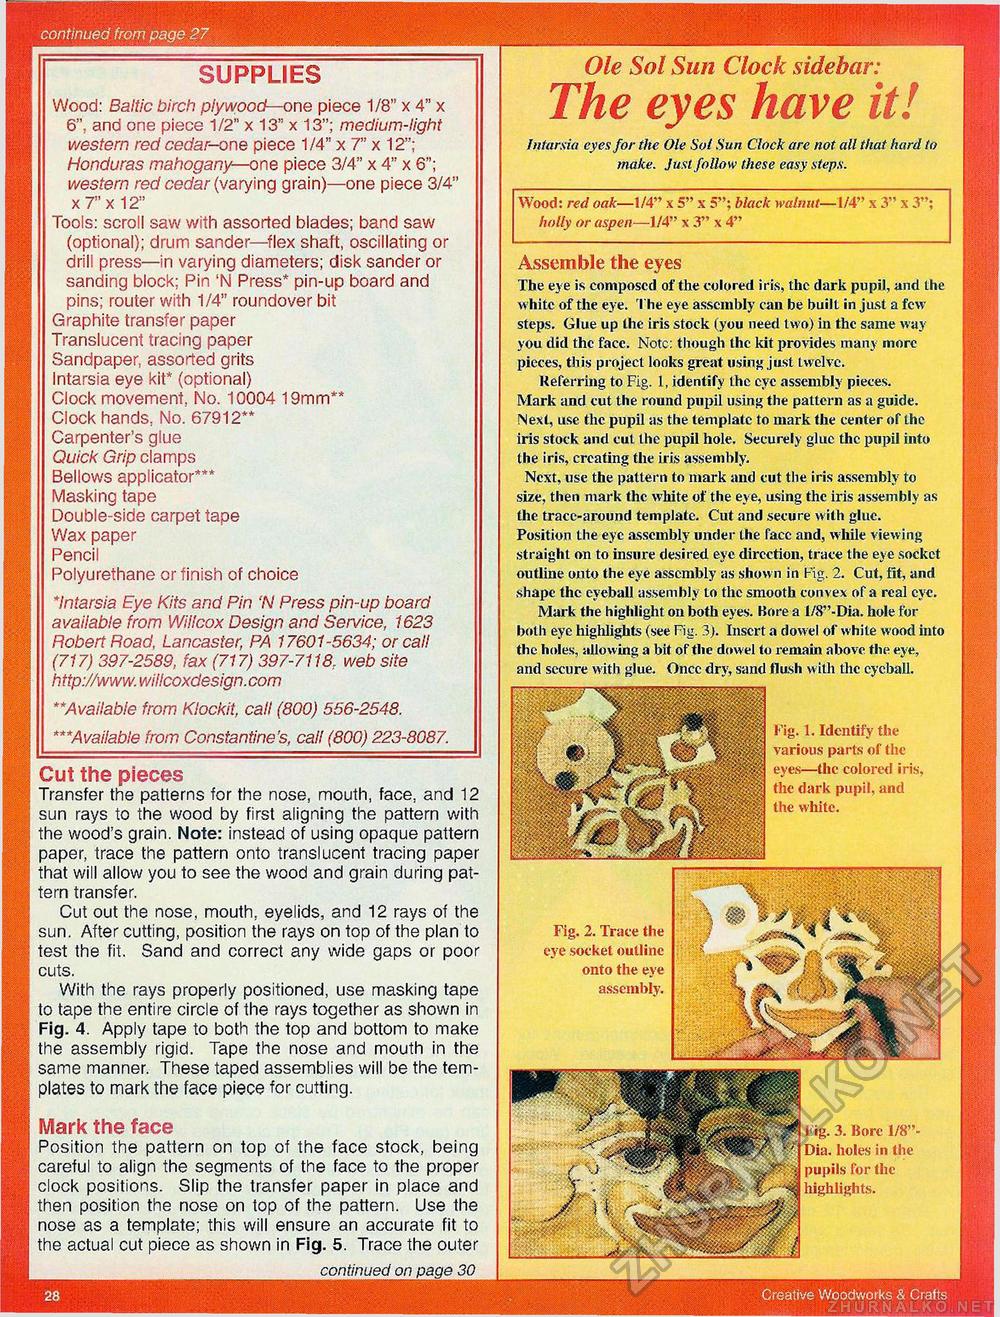
continued from page 27 SUPPLIES Wood: Baltic birch plywood— one piece 1/8" x 4" x 6", and one piece 1/2" x 13" x 13"; medium-light western red cedar-one piece 1/4" x 7" x 12"; Honduras mahogany—one piece 3/4" x 4" x 6"; western red cedar (varying grain)—one piece 3/4" x7"x 12" Tools: scroll saw with assorted blades; band saw (optional); drum sander—flex shaft, oscillating or drill press—in varying diameters; disk sander or sanding block; Pin 'N Press* pin-up board and pins; router with 1/4" roundover bit Graphite transfer paper Translucent tracing paper Sandpaper, assorted grits Intarsia eye kit* (optional) Clock movement. No. 10004 19mm** Clock hands, No. 67912** Carpenter's glue Quick Grip clamps Bellows applicator*** Masking tape Double-side carpet tape Wax paper Pencil Polyurethane or finish of choice 'Intarsia Eye Kits and Pin 'N Press pin-up board available from WiHcox Design and Service, 1623 Robert Road, Lancaster, PA 17601-5634; or call (717) 397-2589, fax (717) 397-7118. web site http://www. willcoxdesign. com "Available from Klockit, call (800) 556-2548. ***Available from Constantine's, call (800) 223-8087. Cut the pieces Transfer the patterns for the nose, mouth, face, and 12 sun rays to the wood by first aligning the pattern with the wood's grain. Note: instead of using opaque pattern paper, trace the pattern onto translucent tracing paper that will allow you to see the wood and grain during pattern transfer. Cut out the nose, mouth, eyelids, and 12 rays of the sun. After cutting, position the rays on top of the plan to test the fit. Sand and correct any wide gaps or poor cuts. With the rays properly positioned, use masking tape to tape the entire circle of the rays together as shown in Fig. 4. Apply tape to both the top and bottom to make the assembly rigid. Tape the nose and mouth in the same manner. These taped assemblies will be the templates to mark the face piece for cutting. Mark the face Position the pattern on top of the face stock, being careful to align the segments of the face to the proper clock positions. Slip the transfer paper in place and then position the nose on top of the pattern. Use the nose as a template; this will ensure an accurate fit to the actual cut piece as shown in Fig. 5. Trace the outer continued on page 30 Ole Sol Sun Clock sidebar: t The eyes have itJ Intarsia eyes for the Ole Sol Sun Clock are not all that hard to make. Just follow these easy steps. Wood: red oak—1/4" x 5" x 5"; black walnut—1/4" x 3" x 3"; holly or aspen—1/4" x 3" x 4" Assemble the eyes The eye is composed of the colored iris, the dark pupil, and the white of the eye. The eye assembly can be built in just a few-steps. Glue up the iris stock (you need two) in the same way you did the face. Note: though the kit provides many more pieces, this project looks great using just twelve. Referring to Fig. 1, identify the eve assembly pieces. Mark and cut the round pupil using the pattern as a guide. Next, use the pupil as the template to mark the center of the iris stock and cut the pupil hole. Securely glue the pupil into the iris, creating the iris assembly. Next, use the pattern to mark and cut the iris assembly to size, then mark the white of the eye, using the iris assembly as the trace-around template. Cut and secure with glue. Position the eye assembly under the face and, while viewing straight on to insure desired eve direction, trace the eye sockct outline onto the eye assembly as shown in Fig. 2. Cut, fit, and shape the eyeball assembly to the smooth convex of a real eve. Mark the highlight on both eyes. Bore a l/8"-Dia. hole for both eye highlights (see Fig. 3). Insert a dowel of white wood into the holes, allowing a bit of the dowel to remain above the eye, and secure with glue. Oncc drv, sand Hash with the eyeball. wMmm Fig. 1. Identify the various parts of the eyes—the colored iris, the dark pupil, and the white. Fig. 2. Trace the eye socket outline onto the eye assembly. I<ig. 3. Bore 1/8"-Dia. holes in the pupils for the highlights. |


