Creative Woodworks & crafts 2000-03, страница 12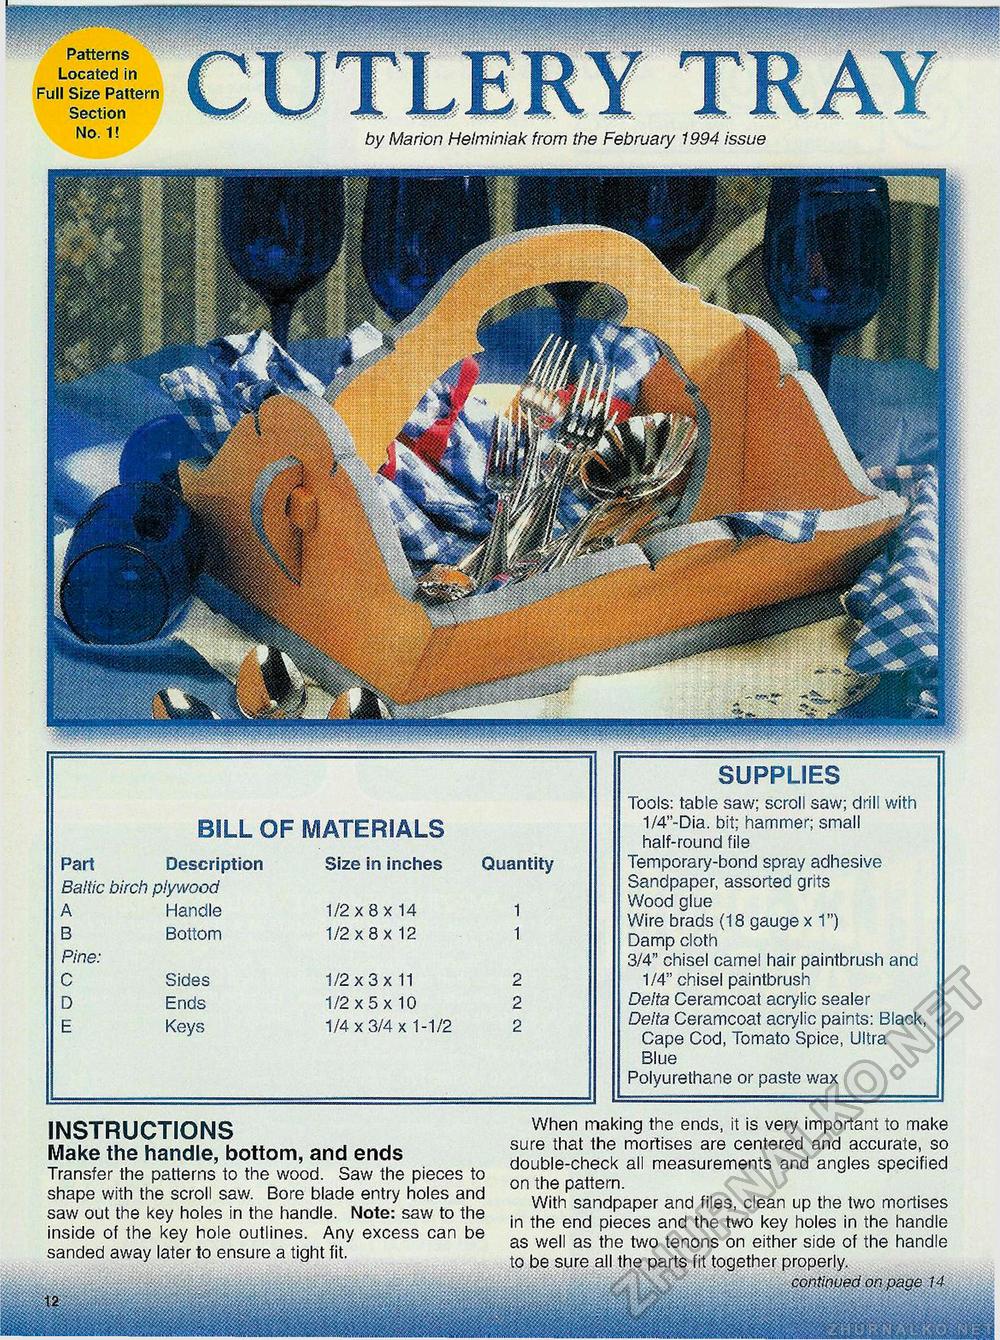
by Marion Helminiak from the February 1994 issue SUPPLIES Tools: table saw; scroll saw; drill with 1/4"-Dia. bit; hammer; small half-round file Temporary-bond spray adhesive Sandpaper, assorted grits Wood glue Wire brads (18 gauge x 1") Damp cloth 3/4" chisel camel hair paintbrush and 1/4" chisel paintbrush Delta Ceramcoat acrylic sealer Delta Ceramcoat acrylic paints: Black, Cape Cod, Tomato Spice, Ultra Blue Polyurethane or paste wax BILL OF MATERIALS Size in inches Quantity Part Description Baltic birch plywood A Handle B Bottom Pine: C Sides D Ends E Keys INSTRUCTIONS Make the handle, bottom, and ends Transfer the patterns to the wood. Saw the pieces to shape with the scroll saw. Bore blade entry holes and saw out the key holes in the handle. Note: saw to the inside of the key hole outlines. Any excess can be sanded * ~ When making the ends, it is very important to make sure that the mortises are centered and accurate, so double-check all measurements and angles specified on the pattern. With sandpaper and files, clean up the two mortises in the end pieces and the two key holes in the handle as well as the two tenons on either side of the handle |


