Creative Woodworks & crafts 2000-03, страница 50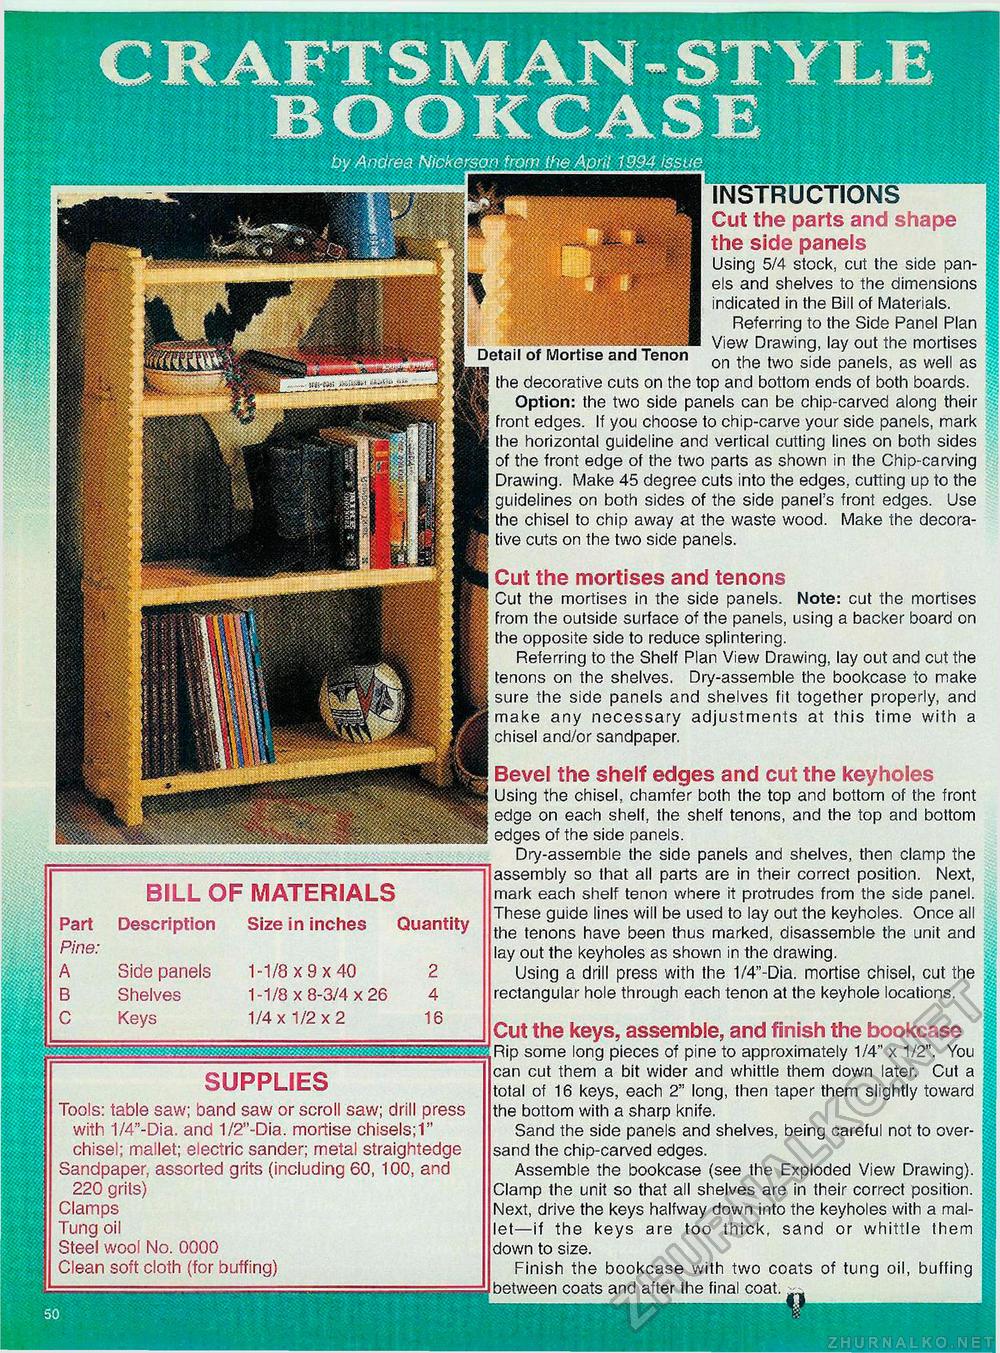
BILL OF MATERIALS Part Description Pine: A Side panels B Shelves C Keys Size in inches Quantity 1-1/8x9x40 2 1-1/8x8-3/4x26 4 1/4x1/2x2 16 INSTRUCTIONS Cut the parts and shape the side panels Using 5/4 stock, cut the side pan- & ? ' 1 els and shelves to the dimensions ▼ ■ indicated in the Bill of Materials. Referring to the Side Panel Plan View Drawing, lay out the mortises Detail of Mort.se and Tenon Qn th0 ,WQ side pane|s gs we|| as the decorative cuts on the top and bottom ends of both boards. Option: the two side panels can be chip-carved along their front edges. If you choose to chip-carve your side panels, mark the horizontal guideline and vertical cutting lines on both sides of the front edge of the two parts as shown in the Chip-carving Drawing. Make 45 degree cuts into the edges, cutting up to the guidelines on both sides of the side panel's front edges. Use the chisel to chip away at the waste wood. Make the decorative cuts on the two side panels. Cut the mortises and tenons Cut the mortises in the side panels. Note: cut the mortises from the outside surface of the panels, using a backer board on the opposite side to reduce splintering. Referring to the Shelf Plan View Drawing, lay out and cut the tenons on the shelves. Dry-assemble the bookcase to make sure the side panels and shelves fit together properly, and make any necessary adjustments at this time with a chisel and/or sandpaper. Bevel the shelf edges and cut the keyholes Using the chisel, chamfer both the top and bottom of the front edge on each shelf, the shelf tenons, and the top and bottom edges of the side panels. Dry-assemble the side panels and shelves, then clamp the assembly so that all parts are in their correct position. Next, mark each shelf tenon where it protrudes from the side panel. These guide lines will be used to lay out the keyholes. Once all the tenons have been thus marked, disassemble the unit and lay out the keyholes as shown in the drawing. Using a drill press with the 1/4"-Dia. mortise chisel, cut the rectangular hole through each tenon at the keyhole locations. SUPPLIES Tools: table saw; band saw or scroll saw; drill press with 1/4"-Dia. and 1/2"-Dia. mortise chisels;1" chisel; mallet; electric sander; metal straightedge Sandpaper, assorted grits (including 60, 100, and 220 grits) Clamps Tung oil Steel wool No. 0000 Clean soft cloth (for buffing) Cut the keys, assemble, and finish the bookcase Rip some long pieces of pine to approximately 1/4" x 1/2". You can cut them a bit wider and whittle them down later. Cut a total of 16 keys, each 2" long, then taper them slightly toward the bottom with a sharp knife. Sand the side panels and shelves, being careful not to over-sand the chip-carved edges. Assemble the bookcase (see the Exploded View Drawing). Clamp the unit so that all shelves are in their correct position. Next, drive the keys halfway down into the keyholes with a mallet—if the keys are too thick, sand or whittle them down to size. Finish the bookcase with two coats of tung oil, buffing between coats and after the final coat. |


