Creative Woodworks & crafts 2000-03, страница 64
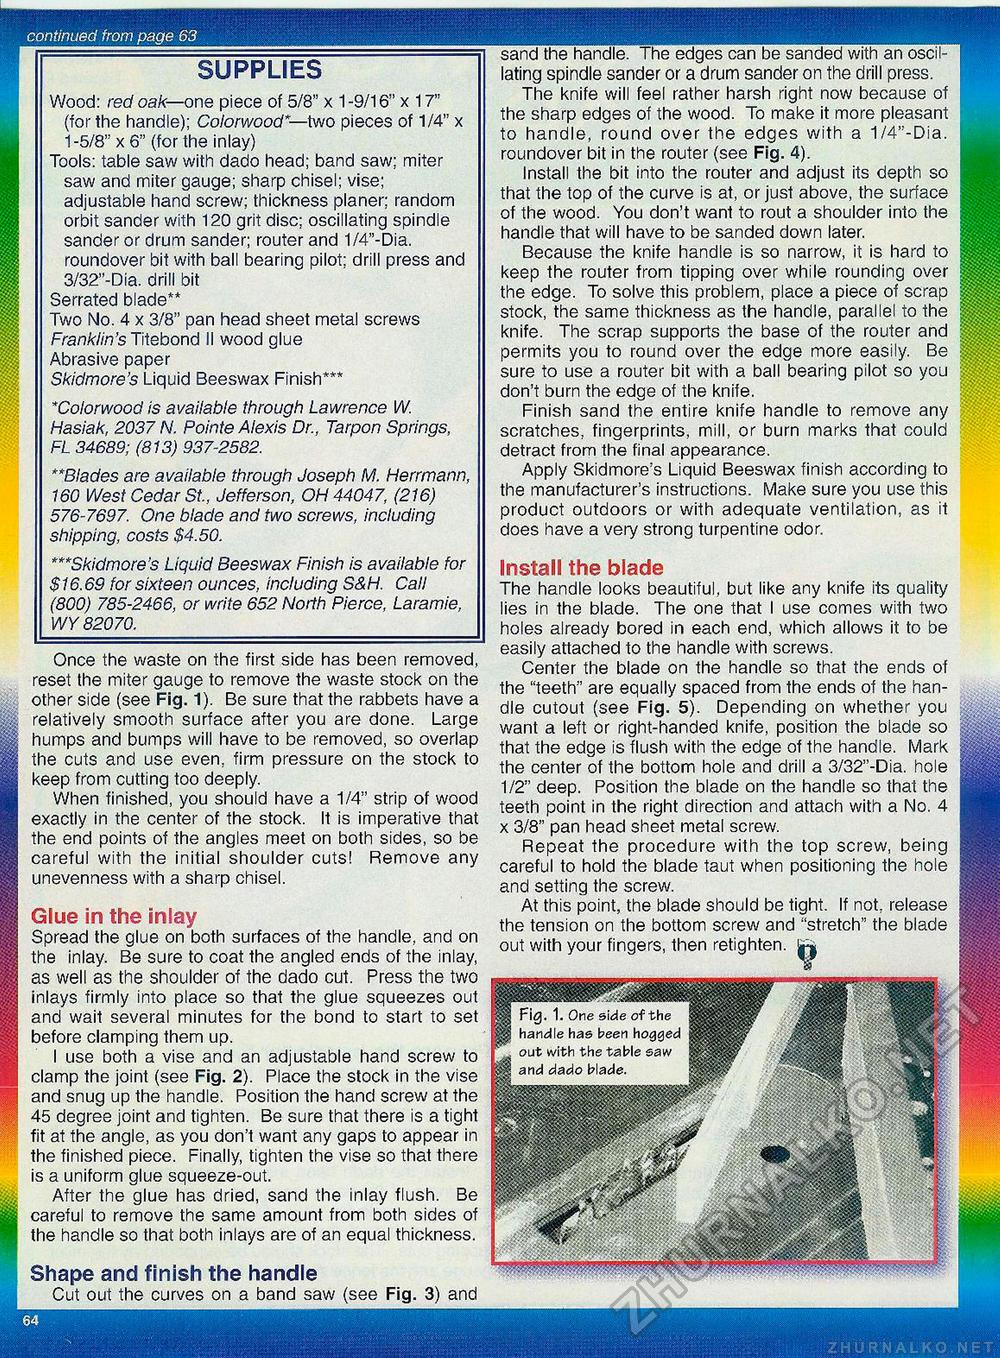
SUPPLIES Wood: red oak—one piece of 5/8" x 1 -9/16" x 17" (for the handle); Colorwood*— two pieces of 1/4" x 1 -5/8" x 6" (for the inlay) Tools: table saw with dado head; band saw; miter saw and miter gauge; sharp chisel; vise; adjustable hand screw; thickness planer; random orbit sander with 120 grit disc; oscillating spindle sander or drum sander; router and 1/4"-Dia. roundover bit with ball bearing pilot: drill press and 3/32"~Dia. drill bit Serrated blade"* Two No. 4 x 3/8" pan head sheet metal screws Franklin's Titebond II wood glue Abrasive paper Skidmore's Liquid Beeswax Finish*** *Colorwood is available through Lawrence W. Hasiak, 2037 N. Pointe Alexis Dr., Tarpon Springs, FL 34689; (813) 937-2582. **Blades are available through Joseph M. Herrmann, 160 West Cedar St, Jefferson, OH 44047, (216) 576-7697. One blade and two screws, including shipping, costs $4.50. ***Skidmore's Liquid Beeswax Finish is available for $16.69 for sixteen ounces, including S&H. Call (800) 785-2466, or write 652 North Pierce, Laramie, WY 82070. Once the waste on the first side has been removed, reset the miter gauge to remove the waste stock on the other side (see Fig. 1). Be sure that the rabbets have a relatively smooth surface after you are done. Large humps and bumps will have to be removed, so overlap the cuts and use even, firm pressure on the stock to keep from cutting too deeply. When finished, you should have a 1/4" strip of wood exactly in the center of the stock. It is imperative that the end points of the angles meet on both sides, so be careful with the initial shoulder cuts! Remove any unevenness with a sharp chisel. Glue in the inlay Spread the glue on both surfaces of the handle, and on the inlay. Be sure to coat the angled ends of the inlay, as well as the shoulder of the dado cut. Press the two inlays firmly into place so that the glue squeezes out and wait several minutes for the bond to start to set before clamping them up. I use both a vise and an adjustable hand screw to clamp the joint (see Fig. 2). Place the stock in the vise and snug up the handle. Position the hand screw at the 45 degree joint and tighten. Be sure that there is a tight fit at the angle, as you don't want any gaps to appear in the finished piece. Finally, tighten the vise so that there is a uniform glue squeeze-out. After the glue has dried, sand the inlay flush. Be careful to remove the same amount from both sides of the handle so that both inlays are of an equal thickness. Shape and finish the handle Cut out the curves on a band saw (see Fig. 3) and sand the handle. The edges can be sanded with an oscillating spindle sander or a drum sander on the drill press. The knife will feel rather harsh right now because of the sharp edges of the wood. To make it more pleasant to handle, round over the edges with a 1/4"-Dia. roundover bit in the router (see Fig. 4). Install the bit into the router and adjust its depth so that the top of the curve is at, or just above, the surface of the wood. You don't want to rout a shoulder into the handle that will have to be sanded down later. Because the knife handle is so narrow, it is hard to keep the router from tipping over while rounding over the edge. To solve this problem, place a piece of scrap stock, the same thickness as the handle, parallel to the knife. The scrap supports the base of the router and permits you to round over the edge more easily. Be sure to use a router bit with a ball bearing pilot so you don't burn the edge of the knife. Finish sand the entire knife handle to remove any scratches, fingerprints, mill, or burn marks that could detract from the final appearance. Apply Skidmore's Liquid Beeswax finish according to the manufacturer's instructions. Make sure you use this product outdoors or with adequate ventilation, as it does have a very strong turpentine odor. Install the blade The handle looks beautiful, but like any knife its quality lies in the blade. The one that I use comes with two holes already bored in each end, which allows it to be easily attached to the handle with screws. Center the blade on the handle so that the ends of the "teeth" are equally spaced from the ends of the handle cutout (see Fig. 5). Depending on whether you want a left or right-handed knife, position the blade so that the edge is flush with the edge of the handle. Mark the center of the bottom hole and drill a 3/32"-Dia. hole 1/2" deep. Position the blade on the handle so that the teeth point in the right direction and attach with a No. 4 x 3/8" pan head sheet metal screw. Repeat the procedure with the top screw, being careful to hold the blade taut when positioning the hole and setting the screw. At this point, the blade should be tight. If not, release the tension on the bottom screw and "stretch" the blade out with your fingers, then retighten. |


