Creative Woodworks & crafts 2000-06, страница 42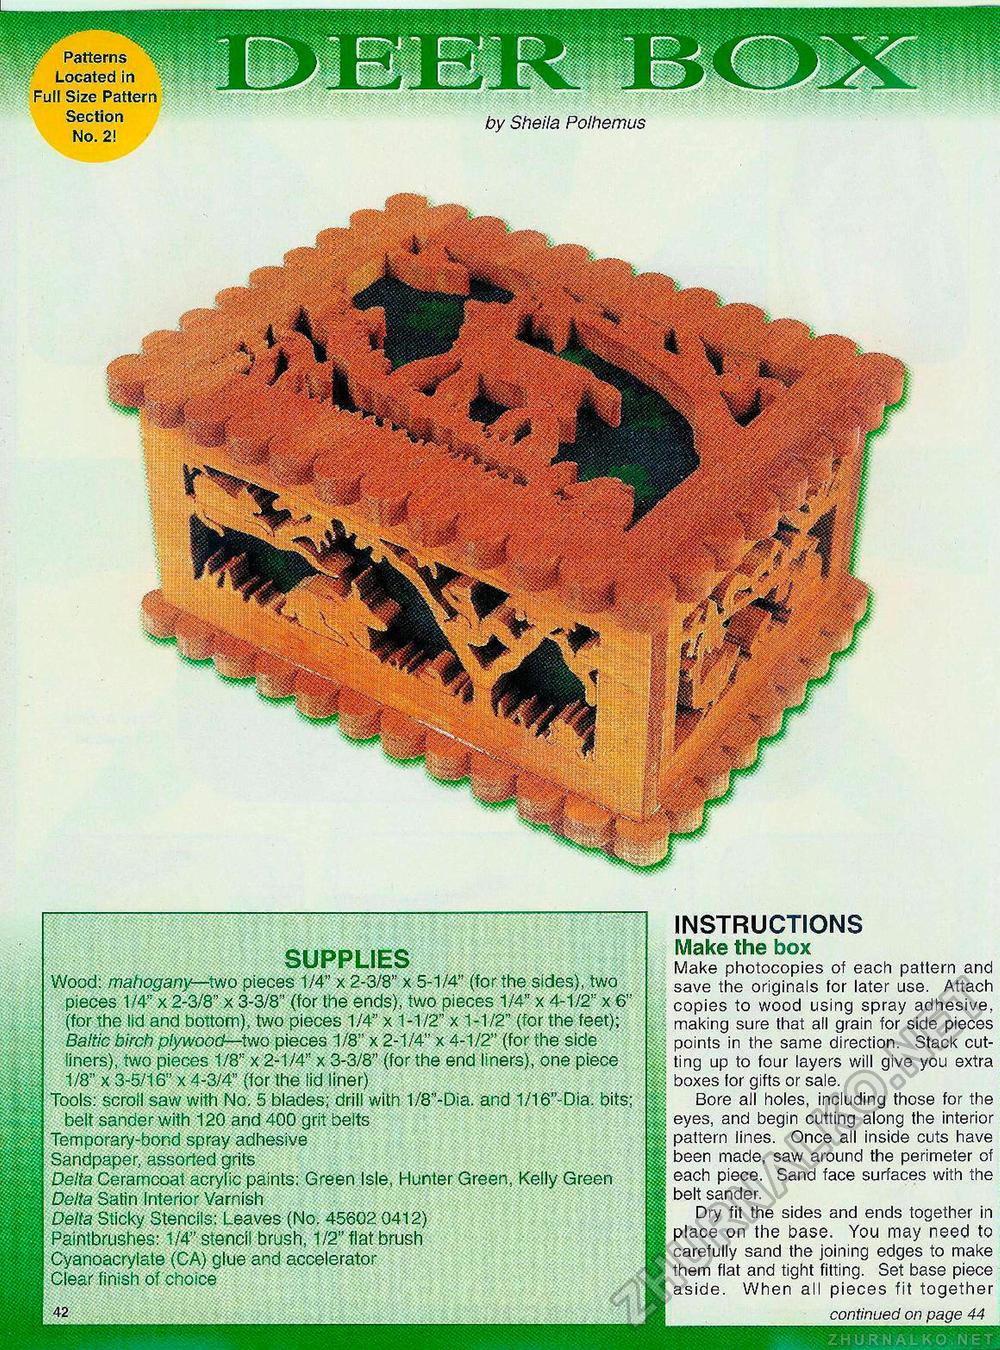
fT Patterns Located in Full Size Pattern Section No. 2! by Sheila Polhemus SUPPLIES Wood: mahogany—two pieces 1/4" x 2-3/8" x 5-1/4" (for the sides), two pieces 1/4" x 2-3/8" x 3-3/8" (for the ends), two pieces 1/4" x 4-1/2" x 6" (for the lid and bottom), two pieces 1/4" x 1-1/2" x 1-1/2" (for the feet); Baltic birch plywood—two pieces 1/8" x 2-1/4" x 4-1/2" (for the side liners), two pieces 1/8,: x 2-1/4" x 3-3/8" (for the end liners), one piece 1/8" x 3-5/16" x 4-3/4" (for the lid liner) Tools: scroti saw with No. 5 blades; drill with 1/8"-Dia. and 1/16"-Dia. bits; belt sander with 120 and 400 grit belts Temporary-bond spray adhesive Sandpaper, assorted grits Delta Ceramcoat acrylic paints: Green Isle, Hunter Green, Kelly Green Delta Satin Interior Varnish Delta Sticky Stencils: Leaves (No. 45602 0412) Paintbrushes: 1/4" stencil brush, 1/2" flat brush Cyanoacrylate (CA) glue and accelerator Clear finish of choice INSTRUCTIONS Make the box Make photocopies of each pattern and save the originals for later use. Attach copies to wood using spray adhesive, making sure that all grain for side pieces points in the same direction. Stack cutting up to four layers will give you extra boxes for gifts or sale. Bore all holes, including those for the eyes, and begin cutting along the interior pattern lines. Once all inside cuts have been made, saw around the perimeter of each piece. Sand face surfaces with the belt sander. Dry fit the sides and ends together in place on the base. You may need to carefully sand the joining edges to make them fiat and tight fitting. Set base piece aside. When all pieces fit together continued on page 44 |


