Creative Woodworks & crafts 2000-06, страница 45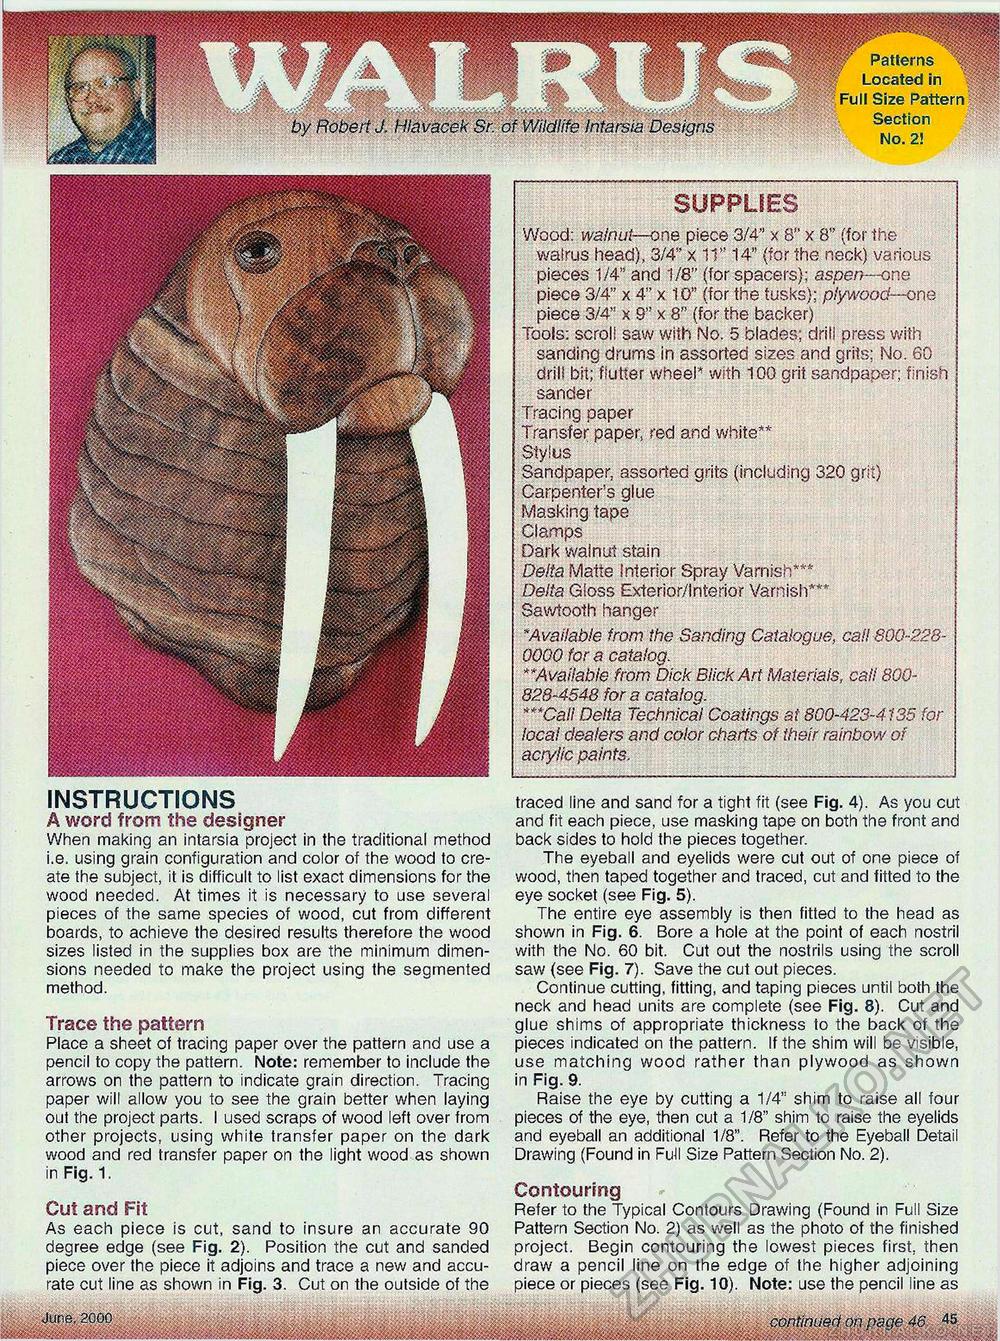
| ¥ Patterns Located in Full Size Pattern Section No. 2! by Robert J. Hlavacek Sr. of Wildlife Intarsia Designs SUPPLIES Wood: walnut—one piece 3/4" x 8" x 8" (for the walrus head), 3/4" x 11" 14" (for the neck) various pieces 1/4" and 1/8" (for spacers); aspen—one piece 3/4" x 4" x 10" (for the tusks); plywood—one piece 3/4" x 9" x 8" (for the backer) Tools: scroll saw with No. 5 blades; drill press with sanding drums in assorted sizes and grits; No. 60 drill bit; flutter wheel* with 100 grit sandpaper; finish sander Tracing paper Transfer paper, red and white** Stylus Sandpaper, assorted grits (including 320 grit) Carpenter's glue Masking tape Clamps Dark walnut stain Delta Matte Interior Spray Varnish*** Delta Gloss Exterior/Interior Varnish*** Sawtooth hanger "Available from the Sanding Catalogue, cat! 800-228-0000 for a catalog. "'Available from Dick BiickArt Materials, caii 800-828-4548 for a catalog. ***Cali Delta Technical Coatings at 800-423-4135 for local dealers and color charts of their rainbow of acrylic paints. INSTRUCTIONS A word from the designer When making an intarsia project in the traditional method i.e. using grain configuration and color of the wood to create the subject, it is difficult to list exact dimensions for the wood needed. At times it is necessary to use several pieces of the same species of wood, cut from different boards, to achieve the desired results therefore the wood sizes listed in the supplies box are the minimum dimensions needed to make the project using the segmented method. Trace the pattern Place a sheet of tracing paper over the pattern and use a pencil to copy the pattern. Note: remember to include the arrows on the pattern to indicate grain direction. Tracing paper will allow you to see the grain better when laying out the project parts. I used scraps of wood left over from other projects, using white transfer paper on the dark wood and red transfer paper on the light wood as shown in Fig. 1. Cut and Fit As each piece is cut, sand to insure an accurate 90 degree edge (see Fig. 2). Position the cut and sanded piece over the piece it adjoins and trace a new and accurate cut line as shown in Fig. 3. Cut on the outside of the traced line and sand for a tight fit (see Fig. 4). As you cut and fit each piece, use masking tape on both the front and back sides to hold the pieces together. The eyeball and eyelids were cut out of one piece of wood, then taped together and traced, cut and fitted to the eye socket (see Fig. 5). The entire eye assembly is then fitted to the head as shown in Fig. 6. Bore a hole at the point of each nostril with the No. 60 bit. Cut out the nostrils using the scroll saw (see Fig. 7). Save the cut out pieces. Continue cutting, fitting, and taping pieces until both the neck and head units are complete (see Fig. 8). Cut and glue shims of appropriate thickness to the back of the pieces indicated on the pattern. If the shim will be visible, use matching wood rather than plywood as shown in Fig. 9. Raise the eye by cutting a 1/4" shim to raise all four pieces of the eye, then cut a 1/8" shim to raise the eyelids and eyeball an additional 1/8". Refer to the Eyeball Detail Drawing (Found in Full Size Pattern Section No. 2). Contouring Refer to the Typical Contours Drawing (Found in Full Size Pattern Section No. 2) as well as the photo of the finished project. Begin contouring the lowest pieces first, then draw a pencil line on the edge of the higher adjoining piece or pieces (see Fig. 10). Note: use the pencil line as June, 2000 ■mmmi continued on page 46 45 |


