Creative Woodworks & crafts 2000-11, страница 40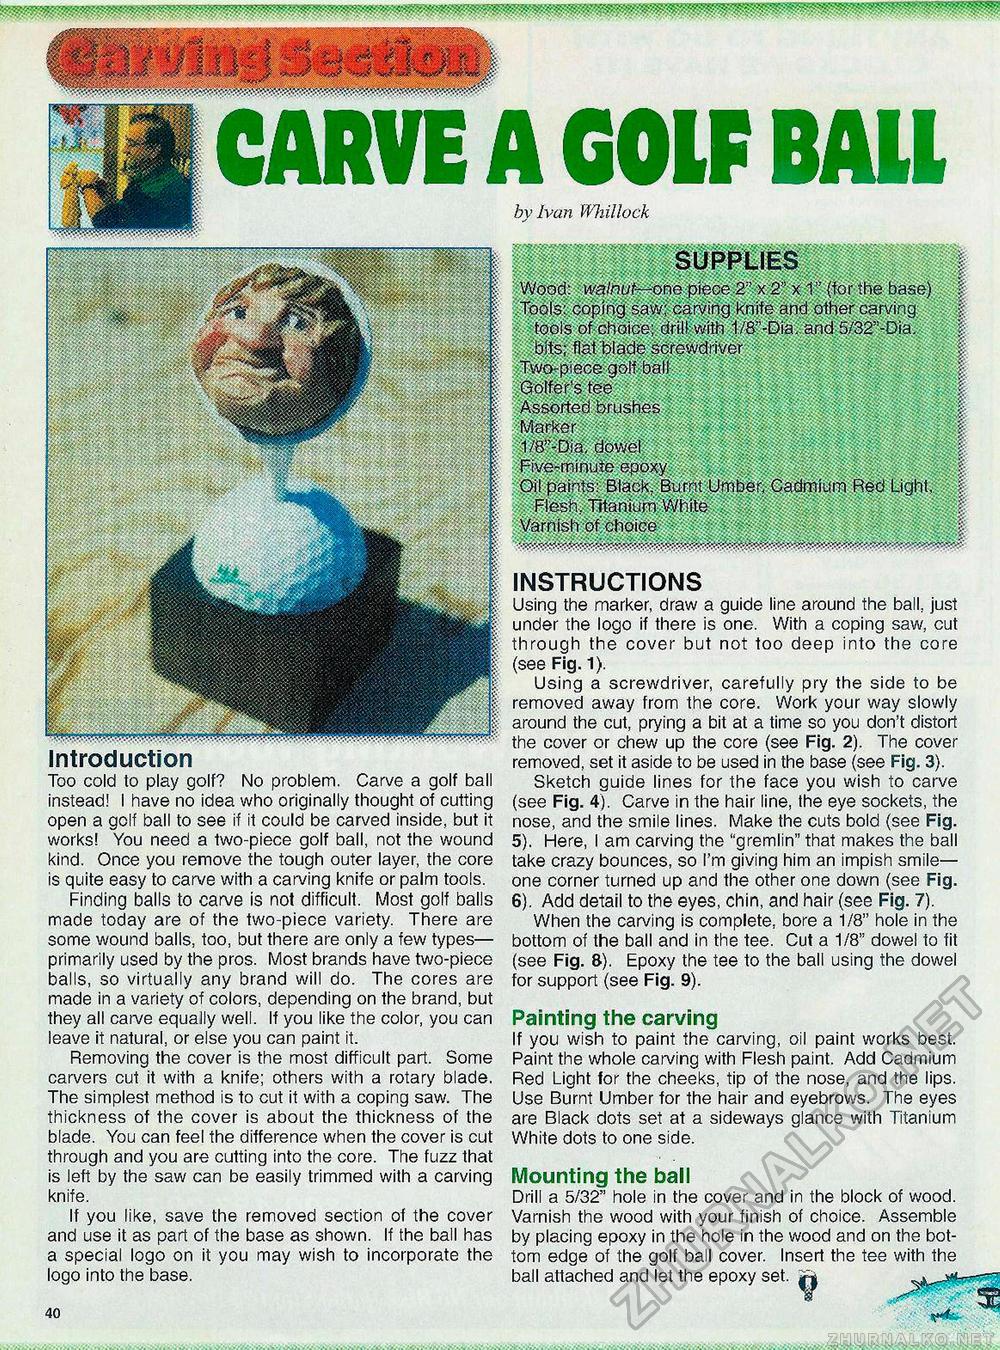
SUPPLIES Wood: walnut— one piece 2" x 2" x 1" {for the base) Tools:, coping saw; carving knife and other carving tools of choice; drill with 1/ff -Dia and 5/32"'-Dia. bits; flat Wade screwdriver Two-piece golf ball Golfer's tee Assorted brushes Marker 1/8"-Dia, dowel Five-minute epoxy Oil paints: Black, Burnt Umber. Cadmium Red Light, Flesh, Titanium White Varnish of choice CARVE A GOLF BALL by Ivan Whillock Introduction Too cold to play golf? No problem. Carve a golf ball instead! I have no idea who originally thought of cutting open a golf ball to see if it could be carved inside, but it works! You need a two-piece golf ball, not the wound kind. Once you remove the tough outer layer, the core is quite easy to carve with a carving knife or palm tools. Finding balls to carve is not difficult. Most golf balls made today are of the two-piece variety. There are some wound balls, too, but there are only a few types— primarily used by the pros. Most brands have two-piece balls, so virtually any brand will do. The cores are made in a variety of colors, depending on the brand, but they all carve equally well. If you like the color, you can leave it natural, or else you can paint it. Removing the cover is the most difficult part. Some carvers cut it with a knife; others with a rotary blade. The simplest method is to cut it with a coping saw. The thickness of the cover is about the thickness of the blade. You can feel the difference when the cover is cut through and you are cutting into the core. The fuzz that is left by the saw can be easily trimmed with a carving knife. If you like, save the removed section of the cover and use it as part of the base as shown. If the ball has a special logo on it you may wish to incorporate the logo into the base. 40 INSTRUCTIONS Using the marker, draw a guide line around the ball, just under the logo if there is one. With a coping saw, cut through the cover but not too deep into the core (see Fig, 1). Using a screwdriver, carefully pry the side to be removed away from the core. Work your way slowly around the cut, prying a bit at a time so you don't distort the cover or chew up the core (see Fig. 2). The cover removed, set it aside to be used in the base (see Fig. 3). Sketch guide lines for the face you wish to carve (see Fig. 4). Carve in the hair line, the eye sockets, the nose, and the smile lines. Make the cuts bold (see Fig. 5). Here, I am carving the "gremlin" that makes the ball take crazy bounces, so I'm giving him an impish smile— one comer turned up and the other one down (see Fig. 6). Add detail to the eyes, chin, and hair (see Fig. 7). When the carving is complete, bore a 1/8" hole in the bottom of the ball and in the tee. Cut a 1/8" dowel to fit (see Fig. 8). Epoxy the tee to the ball using the dowel for support (see Fig. 9). Painting the carving If you wish to paint the carving, oil paint works best. Paint the whole carving with Flesh paint. Add Cadmium Red Light for the cheeks, tip of the nose, and the lips. Use Burnt Umber for the hair and eyebrows. The eyes are Black dots set at a sideways glance with Titanium White dots to one side. Mounting the ball Drill a 5/32" hole in the cover and in the block of wood. Varnish the wood with your finish of choice. Assemble by placing epoxy in the hole in the wood and on the bottom edge of the golf ball cover. Insert the tee with the ball attached and let the epoxy set. |


