Creative Woodworks & crafts 2000-11, страница 42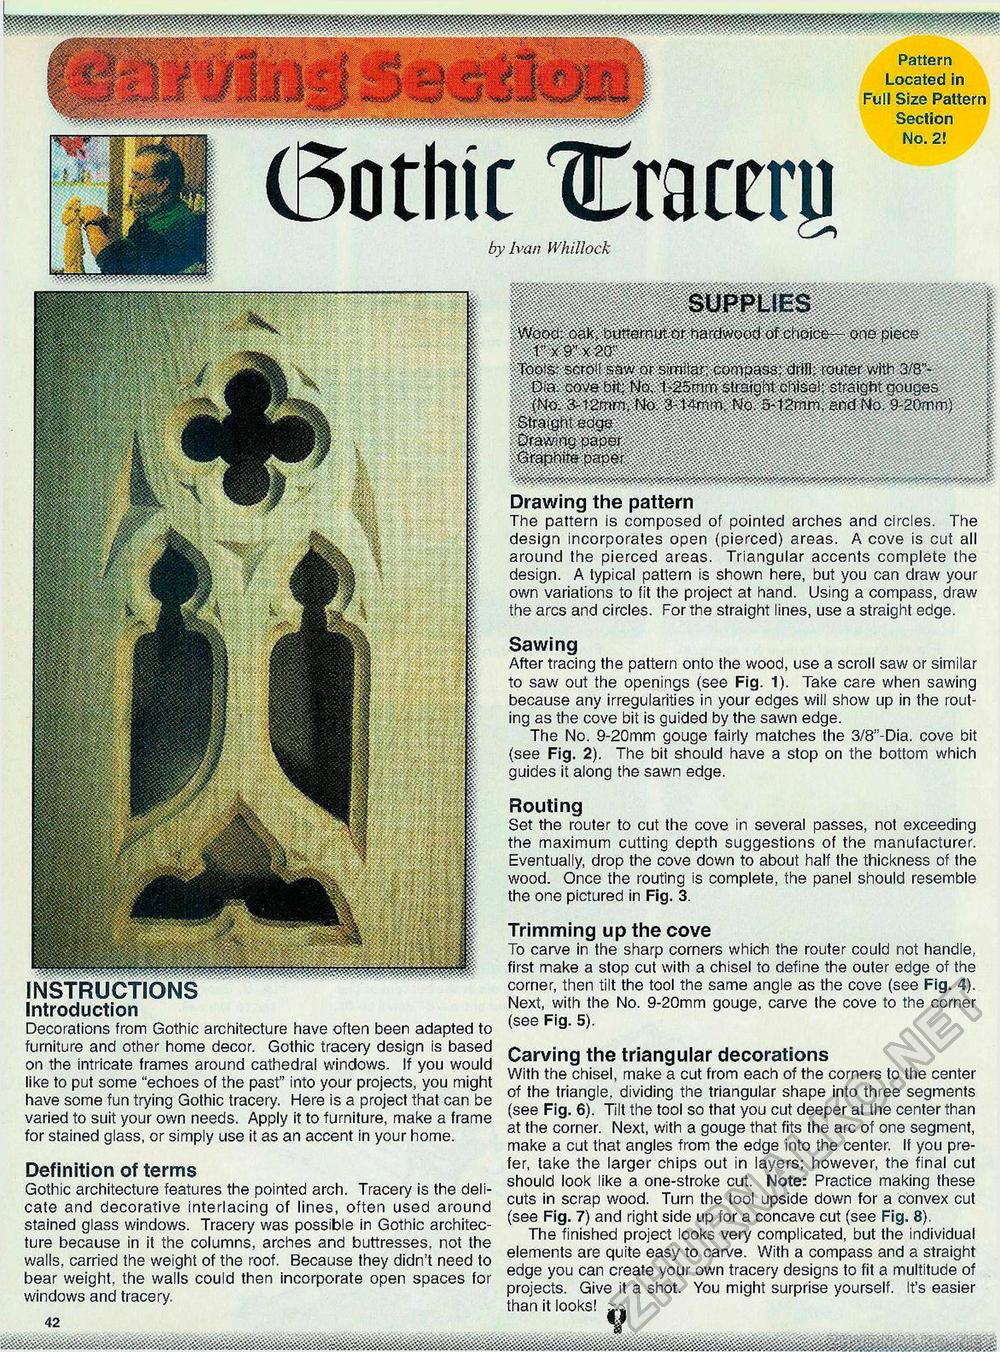
(Sothic ttoceruby Ivan Whillock SUPPLIES if Wood; 09k, butternut t}t hardwood of choice-- one piece % vxs-xpcr | Tools: scro-.: saw or snniiat; compass; drill; router with 3/8"- % . Dia. cove;bit; No. i-2orrim straight chisel: straight gouges • % (No. 3-12mm, No, 3-14mm, Wo 5-t2mm, and No 9-20mm) | Straight ecfge , , ' f Drawing paper ■ Graphite Drawing the pattern The pattern is composed of pointed arches and circles. The design incorporates open (pierced) areas. A cove is cut all around the pierced areas. Triangular accents complete the design. A typical pattern is shown here, but you can draw your own variations to fit the project at hand. Using a compass, draw the arcs and circles. For the straight lines, use a straight edge. Sawing After tracing the pattern onto the wood, use a scroll saw or similar to saw out the openings (see Fig. 1). Take care when sawing because any irregularities in your edges will show up in the routing as the cove bit is guided by the sawn edge. The No. 9-20mm gouge fairly matches the 3/8'-Dia. cove bit (see Fig. 2). The bit should have a stop on the bottom which guides it along the sawn edge. Routing Set the router to cut the cove in several passes, not exceeding the maximum cutting depth suggestions of the manufacturer. Eventually, drop the cove down to about half the thickness of the wood. Once the routing is complete, the panel should resemble the one pictured in Fig. 3. Trimming up the cove To carve in the sharp corners which the router could not handle, first make a stop cut with a chisel to define the outer edge of the corner, then tilt the tool the same angle as the cove (see Fig. 4). Next, with the No. 9-20mm gouge, carve the cove to the corner (see Fig. 5). Carving the triangular decorations With the chisel, make a cut from each of the corners to the center of the triangle, dividing the triangular shape into three segments (see Fig. 6). Tilt the tool so that you cut deeper at the center than at the corner. Next, with a gouge that fits the arc of one segment, make a cut that angles from the edge into the center. If you prefer, take the larger chips out in layers; however, the final cut should look like a one-stroke cut. Note: Practice making these cuts in scrap wood. Turn the tool upside down for a convex cut (see Fig. 7) and right side up for a concave cut (see Fig. 8). The finished project looks very complicated, but the individual elements are quite easy to carve. With a compass and a straight edge you can create your own tracery designs to fit a multitude of projects. Give it a shot. You might surprise yourself. It's easier than it looks! Introduction Decorations from Gothic architecture have often been adapted to furniture and other home decor. Gothic tracery design is based on the intricate frames around cathedral windows. If you would like to put some "echoes of the past" into your projects, you might have some fun trying Gothic tracery. Here is a project that can be varied to suit your own needs. Apply it to furniture, make a frame for stained glass, or simply use it as an accent in your home. Definition of terms Gothic architecture features the pointed arch. Tracery is the delicate and decorative interlacing of lines, often used around stained glass windows. Tracery was possible in Gothic architecture because in it the columns, arches and buttresses, not the walls, carried the weight of the roof. Because they didn't need to bear weight, the walls could then incorporate open spaces for windows and tracery. 42 |


