Creative Woodworks & crafts 2001-06, страница 6
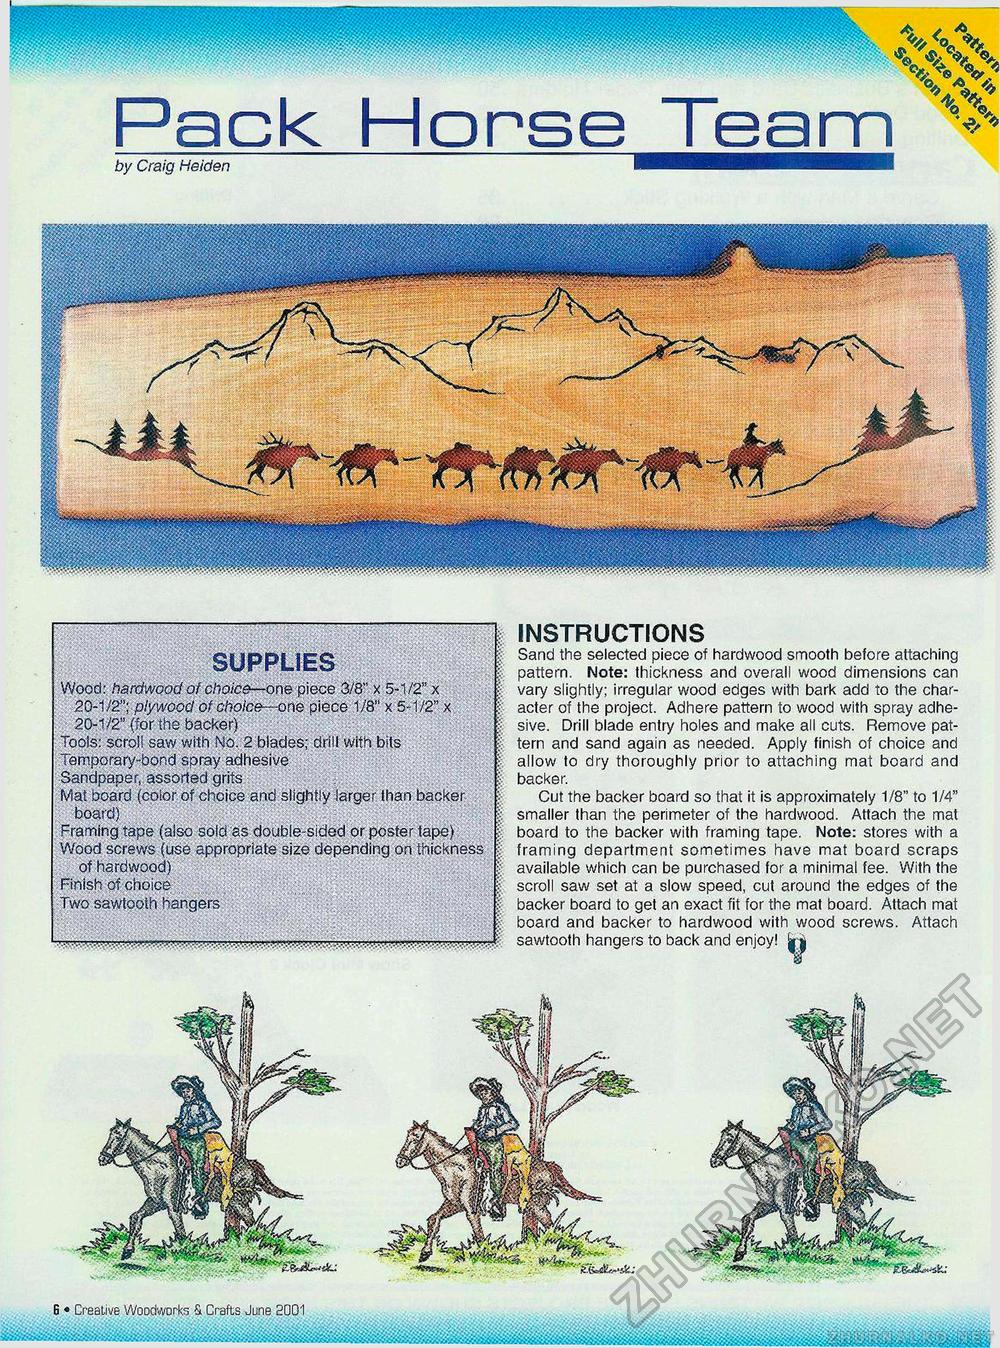
by Craig Heiden W: SUPPLIES Wood: hardwood of choice—one piece 3/8" x 5-1/2" x 20-1/2"; plywood of choice—one piece 1/8" x 5-1/2" x 20-1/2" (for the backer) Tools: scroll saw with NO. 2 blades; drill with bits Temporary-bond spray adhesive Sandpaper, assorted grits Mat board (color of choice and slightly larger than backer board) Framing tape (also sold as double-sided or poster tape) Wood screws (use appropriate size depending on thickness of hardwood) Finish of choice Two sawtooth hangers INSTRUCTIONS Sand the selected piece of hardwood smooth before attaching pattern. Note: thickness and overall wood dimensions can vary slightly; irregular wood edges with bark add to the character of the project. Adhere pattern to wood with spray adhesive. Drill blade entry holes and make all cuts. Remove pattern and sand again as needed. Apply finish of choice and allow to dry thoroughly prior to attaching mat board and backer. Cut the backer board so that it is approximately 1/8" to 1/4" smaller than the perimeter of the hardwood. Attach the mat board to the backer with framing tape. Note: stores with a framing department sometimes have mat board scraps available which can be purchased for a minimal fee. With the scroll saw set at a slow speed, cut around the edges of the backer board to get an exact fit for the mat board. Attach mat board and backer to hardwood with wood screws. Attach sawtooth hangers to back and enjoy! IB * Creative Woodworks S. drafts June 2001 |


