Creative Woodworks & crafts 2001-10, страница 22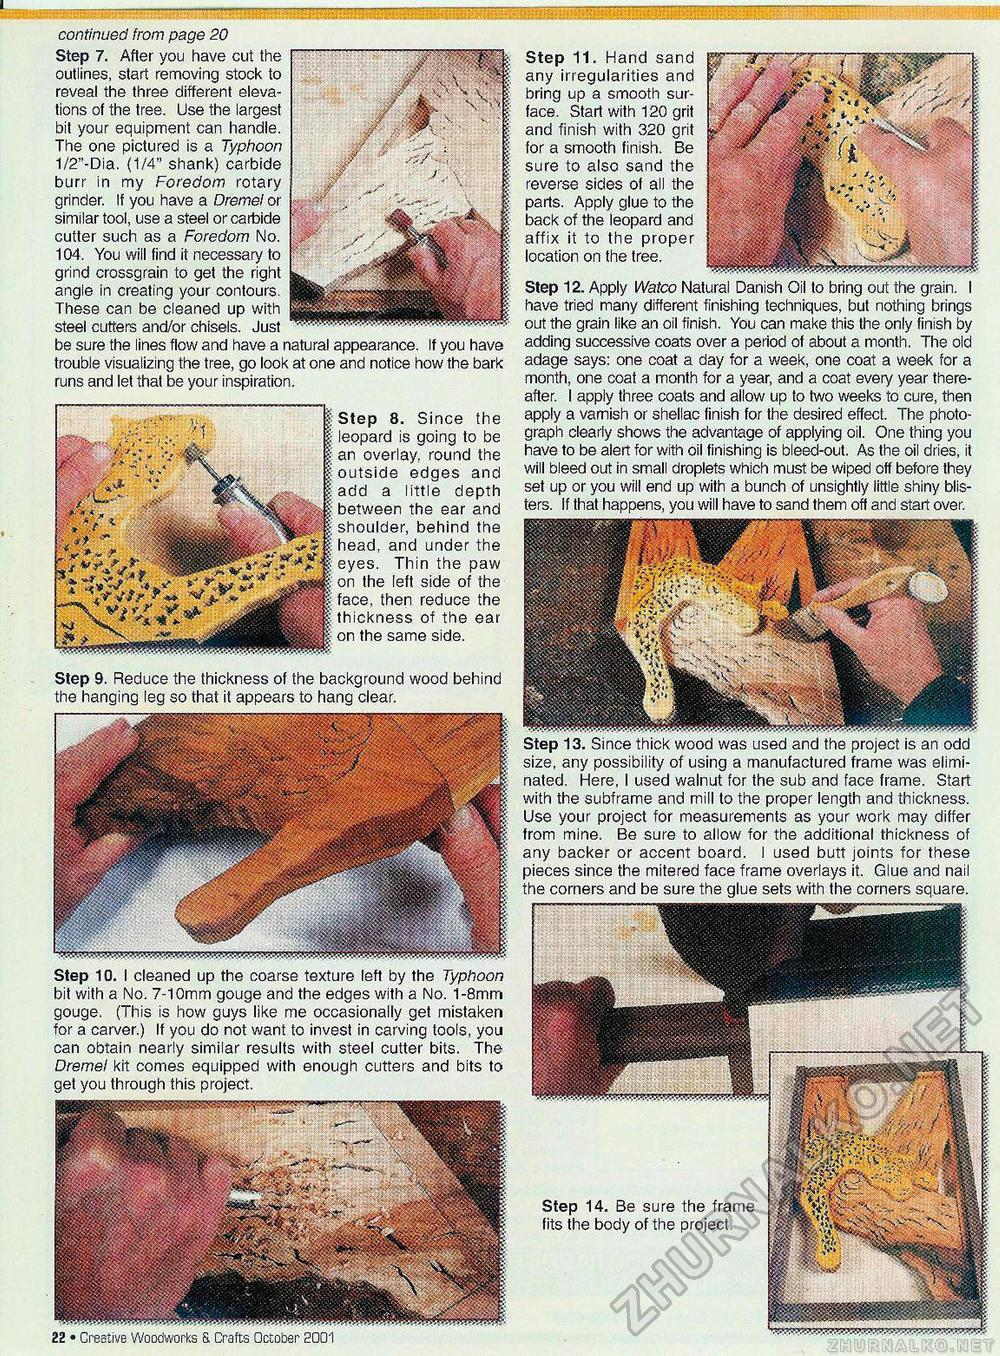
continued from page 20 Step 7. After you have cut the outlines, start removing stock to reveal the three different elevations of the tree. Use the largest bit your equipment can handle. The one pictured is a Typhoon 1/2"-Dia. (1/4" shank) carbide burr in my Foredom rotary grinder. If you have a Dremel or similar tool, use a steel or carbide cutter such as a Foredom No. 104. You will find it necessary to grind crossgrain to get the right angle in creating your contours. These can be cleaned up with steel cutters and/or chisels. Just be sure the lines flow and have a natural appearance. If you have trouble visualizing the tree, go look at one and notice how the bark runs and let that be your inspiration. Step 8. Since the leopard is going to be an overlay, round the outside edges and add a little depth between the ear and shoulder, behind the head, and under the eyes. Thin the paw on the left side of the face, then reduce the thickness of the ear on the same side. Step 9. Reduce the thickness of the background wood behind the hanging leg so that it appears to hang clear. Step 10. I cleaned up the coarse texture left by the Typhoon bit with a No. 7-10mm gouge and the edges with a No. 1-8mm gouge. (This is how guys like me occasionally get mistaken for a carver.) If you do not want to invest in carving tools, you can obtain nearly similar results with steel cutter bits. The Dremel kit comes equipped with enough cutters and bits to get you through this project. 22 • Creative Woodworks 8. Crafts October 2001 Step 13. Since thick wood was used and the project is an odd size, any possibility of using a manufactured frame was eliminated. Here, I used walnut for the sub and face frame. Start with the subframe and mill to the proper length and thickness. Use your project for measurements as your work may differ from mine. Be sure to allow for the additional thickness of any backer or accent board. I used butt joints for these pieces since the mitered face frame overlays it. Glue and nail the corners and be sure the glue sets with the corners square. Step 11. Hand sand any irregularities and bring up a smooth surface. Start with 120 grit and finish with 320 grit for a smooth finish. Be sure to also sand the reverse sides of all the parts. Apply glue to the back of the leopard and affix it to the proper location on the tree. Step 12. Apply Watco Natural Danish Oil to bring out the grain. I have tried many different finishing techniques, but nothing brings out the grain like an oil finish. You can make this the only finish by adding successive coats over a period of about a month. The old adage says: one coat a day for a week, one coat a week for a month, one coat a month for a year, and a coat every year thereafter. I apply three coats and allow up to two weeks to cure, then apply a varnish or shellac finish for the desired effect. The photograph clearly shows the advantage of applying oil. One thing you have to be alert for with oil finishing is bleed-out. As the oil dries, it will bleed out in small droplets which must be wiped off before they set up or you will end up with a bunch of unsightly little shiny blisters. If that happens, you will have to sand them off and start over. Step 14. Be sure the frame fits the body of the project. |


