Creative Woodworks & crafts 2001-10, страница 23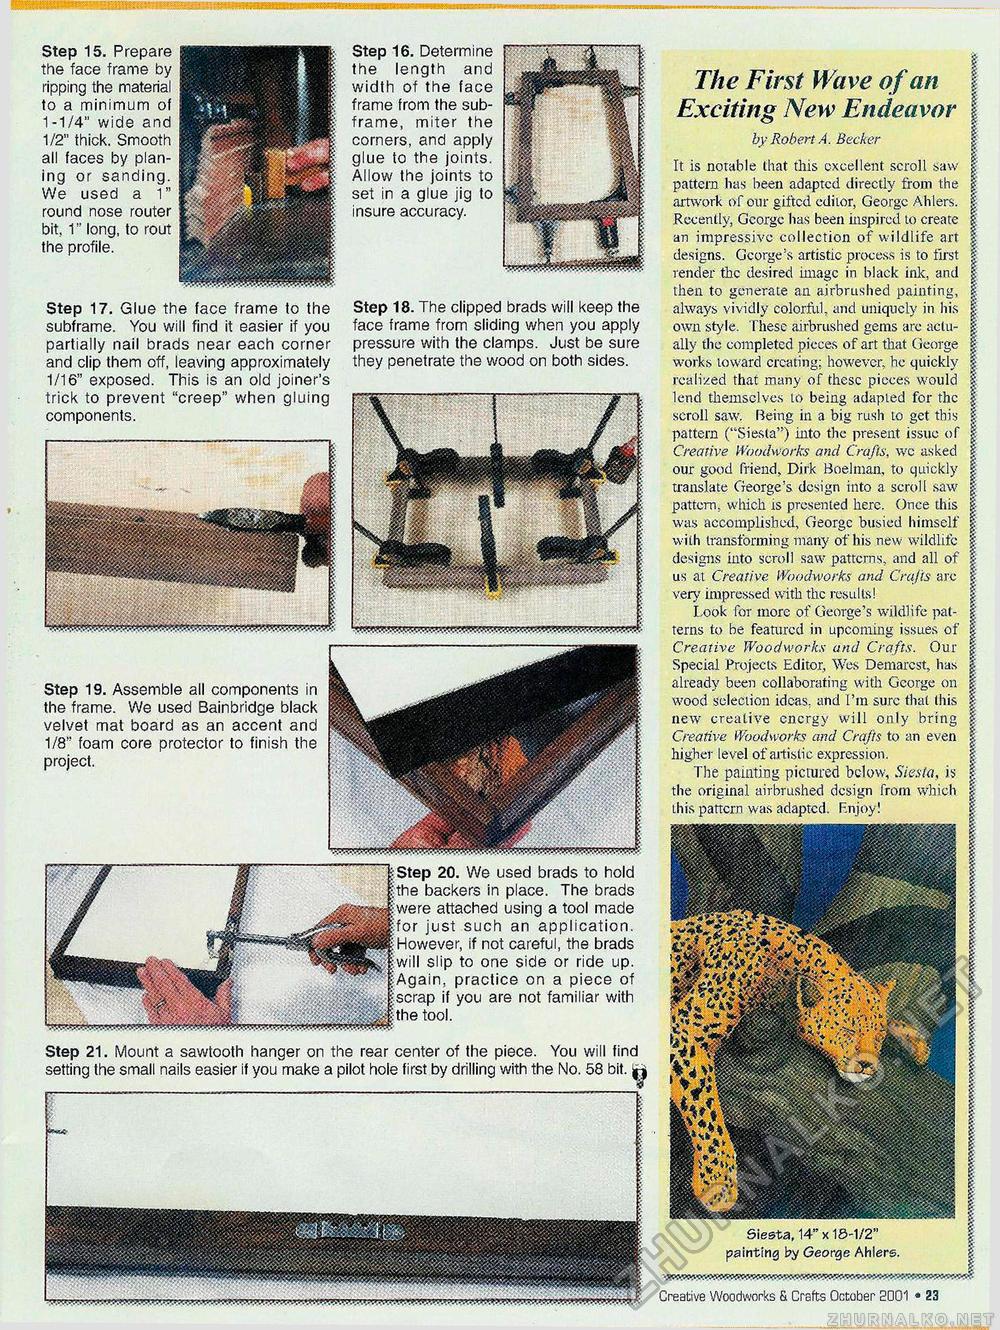
Siesta, 14" x 18-1/2" painting by George Ahlers. 12 • Creative Woodworks & Crafts October- 2001 The First Wave of an Exciting New Endeavor f Robert A. Becker I It is notable that this excellent scroll saw £ pattern has been adapted directly from the i artwork of our gifted editor, George Ahlers. | Recently, George lias been inspired to create £ an impressive collection of wildlife art \ designs. George's artistic process is to first £ render the desired image in black ink, and | then to generate an airbrushed painting, | always vividly colorful, and uniquely in his | own style. These airbrushed gems arc actu- | ally the completed pieces of art that George f works toward creating; however, he quickly | realized that many of these pieces would i lend themselves lo being adapted for the I scroll saw. Being in a big rush to get this § pattern ("Siesta") into the present issue of | Creative Woodworks and Crafts, we asked f our good friend, Dirk Boelman, to quickly | translate George's design into a scroll saw f pattern, which is presented here. Once this | was accomplished, George busied himself § with transforming many of his new wildlife | designs into scroll saw patterns, and all of % us at Creative Woodworks and Crafts arc | very impressed with the results! Look for more of George's wildlife pat- g terns to be featured in upcoming issues of § Creative Woodworks and Crafts. Our £ Special Projects Editor, Wes Demarest, has | already been collaborating with George on | wood selection ideas, and I'm sure thai (his | new creative energy will only bring | Creative Woodworks and Crafts to an even | higher level of artistic expression. The painting pictured below, Siesta, is \ the original airbrushed design from which this pattern was adapted. Enjoy! Step 19. Assemble all components in the frame. We used Bainbridge black velvet mat board as an accent and 1/8" foam core protector to finish the project. Step 15. Prepare the face frame by ripping the material to a minimum of 1-1/4" wide and 1/2" thick. Smooth all faces by planing or sanding. We used a 1" round nose router bit, 1" long, to rout the profile. Step 16. Determine the length and width of the face frame from the sub-frame, miter the corners, and apply glue to the joints. Allow the joints to set in a glue jig to insure accuracy. Step 18. The clipped brads will keep the face frame from sliding when you apply pressure with the clamps. Just be sure they penetrate the wood on both sides. 20. We used brads to hold backers in place. The brads attached using a tool made just such an application. However, if not careful, the brads slip to one side or ride up. ain, practice on a piece of if you are not familiar with Step 17. Glue the face frame to the subframe. You will find it easier if you partially nail brads near each corner and clip them off, leaving approximately 1/16" exposed. This is an old joiner's trick to prevent "creep" when gluing components. Step 21. Mount a sawtooth hanger on the rear center of the piece. You will find setting the small nails easier if you make a pilot hole first by drilling with the No. 58 bit. __ |


