Creative Woodworks & crafts 2002-01, страница 46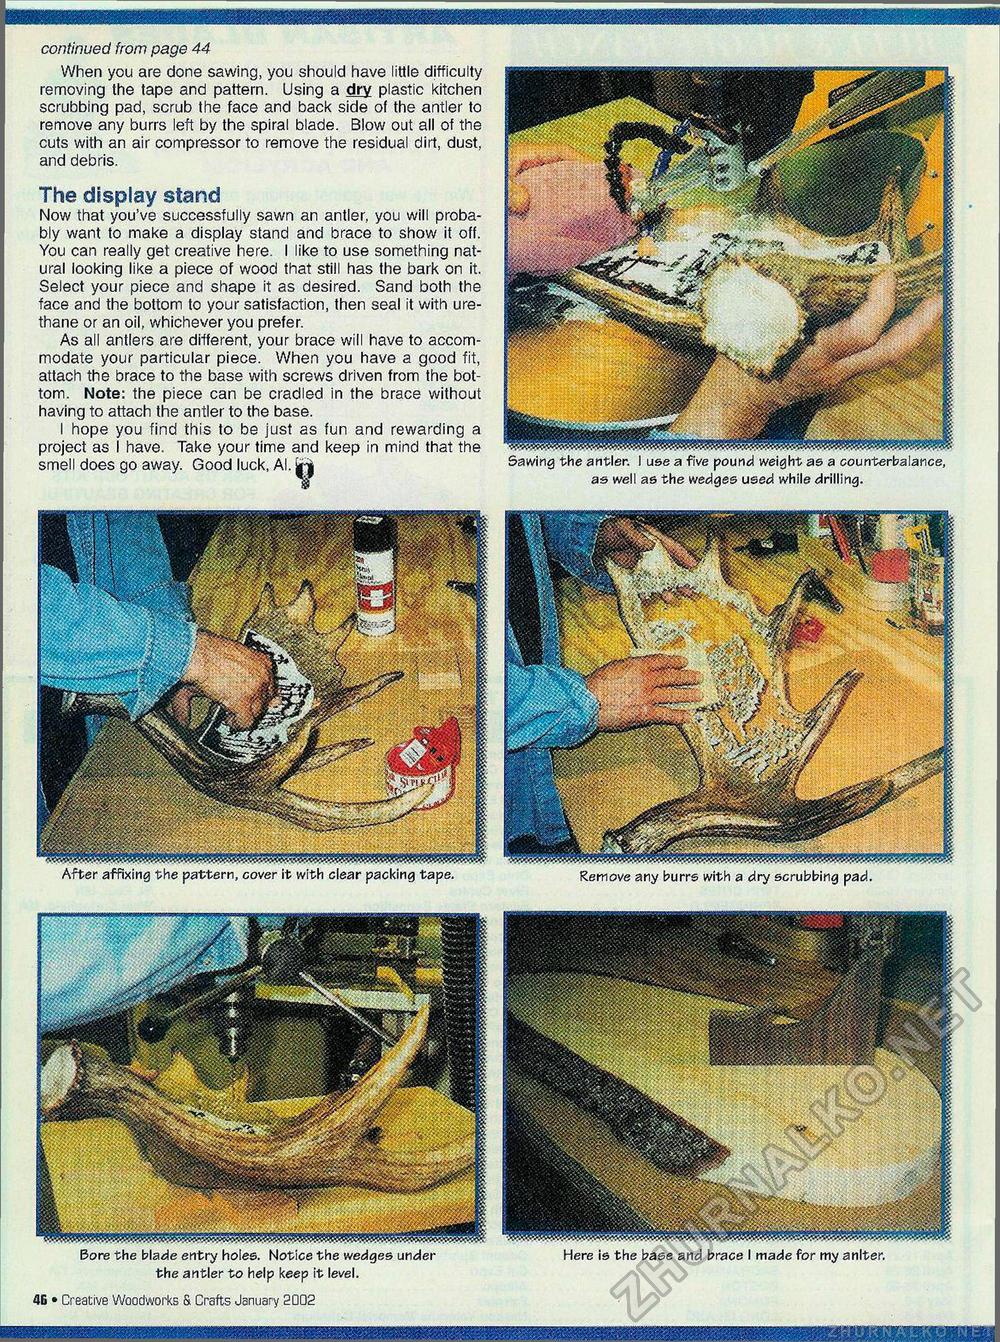
continued from page 44 When you are done sawing, you should have little difficulty removing the tape and pattern. Using a dry plastic kitchen scrubbing pad, scrub the face and back side of the antler to remove any burrs left by the spiral blade. Blow out all of the cuts with an air compressor to remove the residual dirt, dust, and debris. The display stand Now that you've successfully sawn an antler, you will probably want to make a display stand and brace to show it off. You can really get creative here. I like to use something natural looking like a piece of wood that still has the bark on it. Select your piece and shape it as desired. Sand both the face and the bottom to your satisfaction, then seal it with ure-thane or an oil, whichever you prefer. As all antlers are different, your brace will have to accommodate your particular piece. When you have a good fit, attach the brace to the base with screws driven from the bottom. Note: the piece can be cradled in the brace without having to attach the antler to the base. I hope you find this to be just as fun and rewarding a project as I have. Take your time and keep in mind that the smell does go away. Good luck, Al. jr| Sawing as well as the weight as a counterbalance, ;ed while drilling. Sipjsjs After affixing the pattern, cover it with clear packing tape. Remove any b UfTS Wl th a dry scrubbing pad. the antler to help keep it level. 46 • Creative Woodworks is Uratts January 2002 Here is the base and brace I made for my anlter. m |


