Creative Woodworks & crafts 2002-01, страница 44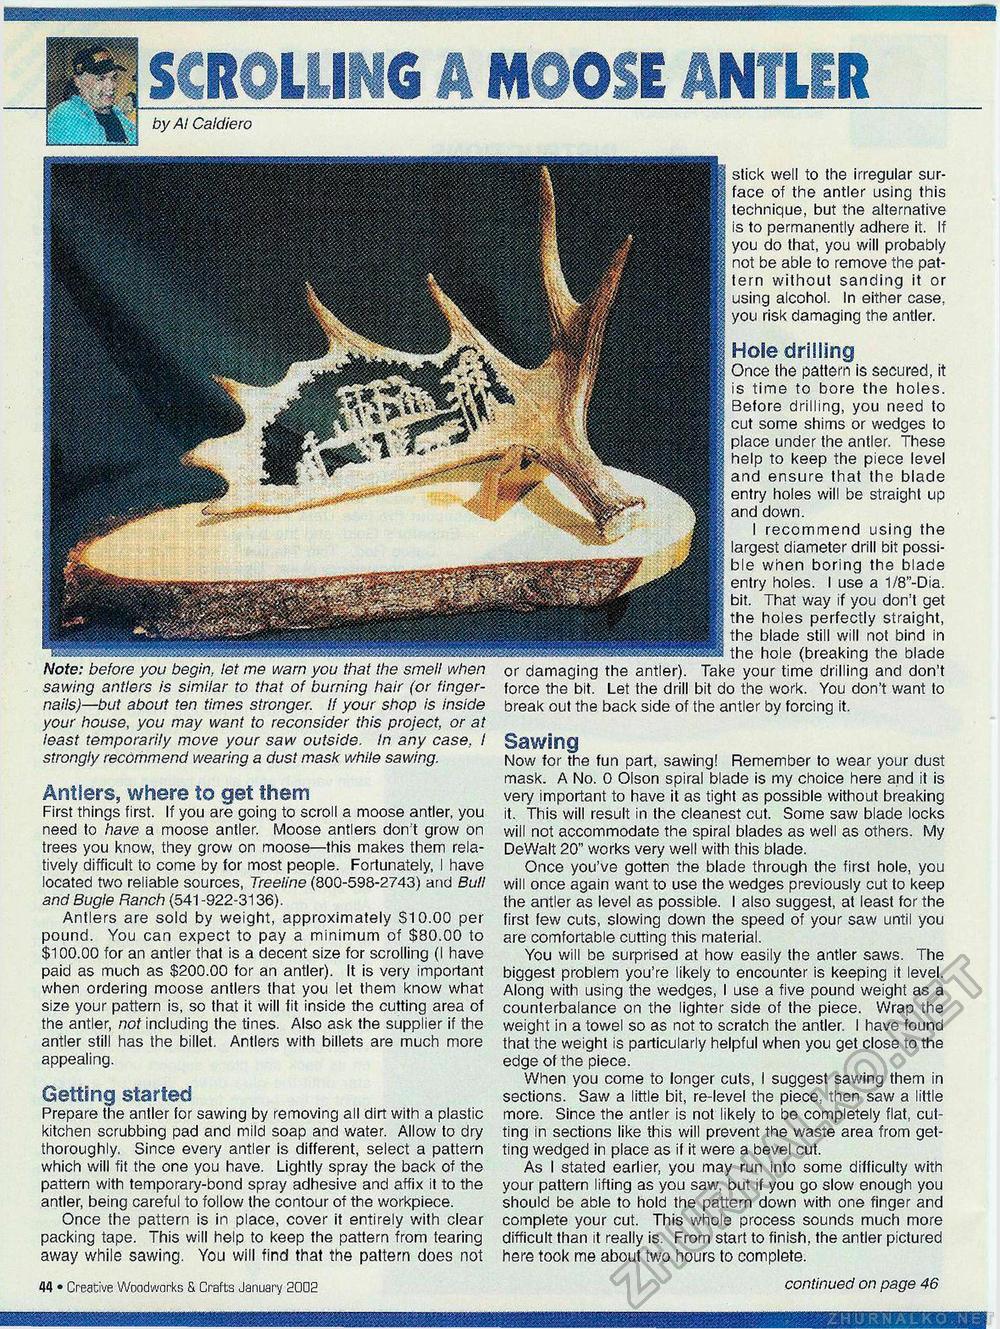
by At Caldiero stick well to the irregular surface of the antler using this technique, but the alternative is to permanently adhere it. If you do that, you will probably not be able to remove the pattern without sanding it or using alcohol. In either case, you risk damaging the antler. Antlers, where to get them First things first. If you are going to scroll a moose antler, you need to have a moose antler. Moose antlers don't grow on trees you know, they grow on moose—this makes them relatively difficult to come by for most people. Fortunately, I have located two reliable sources, Treeline (800-598-2743) and Bull and Bugie Ranch (541 -922-3136). Antlers are sold by weight, approximately 510.00 per pound. You can expect to pay a minimum of $80.00 to $100.00 for an antler that is a decent size for scrolling (I have paid as much as $200.00 for an antler). It is very important when ordering moose antlers that you let them know what size your pattern is, so that it will fit inside the cutting area of the antler, not including the tines. Also ask the supplier if the antler still has the billet. Antlers with billets are much more appealing. Getting started Prepare the antler for sawing by removing all dirt with a plastic kitchen scrubbing pad and mild soap and water. Allow to dry thoroughly. Since every antler is different, select a pattern which will fit the one you have. Lightly spray the back of the pattern with temporary-bond spray adhesive and affix it to the antler, being careful to follow the contour of the workpiece. Once the pattern is in place, cover it entirely with clear packing tape. This will help to keep the pattern from tearing away while sawing. You will find that the pattern does not Hole driiiing Once the pattern is secured, it is time to bore the holes. Before drilling, you need to cut some shims or wedges to place under the antler. These help to keep the piece level and ensure that the blade entry holes will be straight up and down. I recommend using the largest diameter drill bit possible when boring the blade entry holes. I use a 1/8"-Dia. bit. That way if you don't get the holes perfectly straight, the blade still will not bind in the hole (breaking the blade or damaging the antler). Take your time drilling and don't force the bit. Let the drill bit do the work. You don't want to break out the back side of the antler by forcing it. Sawing Now for the fun part, sawing! Remember to wear your dust mask. A No. 0 Olson spiral blade is my choice here and it is very important to have it as tight as possible without breaking it. This will result in the cleanest cut. Some saw blade locks will not accommodate the spiral blades as well as others. My DeWalt 20" works very well with this blade. Once you've gotten the blade through the first hole, you will once again want to use the wedges previously cut to keep the antler as level as possible. I also suggest, at least for the first few cuts, slowing down the speed of your saw until you are comfortable cutting this material. You will be surprised at how easily the antler saws. The biggest problem you're likely to encounter is keeping it level. Along with using the wedges, I use a five pound weight as a counterbalance on the lighter side of the piece. Wrap the weight in a towel so as not to scratch the antler. I have found that the weight is particularly helpful when you get close to the edge of the piece. When you come to longer cuts, I suggest sawing them in sections. Saw a little bit, re-level the piece, then saw a little more. Since the antler is not likely to be completely flat, cutting in sections like this will prevent the waste area from getting wedged in place as if it were a bevel cut. As I stated earlier, you may run into some difficulty with your pattern lifting as you saw, but if you go slow enough you should be able to hold the pattern down with one finger and complete your cut. This whole process sounds much more difficult than it really is. From start to finish, the antler pictured here took me about two hours to complete. Note: before you begin, let me warn you that the smell when sawing antlers is similar to that of burning hair (or fingernails)—but about ten times stronger. If your shop is inside your house, you may want to reconsider this project, or at least temporarily move your saw outside. In any case, I strongly recommend wearing a dust mask while sawing. 44 • Creative Woodworks & Crafts January 2002 continued on page 46 |


