Creative Woodworks & crafts 2002-01, страница 58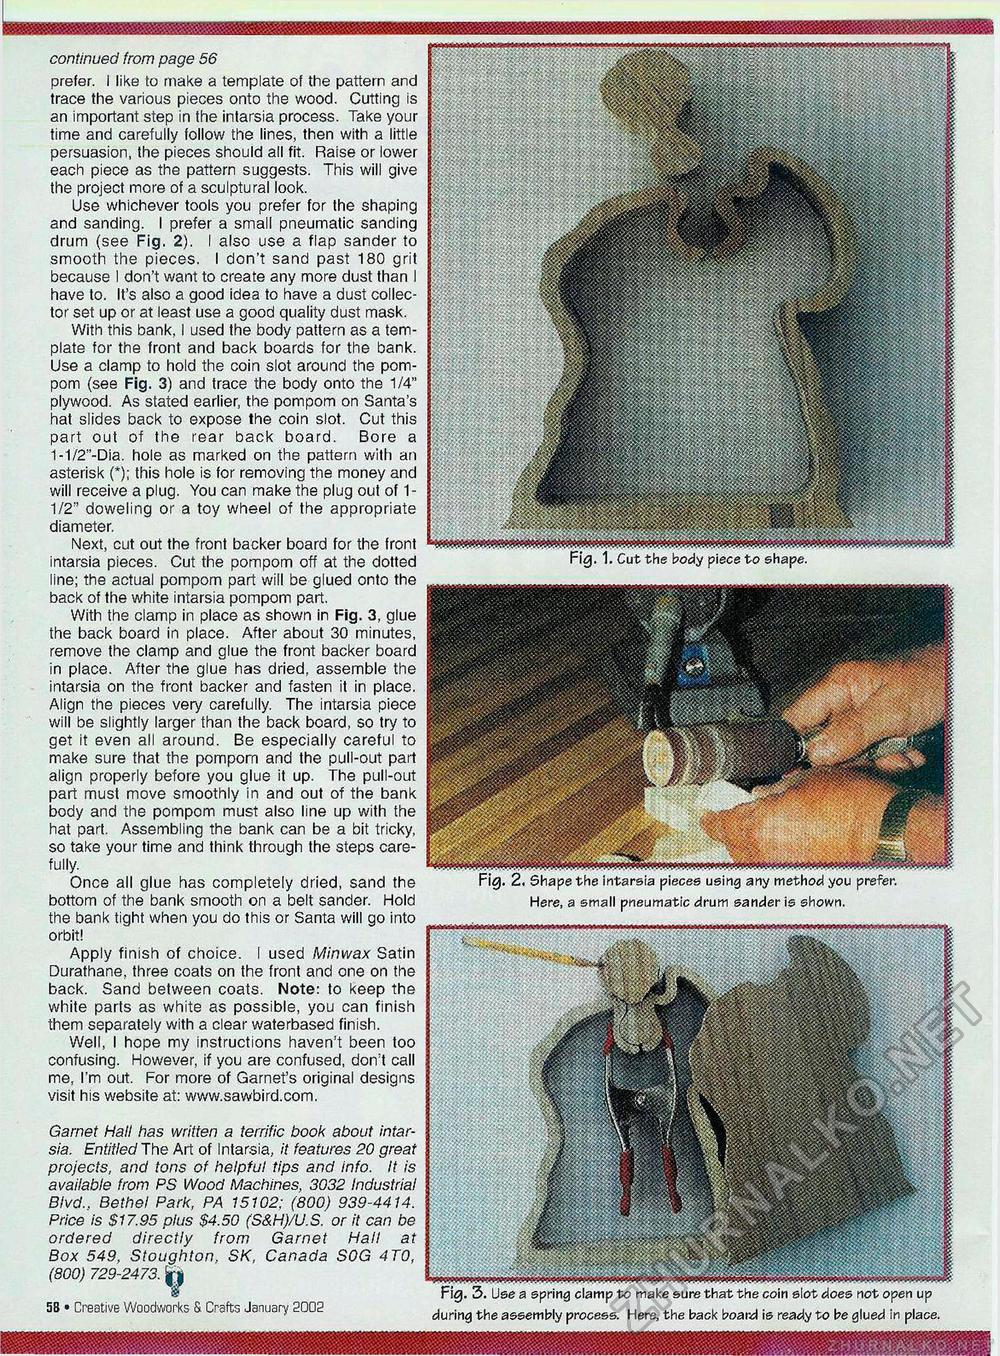
continued from page 56 prefer. I like to make a template of the pattern and trace the various pieces onto the wood. Cutting is an important step in the intarsia process. Take your time and carefully follow the lines, then with a little persuasion, the pieces should all fit. Raise or lower each piece as the pattern suggests. This will give the project more of a sculptural look. Use whichever tools you prefer for the shaping and sanding. I prefer a small pneumatic sanding drum (see Fig. 2). I also use a flap sander to smooth the pieces. I don't sand past 180 grit because I don't want to create any more dust than I have to. It's also a good idea to have a dust collector set up or at least use a good quality dust mask. With this bank, I used the body pattern as a template for the front and back boards for the bank. Use a clamp to hold the coin slot around the pompom (see Fig. 3) and trace the body onto the 1/4" plywood. As stated earlier, the pompom on Santa's hat slides back to expose the coin slot. Cut this part out of the rear back board. Bore a 1-1/2"-Dia. hole as marked on the pattern with an asterisk (*); this hole is for removing the money and will receive a plug. You can make the plug out of 1-1/2" doweling or a toy wheel of the appropriate diameter. Next, cut out the front backer board for the front intarsia pieces. Cut the pompom off at the dotted line; the actual pompom part will be glued onto the back of the white intarsia pompom part. With the clamp in place as shown in Fig. 3, glue the back board in place. After about 30 minutes, remove the clamp and glue the front backer board in place. After the glue has dried, assemble the intarsia on the front backer and fasten it in place. Align the pieces very carefully. The intarsia piece will be slightly larger than the back board, so try to get it even all around. Be especially careful to make sure that the pompom and the pull-out part align properly before you glue it up. The pull-out part must move smoothly in and out of the bank body and the pompom must also line up with the hat part. Assembling the bank can be a bit tricky, so take your time and think through the steps carefully. Once all glue has completely dried, sand the Fig. 2, 5hape the intarsia pieces using any method you prefer, bottom of the bank smooth on a belt sander. Hold Here, a small pneumatic drum sander is shown. the bank tight when you do this or Santa will go into orbit! Apply finish of choice. I used Minwax Satin Durathane, three coats on the front and one on the back. Sand between coats. Note: to keep the white parts as white as possible, you can finish them separately with a clear waterbased finish. Well, I hope my instructions haven't been too confusing. However, if you are confused, don't call me, I'm out. For more of Garnet's original designs visit his website at: www.sawbird.com. Garnet Hall has written a terrific book about intarsia. Entitled The Art of Intarsia, it features 20 great projects, and tons of helpful tips and info. It is available from PS Wood Machines, 3032 Industrial Blvd., Bethel Park, PA 15102: (800) 939-4414. Price is $17.95 plus $4.50 (S&H)/U.S. or it can be ordered directly from Garnet Hall at Box 549, Stoughton. SK, Canada SOG 4T0, (800) 729-2473. | ( ¥ 58 • Creative Woodworks & Crafts January 2002 Fig. 1. Cut the body piece to shape. Fig. 3. Use a spring clamp to make sure that the coin slot does not open up during the assembly process. Here, the back board is ready to be glued in place. |


