Creative Woodworks & crafts 2002-04, страница 52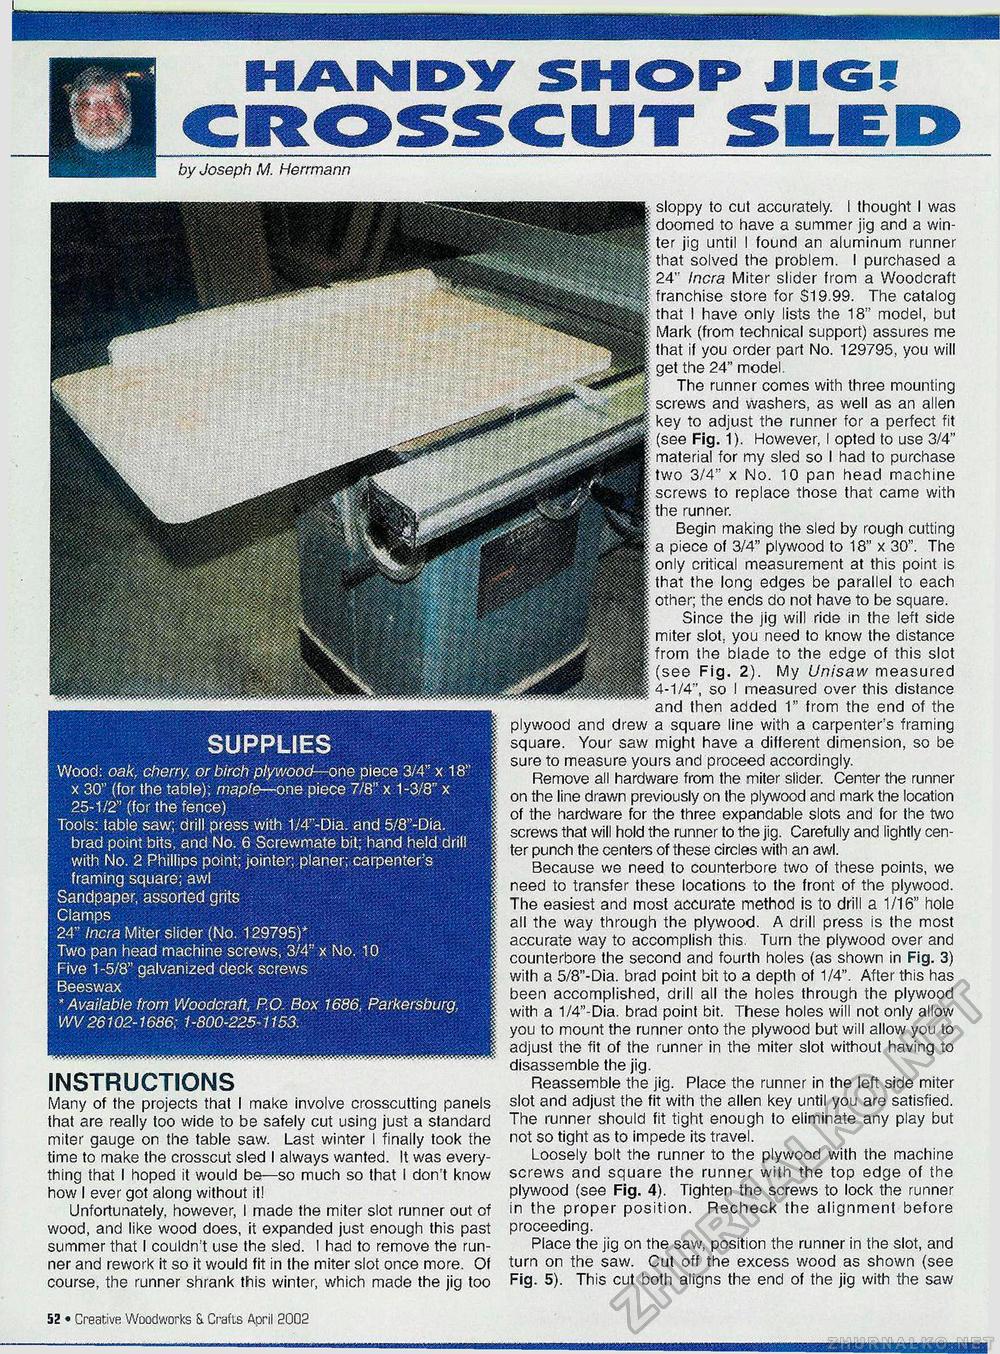
SUPPLIES Wood: oak, cherry, or birch plywood— one piece 3/4" x 18' x 30" (for the table); maple—one piece 7/8" x 1 -3/8" x 25-1/2" (for the fence) Tools: table saw; drill press with 1/4"-Dia. and 5/8"-Dia. brad point bits, and No. 6 Screwmate bit; hand held drill with No. 2 Phillips point; jointer; planer; carpenter's framing square; awl Sandpaper, assorted grits Clamps 24" Incra Miter slider (No. 129795)* Two pan head machine screws, 3/4" x No. 10 Five 1 -5/8" galvanized deck screws Beeswax ' Available from Woodcraft, P.O. Box 1686, Parkersburg, WV 26102-1686; 1-800-225-1153. INSTRUCTIONS Many of the projects that I make involve crosscutting panels that are really too wide to be safely cut using just a standard miter gauge on the table saw. Last winter I finally took the time to make the crosscut sled I always wanted. It was everything that I hoped it would be—so much so that I don't know how I ever got along without it! Unfortunately, however, I made the miter slot runner out of wood, and like wood does, it expanded just enough this past summer that I couldn't use the sled. I had to remove the runner and rework it so it would fit in the miter slot once more. Of course, the runner shrank this winter, which made the jig too sloppy to cut accurately. I thought I was doomed to have a summer jig and a winter jig until I found an aluminum runner that solved the problem. I purchased a 24" Incra Miter slider from a Woodcraft franchise store for S19.99. The catalog that I have only lists the 18" model, but Mark (from technical support) assures me that if you order part No. 129795, you will get the 24" model. The runner comes with three mounting screws and washers, as well as an alien key to adjust the runner for a perfect fit (see Fig. 1). However, I opted to use 3/4" material for my sled so I had to purchase two 3/4" x No. 10 pan head machine screws to replace those that came with the runner. Begin making the sled by rough cutting a piece of 3/4" plywood to 18" x 30". The only critical measurement at this point is that the long edges be parallel to each other; the ends do not have to be square. Since the jig will ride in the left side miter slot, you need to know the distance from the blade to the edge of this slot (see Fig. 2). My Unisaw measured 4-1/4", so I measured over this distance and then added 1" from the end of the plywood and drew a square line with a carpenters framing square. Your saw might have a different dimension, so be sure to measure yours and proceed accordingly. Remove all hardware from the miter slider. Center the runner on the line drawn previously on the plywood and mark the location of the hardware for the three expandable slots and for the two screws that will hold the runner to the jig. Carefully and lightly center punch the centers of these circles with an awl. Because we need to counterbore two of these points, we need to transfer these locations to the front of the plywood. The easiest and most accurate method is to drill a 1/16" hole all the way through the plywood. A drill press is the most accurate way to accomplish this. Turn the plywood over and counterbore the second and fourth holes (as shown in Fig. 3) with a 5/8"-Dia. brad point bit to a depth of 1/4". After this has been accomplished, drill all the holes through the plywood with a 1/4"-Dia. brad point bit. These holes will not only allow you to mount the runner onto the plywood but will allow you to adjust the fit of the runner in the miter slot without having to disassemble the jig. Reassemble the jig. Place the runner in the left side miter slot and adjust the fit with the alien key until you are satisfied. The runner should fit tight enough to eliminate any play but not so tight as to impede its travel. Loosely bolt the runner to the plywood with the machine screws and square the runner with the top edge of the plywood (see Fig. 4). Tighten the screws to lock the runner in the proper position. Recheck the alignment before proceeding. Place the jig on the saw, position the runner in the slot, and turn on the saw. Cut off the excess wood as shown (see Fig. 5). This cut both aligns the end of the jig with the saw IB • Creative Woodworks S. Crafts April S002 |
|||||||||||||||


